Over the past few weeks we’ve explored nearly all of the layer blending modes found in GIMP and Photoshop, so in today’s article I’ll be finishing up the series by demonstrating the final four: Hue, Saturation, Color and Value.
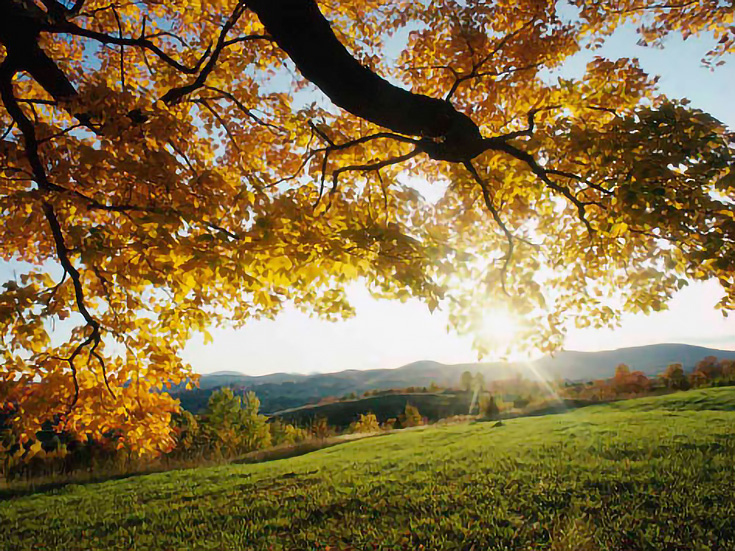
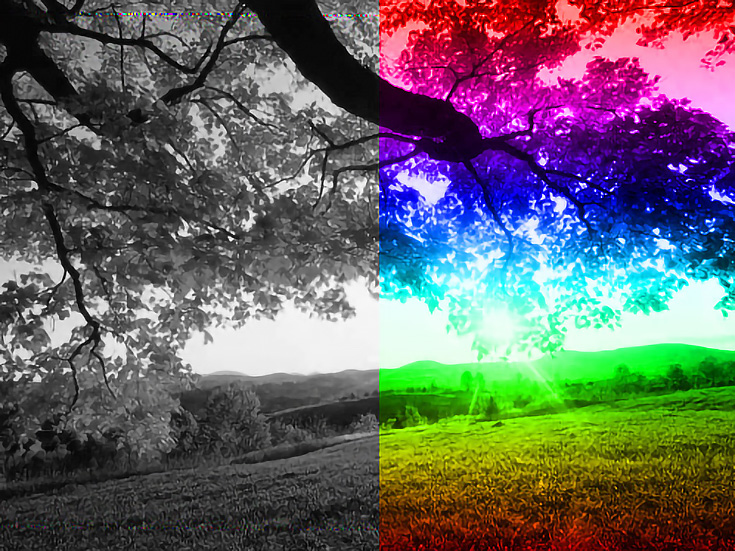
If you’re following along on your own computer, you’ll need a base image to place underneath your test layer. Any picture you want to use is fine—I’m using this image of tree branches overlooking fields.
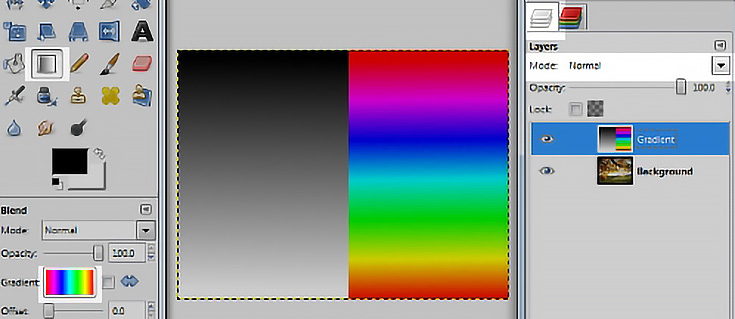
Once you have a base image, create a new layer on top with a black and white gradient on the left half and a rainbow gradient on the right as demonstrated below.
This gradient layer is what we’ll be applying today’s blending modes to. If you’ve got your layers ready, then let’s get blending!
Hue
Adobe defines the Hue blending mode like this: “Creates resulting colors with the luminance and saturation of the underlying colors and the hue of the layer colors.”
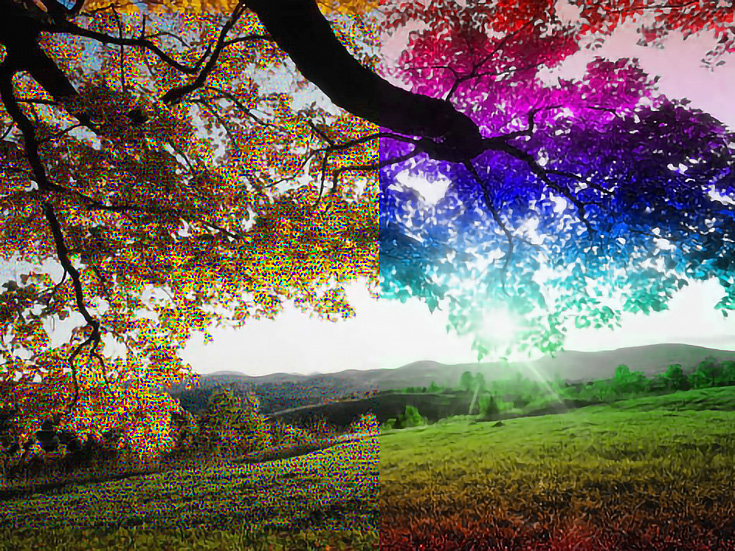
I’d define it as “Colors on top replace colors below.”
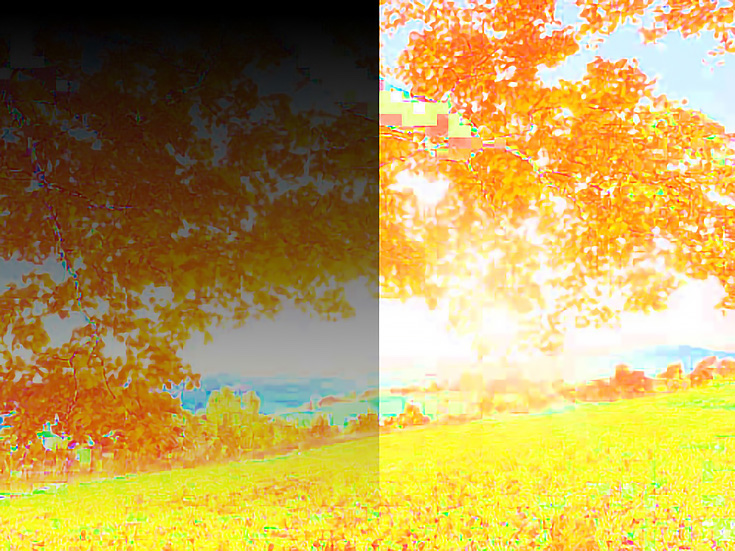
You can see that the black and white side dulled out the color (although it left some specks behind) while the rainbow side replaced any areas of color in the image below. A cheerful effect!
Saturation
The Saturation blending mode is defined as “creating resulting color with the luminance and hue of the underlying colors and the saturation of the layer colors.“
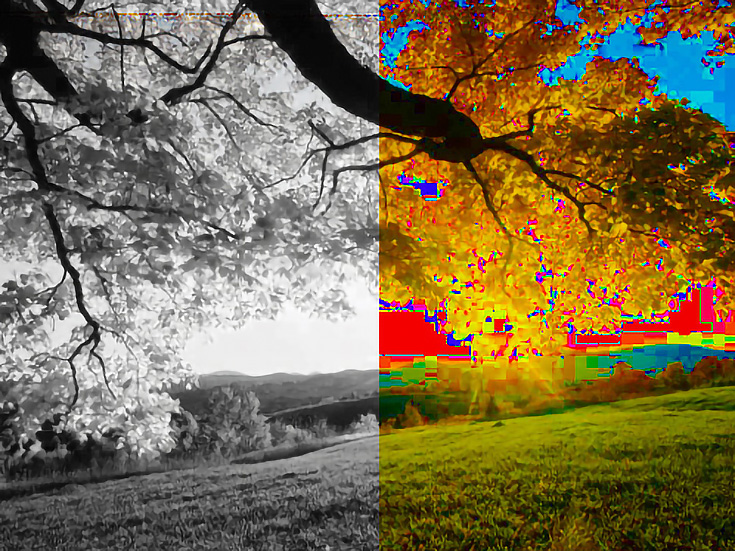
My definition? “Top color determines saturation level for the layer below”
The two sides of our blended layer have very different effects on the base image. Black and white desaturated the image completely, while the rainbow on the right side pushed the saturation to the limit.
Color
The Color blending mode is said to “create resulting colors with the luminance of the underlying colors and the hue & saturation of the layer colors. This preserves the gray levels of the image.”
Although very similar to the Hue blending mode, I’d describe this mode a little bit differently: “colors on top replace everything but pure black below.”
Unlike the Hue blending mode, you can see that even neutral tones in the underlying layer got colored by the rainbow on the right.
Value (for GIMP users only)
The last blending mode, Value, is unique to GIMP, so there’s no official definition but it appears to combine the top layer’s value and saturation with the bottom layer’s color.
Obviously the underlying image is affected more by lighter pixels than darker pixels, and it’s clear that the effect of the rainbow side is calculated by the value of the gradient, not the gradient’s color.
As you can see, blending modes are a lot of fun to play with—and some amazing results can be gotten by layering different modes on top of each other and adjusting their opacity to fine tune the result.
To learn more about blending modes in GIMP and Photoshop, don’t miss the first, second, and third article in this series.
This post may contain affiliate links.
