Last week I demonstrated several blending modes used in GIMP and Photoshop, such as Multiply, Divide, Overlay, and Screen. Today I’ll be exploring four more: Dodge, Burn, Hard Light and Soft Light plus a few bonus modes found only in GIMP.
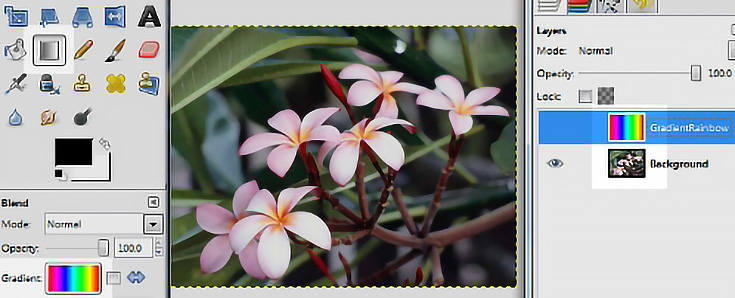
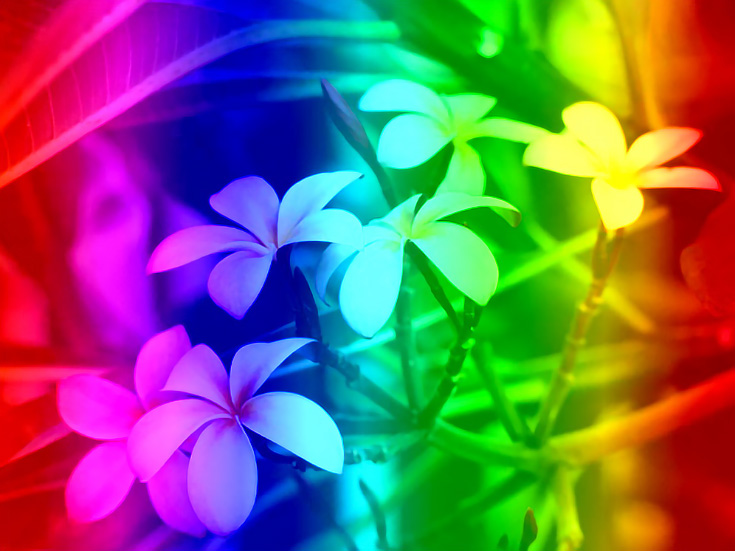
I’ll be using two images to explain each blending mode. My base image is the copyright-free picture shown below, chosen for its areas of strong color and contrast.
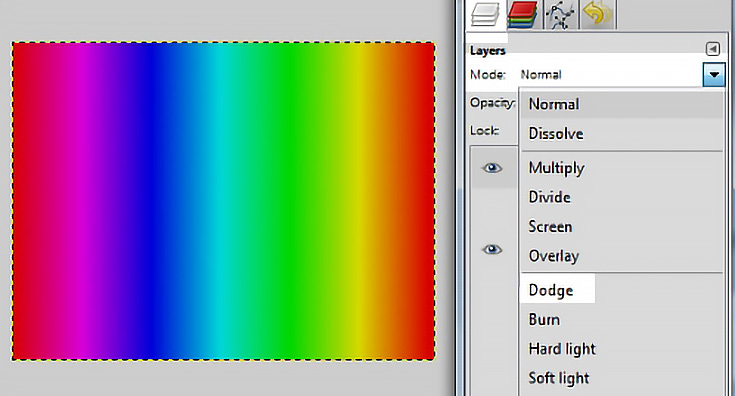
My top image (the layer I’ll be applying the blending modes to) is this gradient rainbow. It should give you a good idea of how each blending mode affects different colors.
Let’s see what happens when we start using blending modes on our rainbow.
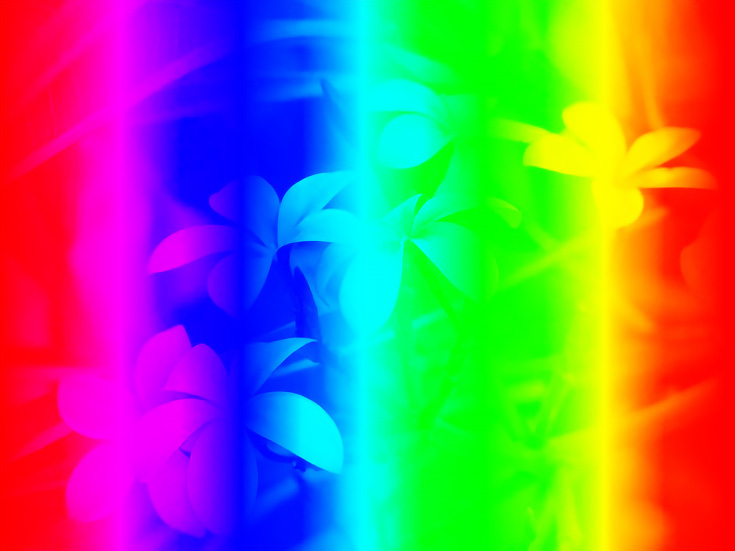
The Dodge blending mode
Here’s Adobe’s official explanation of what the Dodge blending mode does:
“Brightens the resulting color based in the original color. The lighter the original color, the brighter the resulting color. Pure black in original layer does not change the underlying layer. Pure white in original usually changes the underlying color to white.”
My definition is, “Lightens overall, while top layer colors bottom layer.”
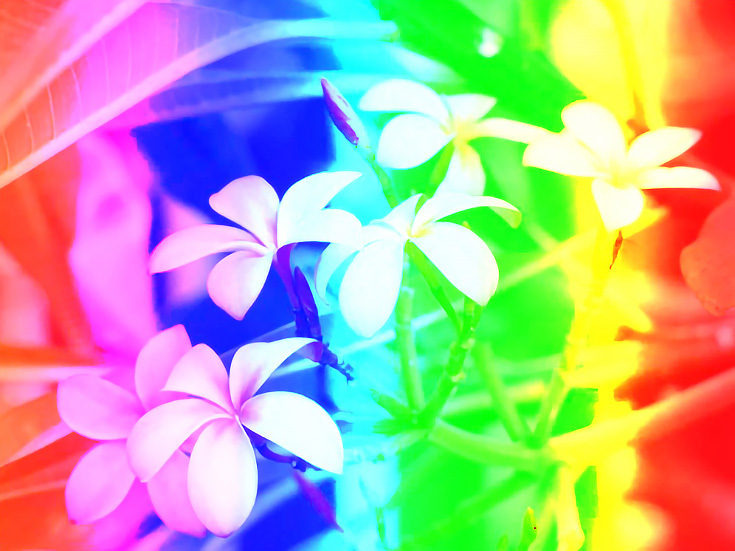
You can see that any areas already white in the bottom layer remain white; while darker areas are colored by the top layer. This results in a fairly light image.
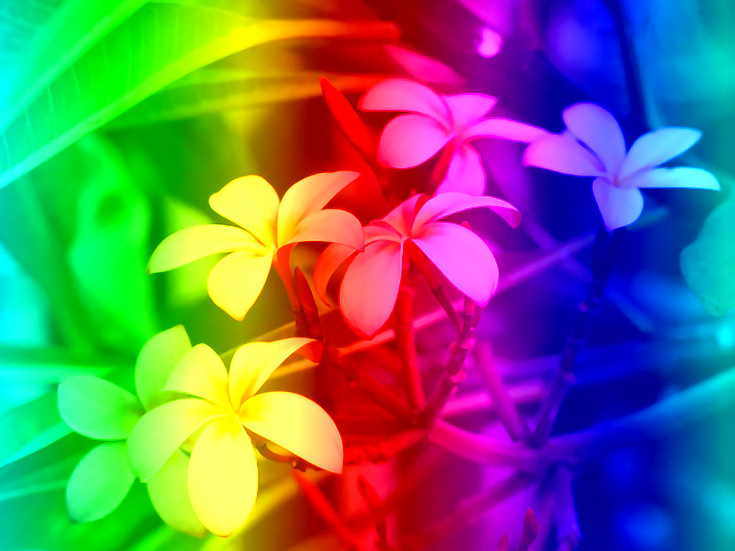
The Burn blending mode
The official definition of the Burn blending mode is:
“Darkens the resulting color based on the original layer color. The darker the original layer, the darker the resulting color. Pure white in the original layer does not change the underlying color. Pure black in the original layer usually changes the underlying color to black.”
My definition: “Darkens overall, while top layer colors bottom layer.”
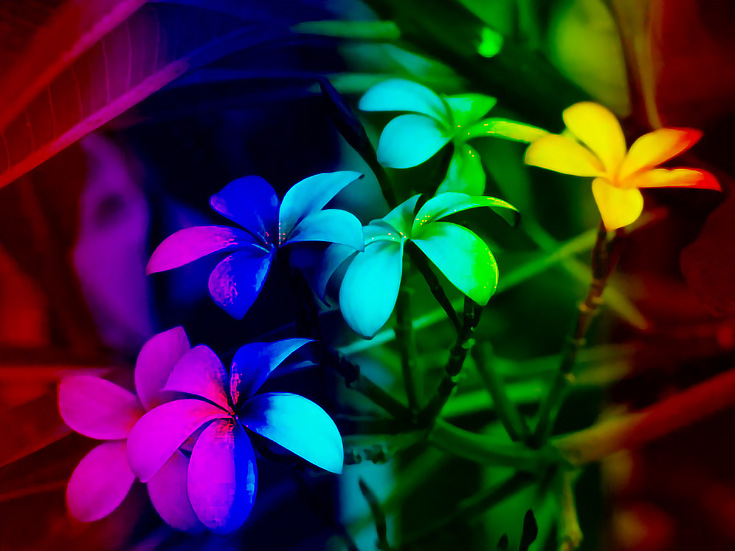
Burn is essentially the opposite of Dodge. Instead of letting the white areas in the bottom image remain white, Burn allows the dark areas to remain dark—and then it colors the light areas with the top layer. The end result is a fairly dark image.
The Hard Light blending mode
Here’s the official definition of the Hard Light blending mode:
“Multiplies or screens the resulting color depending on the original color. If underlying color is less than 50% gray, the layer lightens it as if it were screened. If underlying color is greater than 50% gray, the layer darkens it it as if it were multiplied.”
Remember screen and multiply from my first blending mode tutorial? That’s what this definition is referring to—although it’s still pretty confusing.
My definition: “Reduces contrast, adds color.”
For those of you using Photoshop rather than GIMP, you’ll notice that Photoshop’s Hard Light blending mode isn’t as “hard” as GIMP’s. . . in other words, Photoshop allows more contrast to show through.
The Soft Light Blending Mode
The official definition for the Soft Light blending mode is:
”Darkens or lightens resulting colors, depending on the layer color. If underlying color is lighter than 50% gray, the layer lightens. If underlying color is darker than 50% gray, the layer darkens.’
My definition: “Vintage with color!”

Soft Light increases the contrast of the layer below, while adding color from the top layer to all the middle values of the bottom image. This creates an image that looks pretty natural, but doesn’t have any neutrals. . . just dark, light, and color.
Grain Merge and Grain Extract (only in GIMP)
GIMP users get two more blending modes: Grain Merge and Grain Extract. There’s no official definition for them, so we’ll just have to see what they do.
Here is Grain Merge.
And here is Grain Extract.
Both of these blending modes mute the bottom layer’s lightest lights and darkest darks with an overlay of color. This is similar to GIMP’s Hard Light blending mode, just not anywhere near as extreme.
And the only difference between these two modes is that Grain Extract reverses the colors in the top layer (AKA, shifts the color spectrum sideways).
Each of the blending modes we’ve looked at today offers very interesting ways to play with the existing colors in a image. We haven’t explored using different modes together because there’s just to many combinations—so I’ll leave that up to you. :)
Stay tuned for more layer modes next week!
This post may contain affiliate links.