Blending modes such as Multiply, Overlay, and Screen (just to name a few) are found in both Photoshop and GIMP, and are a way of algorithmically changing the hue, saturation, brightness, transparency, or tone of a layer.
If that sounds complicated, don’t worry—the important thing to know is that different layer modes have different effects on pixels (and different colors of pixels react differently as well).
To really understand all the effects you can get from blending modes, it helps to experiment with them for yourself. In today’s article, however, I’ll be walking you through some of the more common blending modes so you can at least get a basic idea of how they work.
Setting up the demonstration:
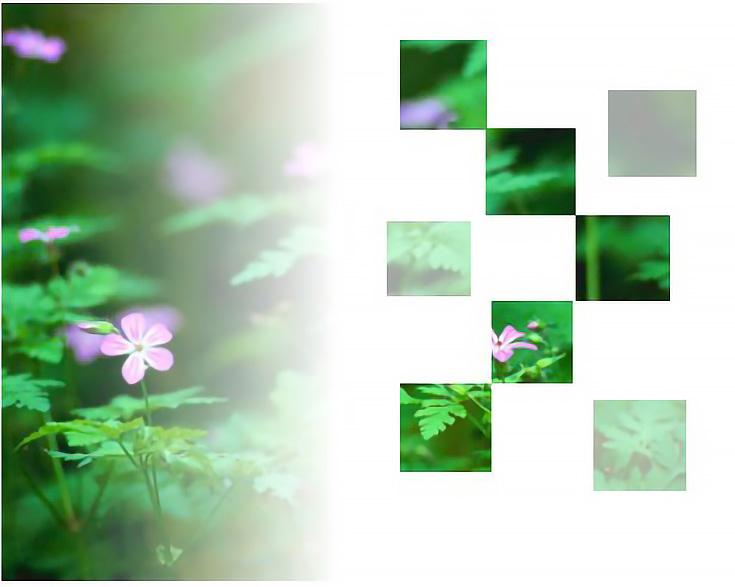
Here is the base image that I’ll be using to help explain each blending mode.
I’ve created a second layer on top of my base layer that I’ll actually be applying each blending mode to. This layer has a black and white gradient on the left side and some black and gray squares on the right side of the image.
Feel free to copy these images to your own computer and test out the different modes yourself. If you do, make sure the black/gray/white layer is on top of your base image so you’ll get the same results shown here.
You’ll also need to locate the layers palette (Ctrl+L in GIMP or F7 in Photoshop) and click on the “Modes” drop-down menu to see each mode that’s available.
The most-used blending modes are at the top: Multiply, Divide (for GIMP users only), Screen, and Overlay. The “Normal” layer mode is the default mode, so just click that if you ever need to return to the original qualities of the layer.
OK, let’s get down to business.
How the Multiply blending mode works:
The official definition from Adobe for the Multiply mode is “multiplies the color values in the layer and divides the result by the maximum pixel value of either 8 bit or 16 bit pixels. The resulting image is never brighter than the original.”
My definition is much simpler. “All white pixels in the blended layer disappear.”
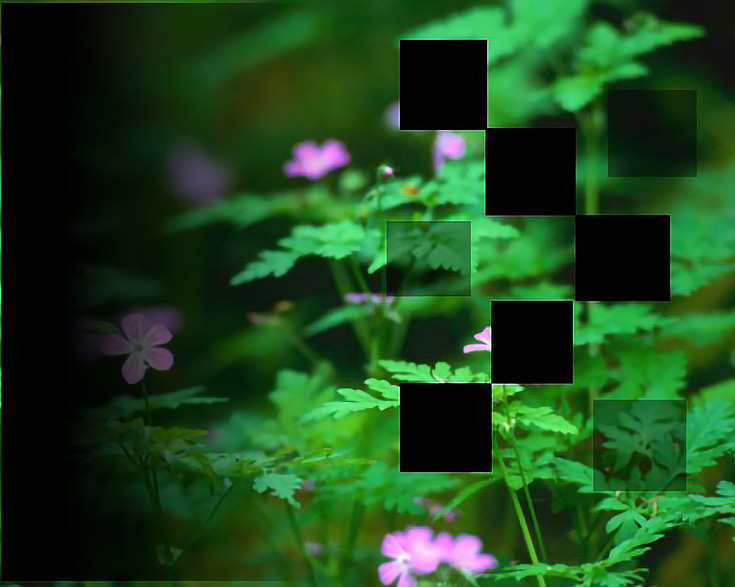
Here is what I got from Multiplying my top layer.
And as you can see, my base image shows through nearly everywhere because all the white pixels in my blended layer have become transparent.
Gray pixels in the blended layer are partially transparent (depending on how light or dark they are). Pure black pixels remain black.
What the Divide blending mode does:
There’s no official definition for this mode, since it’s unique to GIMP, and not available in Adobe products. My definition is “blows out all black pixels in the blended layer.”
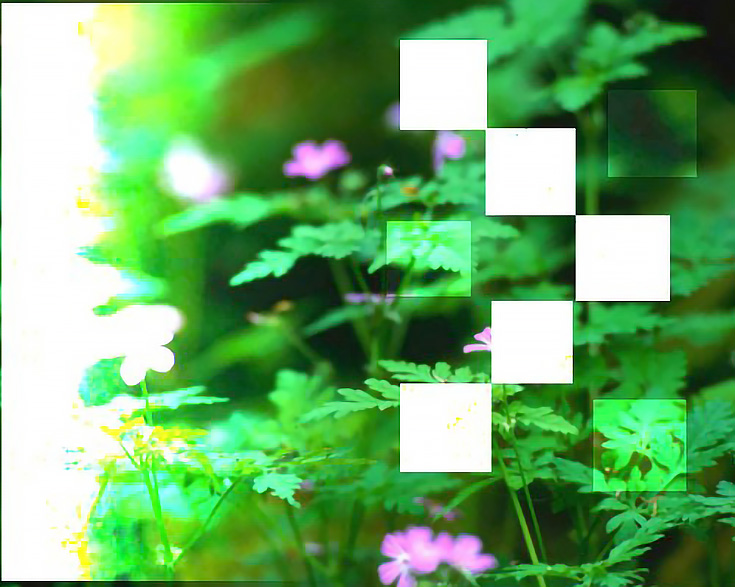
Here’s what happened when I used the Divide blending mode:
Just like Multiply, all white pixels have become transparent—but this time, all black pixels in my blended layer have turned to white.
In addition, gray pixels in my blended layer are now lightening the image underneath (depending on how much black they have in them).
Effects of the Screen blending mode:
The official definition of the Screen blending mode is, “multiplies the inverse brightness values of the colors in all layers.”
My definition? “All the black pixels in the blended layer disappear.”
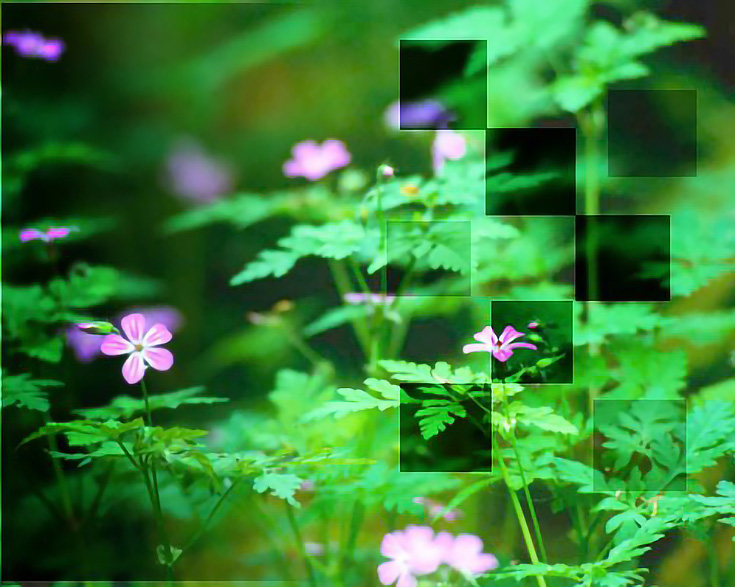
No multiplication, division, or complicated math here—just a white “screen” over the base layer wherever the white pixels are.
Gray pixels are partially transparent, depending on how dark they are, while black pixels are totally transparent.
And finally, the Overlay blending mode:
The official definition of Overlay is “mixes colors between layers, preserving the highlights and shadows to reflect the light and dark areas of the layer colors.”
My definition is, again, simpler. “Blended layer adds intensity to the layer underneath.”
You’ll notice that all black pixels in the blended layer have been made slightly transparent, while intensifying the shadows of the layer underneath.
White pixels in the blended layer are transparent as well—but they tend to blow out the highlights of the layer underneath. Gray pixels seem to do a little of both.
If you’re wondering why the official definitions are so complex, it’s because they’re based on math calculations. . . meaning that a mathematician probably wrote them. :)
I prefer my own definitions, and I hope they’ve helped explain what these blending modes do (along with the images, of course). Don’t forget to drop in next week for an explanation of some of the lesser-used blending modes too!
This post may contain affiliate links.


