I don’t consider myself the strongest painter of water. . . but I do create a lot of paintings around the coast, so I need to be able to paint the wet stuff!
As I paint, I tend to follow the principle that nothing is completely observed and nothing is completely imagined. This allows me to have the best of both worlds when painting. I use what I see in front of me in order to understand what I’m painting and how the light reflects and refracts through water, but. . . I also like to take it beyond reality.
I might try to bring out more intense colours, exaggerate the waves, or change the colours to fit my current colour palette. I just like to make full use of my artistic license!
As a general tip, if you paint from photos, try to choose ones that are truly special—my favorite photos are the ones where something extraordinary jumps out at me, or where there’s something ordinary-but-meaningful, and it tugs on the heart strings. It’s hard to explain exactly why a photo might feel that way, but you know it when you see it, and it makes painting the scene much more enjoyable and interesting.
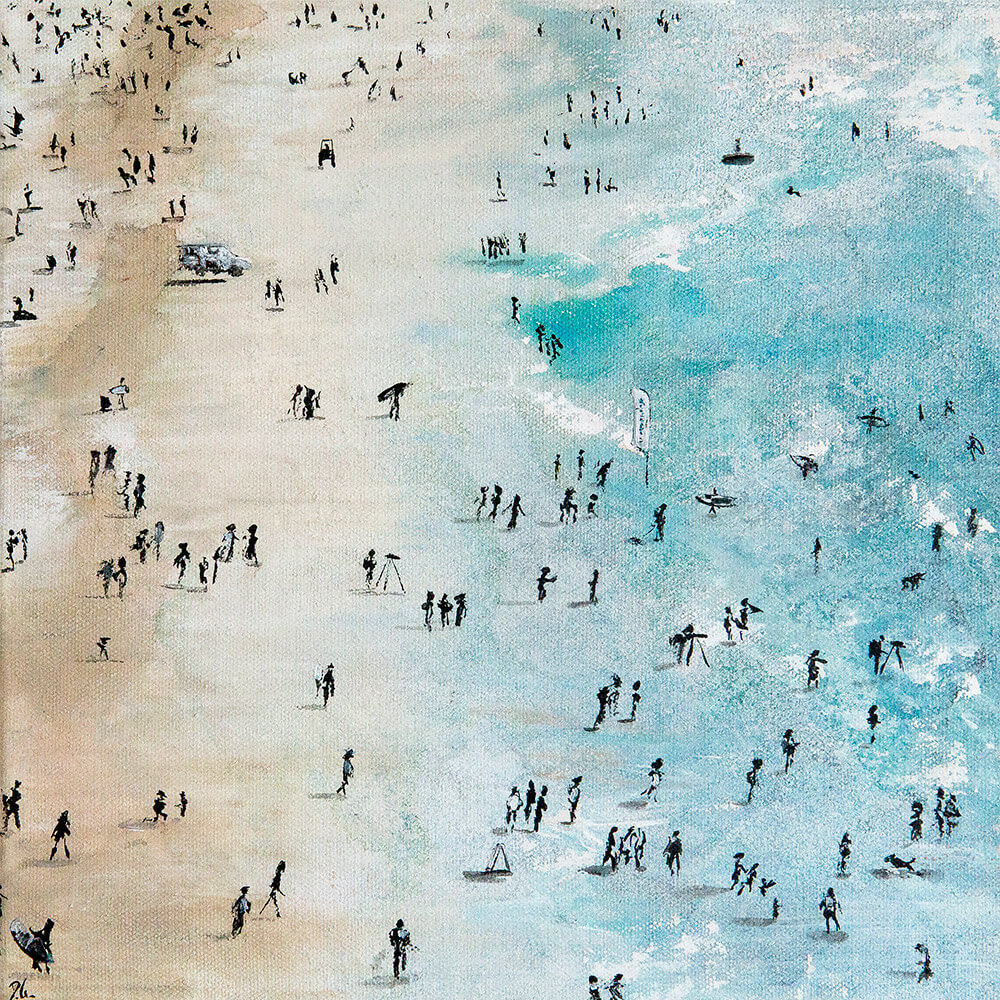
For example, recently I’ve started a new collection of beach paintings which verges on the abstract, but it captures the reality of what you see on a busy summer’s day on the beach. It also captures a feeling or memory of being on that beach. You can see this in my paintings Watching Boardmasters, Fistral Beach shown at the beginning of this article, and Crantock Beach below.
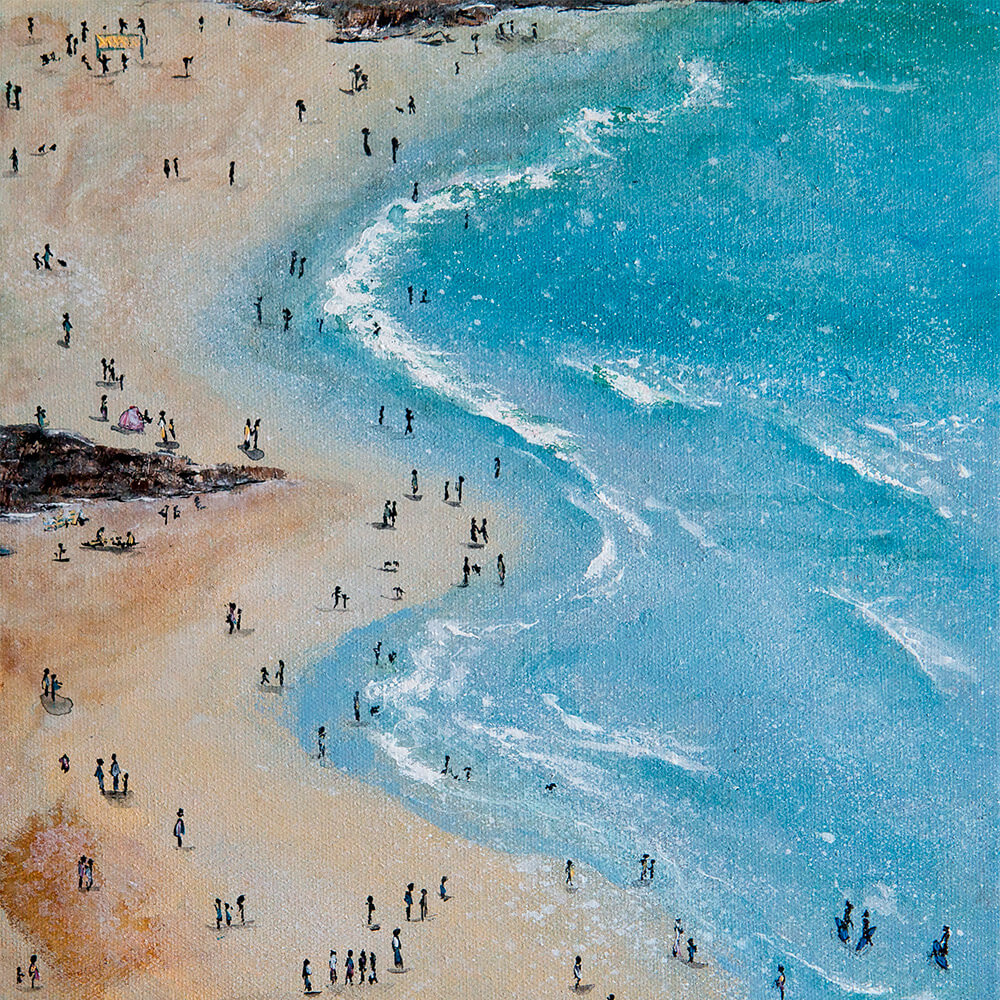
Each time I look at them, I’m transported to summer holidays—that’s the type of “special” feeling I’m going for.
Tips for painting water
I do a lot of experimentation as I paint, but I also have some techniques that I keep going back to:
1. Allow the paint to flow
Sometimes I’ll use heavily pigmented acrylic paints mixed with water so it can be use like watercolour and I let the water take over. I won’t let it drip exactly, but I will allow it to find its way across the canvas. It’s a bit of a gamble doing it this way, but you can get some great, watery effects. I then add just a bit of white to give a sense of waves crashing onto the beach.
2. Don’t try to be photo-realistic
I don’t think it’s worthwhile to try to capture every wave and ripple—it will drive you insane. Instead, find ways to let your tools do the work for you. If I’m doing water highlights on the sea, I’ll use a brush to gently splash some speckles over the water and that works brilliantly to pull out little highlights of the sun.
3. Make each reflection your own
When adding reflections in the water, take some liberties. I’ve always read that reflections are more muted than the original; i.e. the darks will be slightly lighter and the lights will be slightly darker. But don’t let that shape your decisions—sometimes I really do want my reflections to be equally colourful; it just depends on my composition.
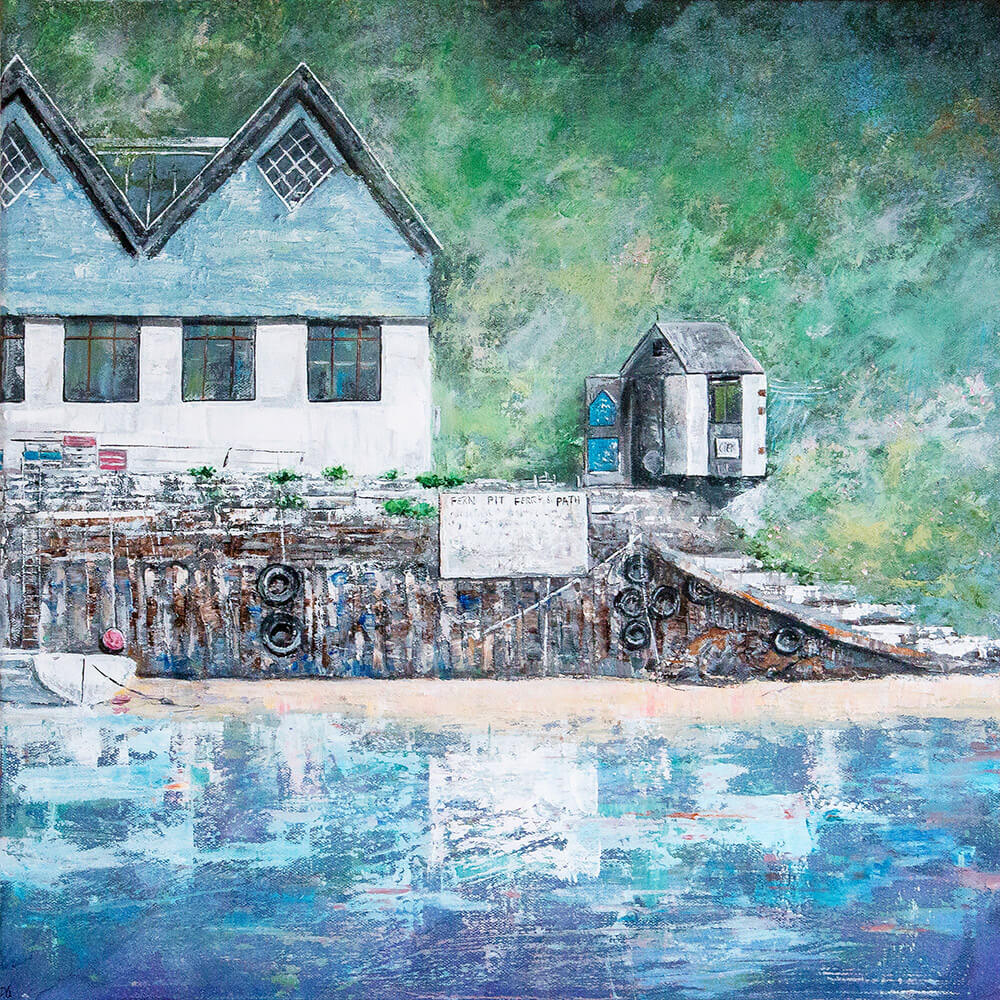
And don’t be afraid to use any colour in your reflections—even if it isn’t one traditionally found when looking at water. (We think of water as blue, but it’s only blue because it’s often reflecting a blue sky). In a painting, reflections in the water can be like a mirror image or it could be just a suggestion of the world above it reflects. For reflections I’ll often swap to juicy thick oils and a palette knife to get the effect created in At the Foot of the Fern Pit.
4. Be sparing with your palette knife
Try using a palette knife yourself to blend and merge colours together when painting water. The crisper edges of colour created by a palette knife make for a great water reflection. Water moves constantly, and this will help to create the impression of movement with just a few strokes of the knife. It’s all too easy to overdo, however, so pick your knife strokes carefully.
5. Always check your reflected lines
Lastly, check your reflections to ensure they’re directly below the reflected object. Use a ruler if it helps! I also like to turn my painting upside down to spot those issues.
Special thanks to Diane Griffiths for sharing these tips for painting water! To see more of Diane’s seascapes and coastal paintings, please visit www.handonart.com.
This post may contain affiliate links.