Some of your favorite photos may look great with a vintage sepia tone. Using an image editor like GIMP, that transformation is very easy to accomplish.
Your first step is to start by scanning a photo into GIMP or by opening up a digital photograph already on your computer.
The pears image that I’m using below is the same one I used for a GIMP painting tutorial a few weeks back. I think it will look great as a sepia tone image too.
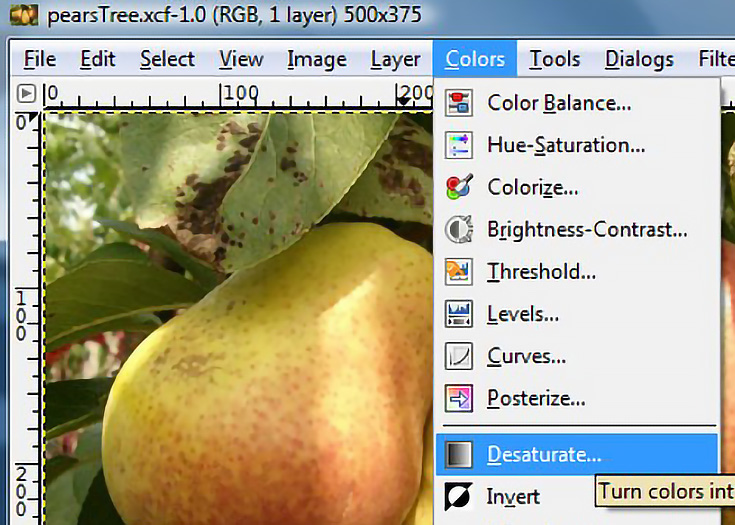
Since sepia tone photographs don’t have full color, you’ll begin by removing all the color from your image. Go to “Colors” in the Menu bar and choose “Desaturate.” A dialog box will pop up with three different options for desaturation your image: Lightness, Luminosity, and Average.
Test out all three options—pick one, then undo (Ctrl+Z) and try another. I ended up going with the Luminosity option.
If there’s not enough contrast in your photo, return to “Colors” and choose “Levels.”
Move the sliders to get more contrast—dragging both ends inward to the nearest high mountain is a good start, then just use your own artistic judgment.

Now it’s time to add some of that lovely sepia-tone color.
Go once more to “Color” in the Menu bar, and choose “Colorize.” You can use the top slider to scroll through the entire color spectrum, but for a sepia-tone photo you’ll want to stop between red and yellow.
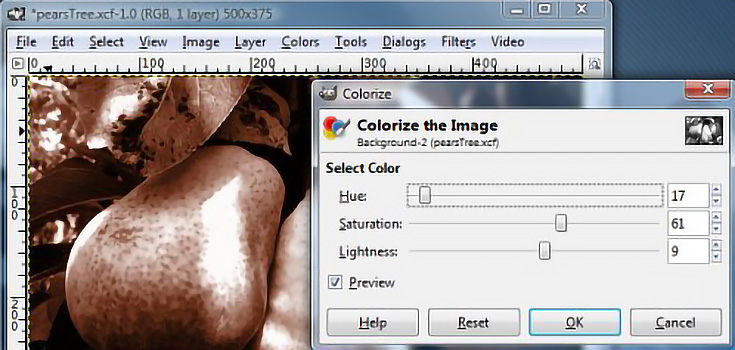
It may help to increase the saturation as well, and then feel free to fine tune your photo with the lightness slider.
If you want to add a traditional vintage edge to your image, use the Rectangular selection tool to select a large box in the center of your photo.
Go to “Select” in the Menu bar and choose “Inverse” so that just the edges will be selected. Return to “Select” and choose “Feather.”
A wide value like 25 or 30 works well for this. Make sure your current background color is black, then delete! Your image will now fade to black around the edges.

As a final step, feel free to lighten your image as necessary to get an old, faded look.

Of course, if you’d rather not go through these steps each time, you can also open up your image and choose “Filters” in the menu bar, then “Décor,” then “Old Photo.”
After using that filter you should see something similar to the left half of the image above. The downside to using a filter for the entire process, however, is that you won’t have as much control over the final product.
Try sepia-toning another photo, but this time experiment a bit with the settings—select a different hue in the colorize section, or use one of the many GIMP brushes available to “scratch” away at the image and add spots or stains to the surface.
Experimentation is where the fun truly begins in digital imagery. Enjoy your sepia tone photos and make sure to come back next week for another GIMP tutorial!
This post may contain affiliate links.