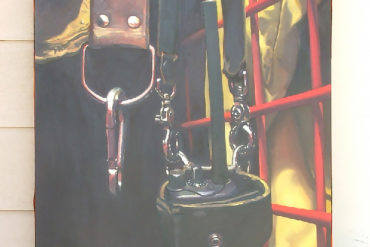
Photoshop comes with many built-in brushes that mimic natural media. Here are some basic techniques that you can use along with those brushes to create digital art that has the look and feel of traditional artwork
Welcome to our Adobe Photoshop tutorials!
If you're a fine artist, you may be wondering why you'd want to use Adobe Photoshop for your art. The reason is simple. . . viewing an image is never as good as seeing art in real life. The lighting, crop, and lens distortion can all distract from your art.
Luckily, our Photoshop courses for artists explain how to touch-up photos of your artwork on the computer so they look as as close as possible to your original artwork (whether you want to use Photoshop to edit images for your portfolio, website or both).
In fact, you can learn all the Photoshop basics here, including how to crop images, techniques for resizing your photos, color adjustment for scanned paintings and much, much more!

