Whenever you take digital photos or digital scans of your art there’s always the chance that imperfections will appear in the digital image which weren’t in the original.
Sometimes that’s no big deal, but if you’re using the images in your portfolio or are planning on selling prints of them, you really want to have a completely accurate representation of what your artwork looks like.
In this tutorial I’m going to show you the Photoshop tools that I use when fixing problems in my digital images. You may have used some of these tools before (like the Healing Brush) but it’s more than likely that a few will be completely new to you.
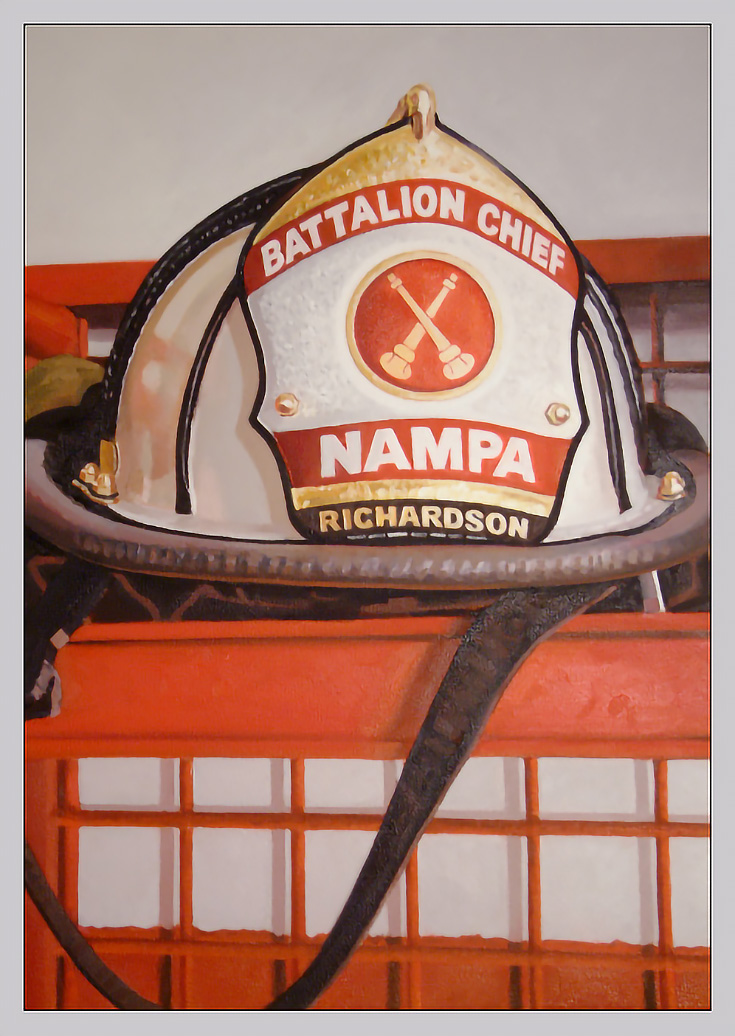
I’ll be using a photograph of my fireman’s helmet painting below as an example. While it’s not a bad photo, I did find enough flaws in it to demonstrate the tools.
The first thing that can happen when scanning images or taking photos are dust spots (from scanners) or burnt-out pixels (from digital cameras.)
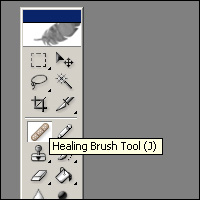
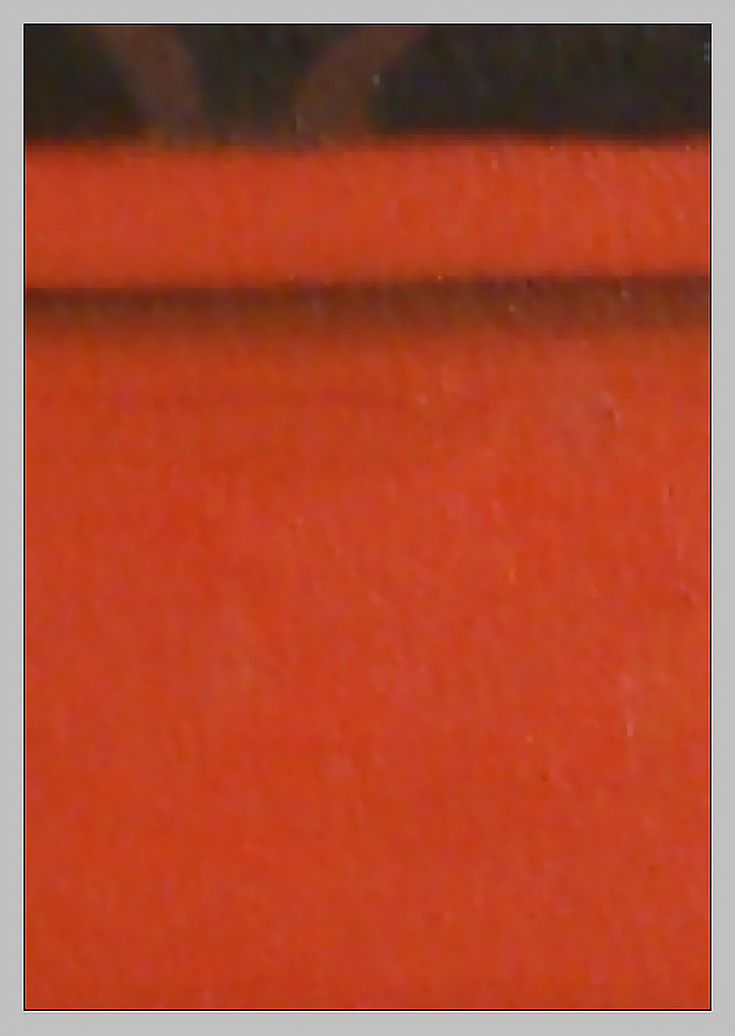
After opening my image in Photoshop, I zoomed in close and, sure enough, found a few burnt out pixels. With this type of imperfection it’s a simple matter to use the Healing Brush Tool (sometimes called the “Band-aid Tool”) and make it disappear.
First choose the Healing Brush Tool from your tool bar (yep, you guessed it, it’s the one that looks like a band-aid) and find a spot NEAR the imperfection that is normal-looking and has approximately the same coloring as the problem area you’ll be fixing.
Make sure the size of your Healing Brush is just slightly bigger than the offending mark—as a general rule, you don’t want to change your image any more than is absolutely necessary.
Press and hold the “ALT” button once you’ve found the right spot and a cross-hair cursor should appear to select that “normal” spot as a replacement.
Click once, then release the “ALT” button and move your cursor on top of the mark you need to fix. Click again and—if you picked a good section with the cross-hair—your problem should be solved.
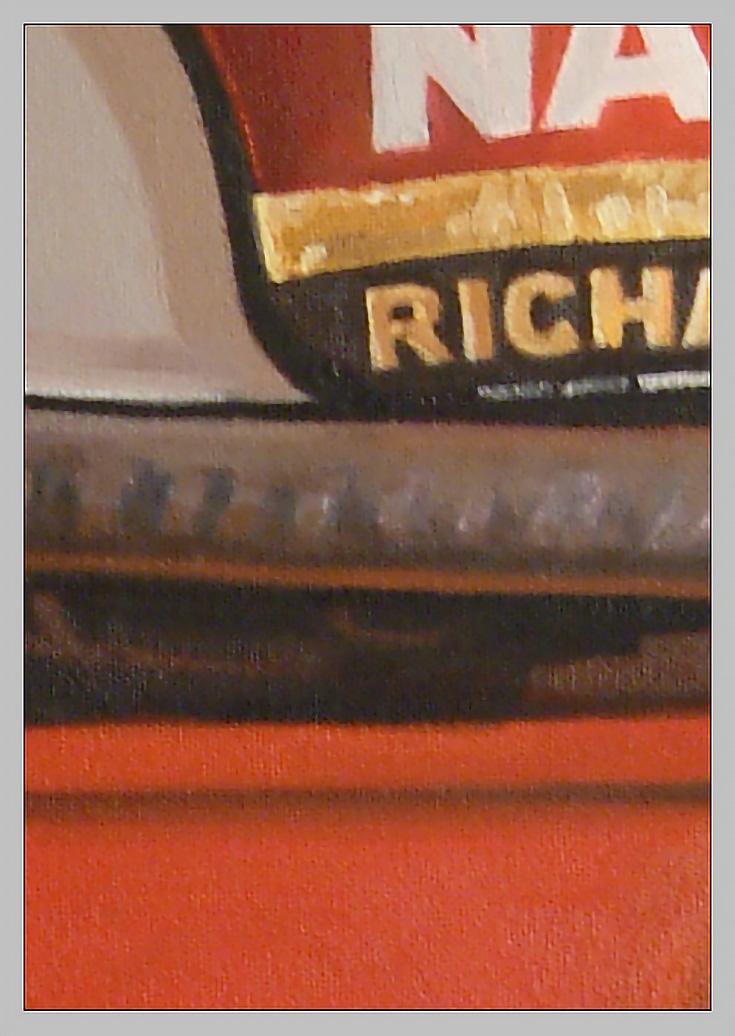
Another problem that can occur with digital photos (although not usually with scans) is unwanted pixelization. I think the proper term is “artifacting” although that might only apply to JPEG files, I’m not sure.
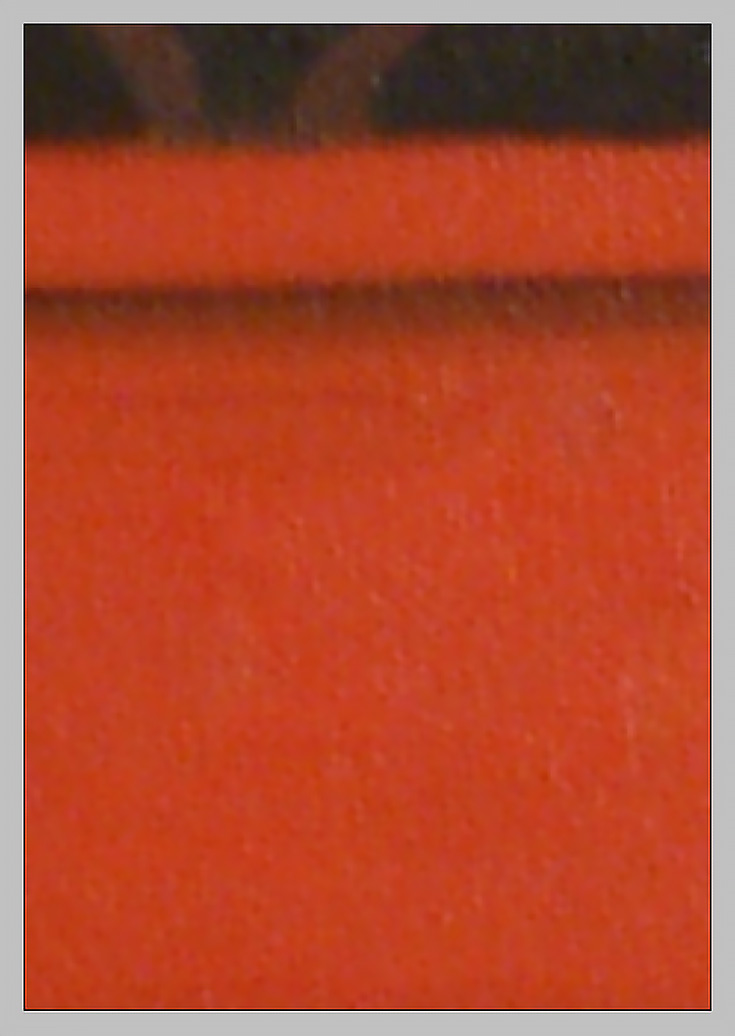
Here you can see some excessive pixelization that I’m going to try to remove.
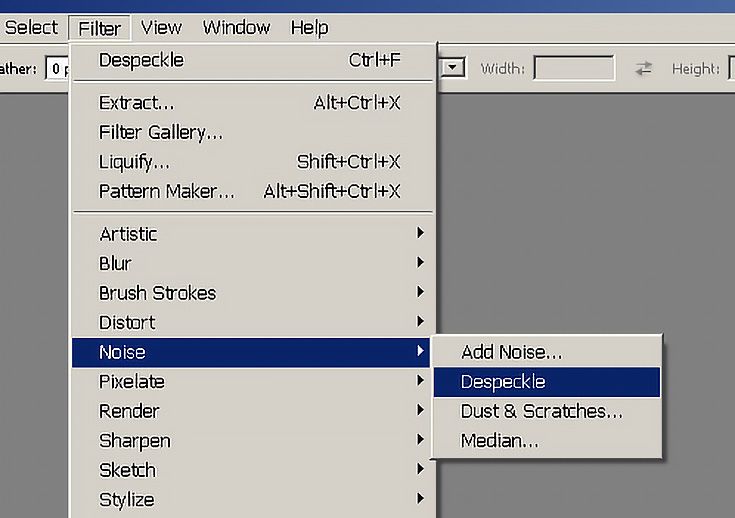
Often it’s better to just take a new photo with higher resolution, but in a pinch you can always use Photoshop’s Despeckle Filter. Select “Filter” in the menu bar, then click on “Noise” and then “Despeckle”.
Once you do, you should see a change similar to the one below:
It’s certainly smoother, and overall looks a bit better, but the problem with using the Despeckle Filter is that it might blur your lines too much, making the areas between dark and light colors fuzzier than you’d like. So use this filter sparingly.
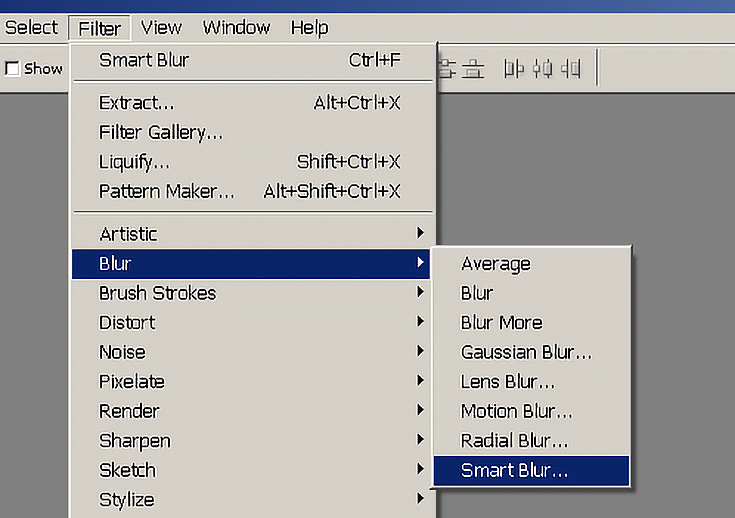
Another option, however, is to use the Smart Blur Filter.
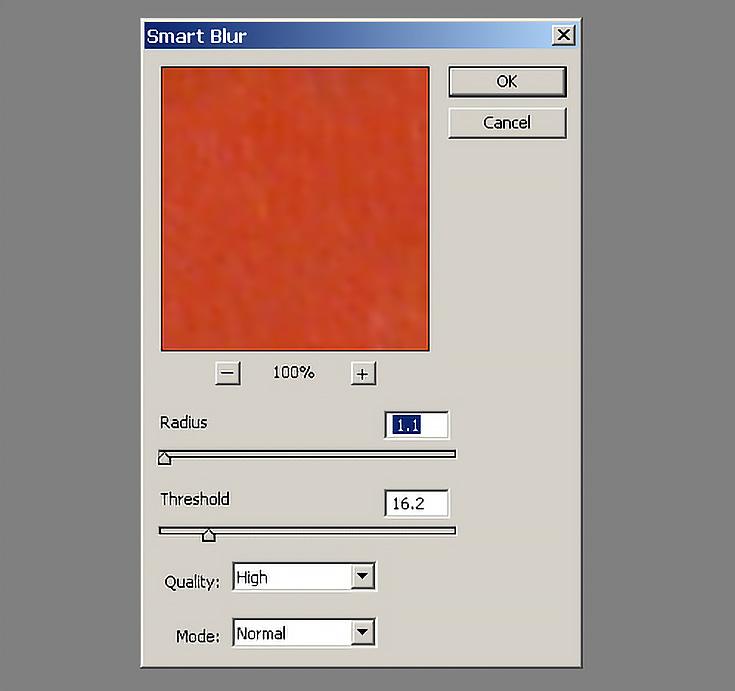
Select “Filter” again but this time click on “Blur” and then “Smart Blur” and a new window like the one below should pop up.
If you keep the “Radius” slider low you’ll prevent the pixels from blurring too far outward into each other, which means your darks and lights will stay a little more separated.
I generally place the “Radius” slider between 1 and 2 pixels, then adjust the “Threshold” slider until the preview image looks right.
That’s a little better I think (the horizontal lines are a little more defined) and depending on your situation, the Smart Blur can really come in handy.
Now there’s just one more issue that tends to happen a lot when artists are photographing or scanning artwork, especially if the piece is still wet—light glare.
Whenever possible, angle your position as you take your photo to keep any glare from showing up in the picture (waiting until your painting is dry is a good idea too). If despite everything you’ve tried there’s still some glare coming off the paint, there IS a solution—Photoshop’s Replace Color Adjustment.
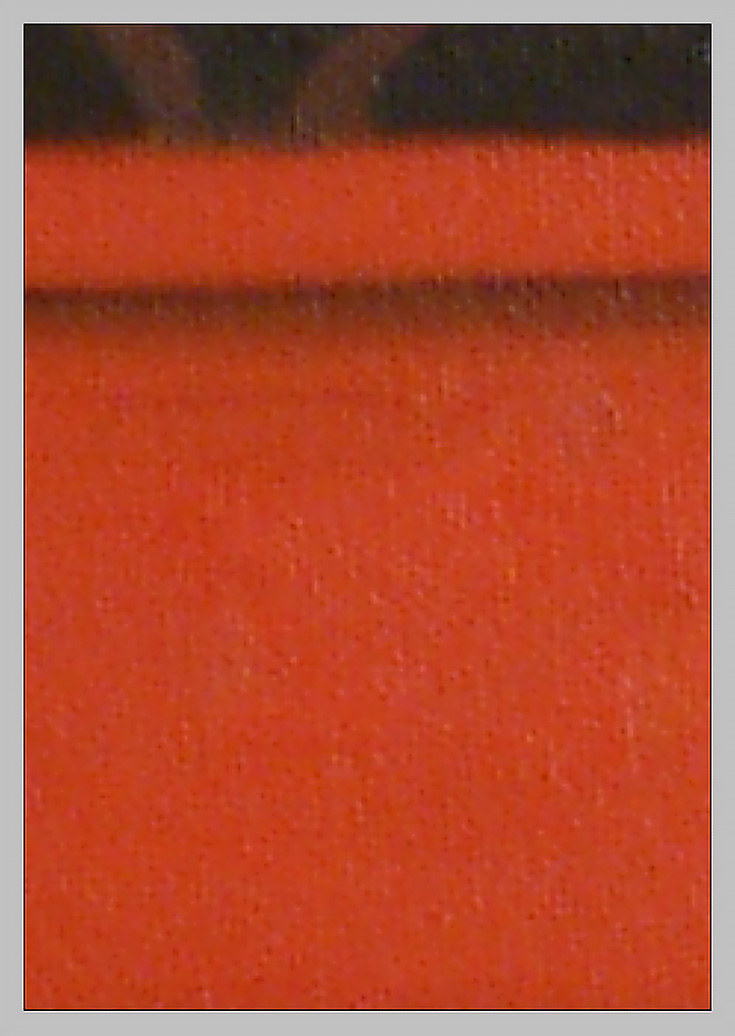
Here’s the part of my photo that bothered me the most—all those light pink or white pixels on top of solid red or black areas.
You can even see my fingerprint in the paint, because it changed how the light was reflected back at the camera in one spot.
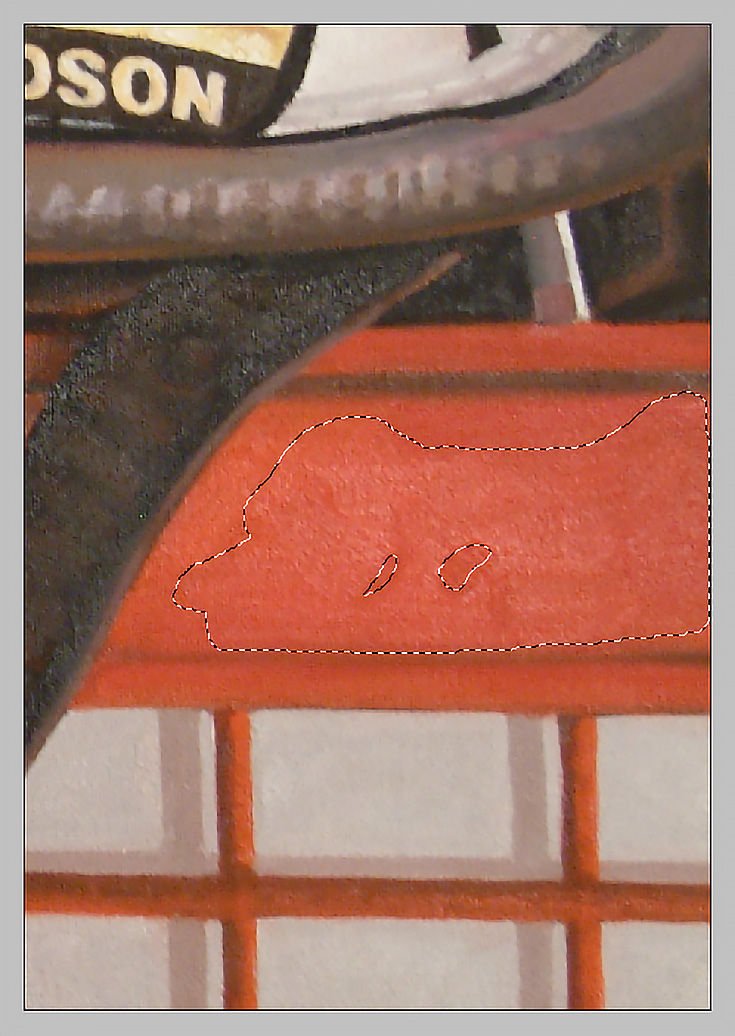
To fix the glare, you’ll have to first select an area that’s approximately the same color throughout—so I can’t select both the black and red sections together, I need to pick JUST red for now.
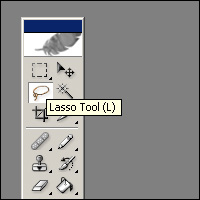
There’s no need to be perfect (as you’ll see in a second) but since those two spots were so much darker they needed to be left out.
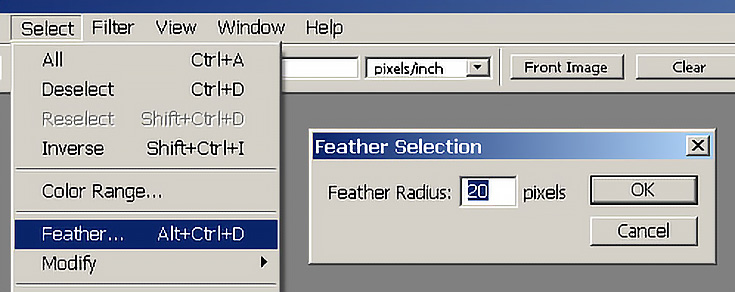
Once you’ve got the area selected, use the “Feather” option under “Select” in the menu bar and set the feather radius to a decently high number—I picked 20.
What this does is blur (or feather) the edges of your selection so that the changes you’re about to make will blend in with the rest of the image.
That will change how your selection outline looks, of course.
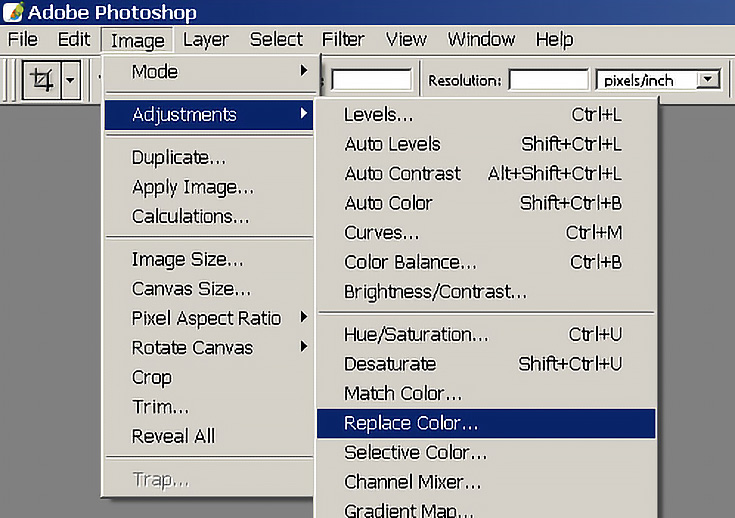
Now it’s time for the Replace Color Adjustment. Select “Image” in the menu bar, then “Adjustments” and then click on “Replace Color.”
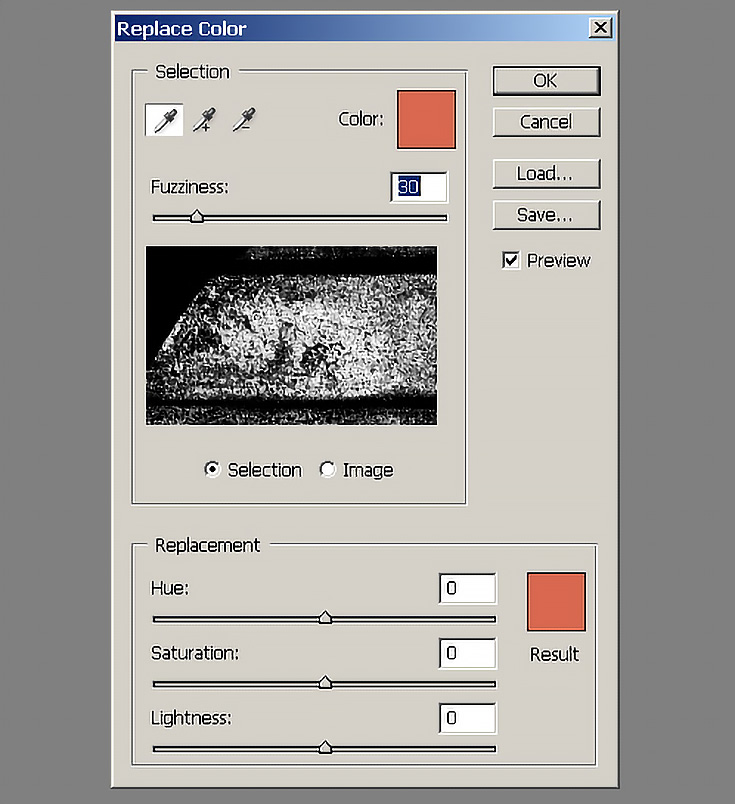
A new window will pop up which looks something like this:
You’ll need to use the eyedroppers at the top to choose WHICH color you’ll be replacing. The white dots inside the black box represents all the pixels you’ve selected with that eyedropper.
The “Fuzziness” slider changes how many adjacent colors the eyedropper picks up in addition to the color you clicked on. The trick is to select JUST the colors you want to change, while leaving all the other colors alone.
Then, down at the bottom, adjust the “Hue,” Saturation,” and “Lightness” sliders to come up with a replacement color for that ugly white glare.
Of course you’ll want to keep the “Preview” box checked so that you can see how your image changes—and here’s what I ended up with.
It could use a little blending, but for the most part, the glare is gone. If I was really serious about fixing this photo I’d do the black strap too, but I think you get the idea.
If you try it out and have trouble, just keep experimenting with the sliders and realize that it might take a while to get a perfect match if it’s your first time. Matching colors is never really easy anyway.
So to recap—use the Healing Brush for small imperfections, the Despeckle Filter or Smart Blur to smooth out pixelization, and the Replace Color Adjustment to fix unwanted glare.
Or, you could avoid it all by just taking perfect photos of your art to begin with. : )
This post may contain affiliate links.
