One of my favorite methods of oil painting is the Flemish Method. It’s a 7-step painting process with luminous results, but it’s also very time-consuming—requiring a minimum of four weeks drying time between each of the steps.
As you can imagine, it’s not always the best method for painting portraits.
But. . . I love the look and so do my clients. So what do I do when time is a concern? I use my own “Shortcut” Flemish Method and combine or omit certain layers.
For today’s demonstration, I chose to combine the umber layer and dead layer. This gave me a finished underpainting in record time (for the Flemish Method, anyway!)
Here’s how I did it:
1. Start with a pre-prepped panel
I used an oil-primed linen panel that I had already prepared with a layer of solvent-thinned yellow ochre. (I make batches of these at at one time, which saves me at least a week right at the start of the painting.) All I needed to do was even out the surface texture by sanding lightly with fine grit sandpaper.
I then transferred a finished line drawing to the panel, and used a small round sable brush to outline the drawing in Raw Umber. This makes the drawing permanent, so even if I have to wipe off the first layer of paint to fix a mistake, the drawing will remain.
2. Mix Burnt Umber with Titanium White
Instead of painting the umber layer with Burnt Umber, waiting 4 weeks for it to dry, then painting the dead layer over the top with tones of white, gray, and black, I combined these two layers by mixing Raw Umber and Titanium White.
I added a little solvent to improve brushability, and used a sable flat brush to carefully paint around the horse.
NOTE: Your color choice affects drying time. I had to use Titanium White, which is a very slow drying paint, but I combined it with Raw Umber, a fast-drying earth tone. The resulting mixture dried quite quickly. The darker values were dry to the touch within 24 hours and the lighter values were dry in a week.
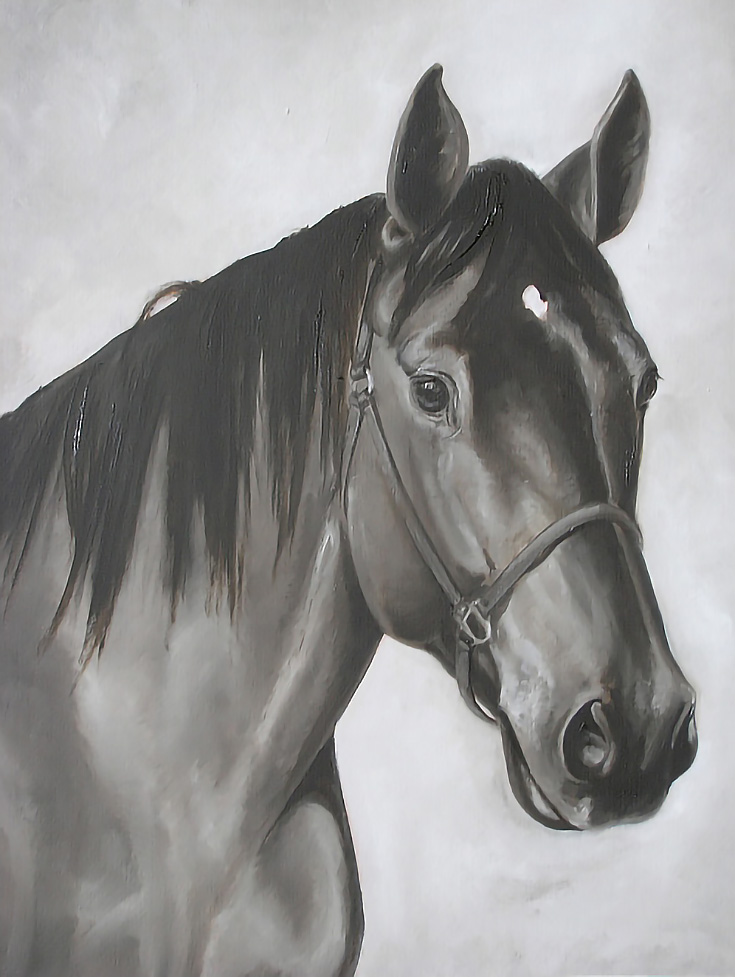
After the background was painted, I used the same two colors to begin blocking in the horse. The focus at this stage was creating the basic lights and darks, so I continued to use the same, medium-sized flat brush. Broad areas of color were applied with the flat edge. Lines and smaller areas were applied with the narrow edge of the brush or, in some cases, just a corner.
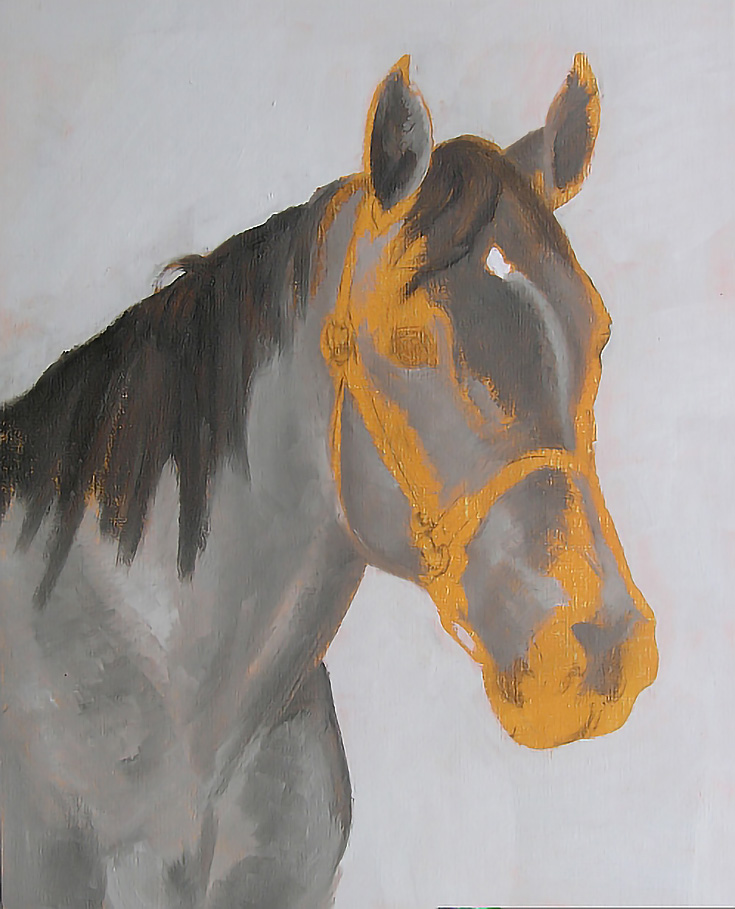
Above, you can see I’ve painted over almost all of the drawing with my mix of Titanium White and Burnt Umber. Next, I worked around the eye and face (minus the halter).
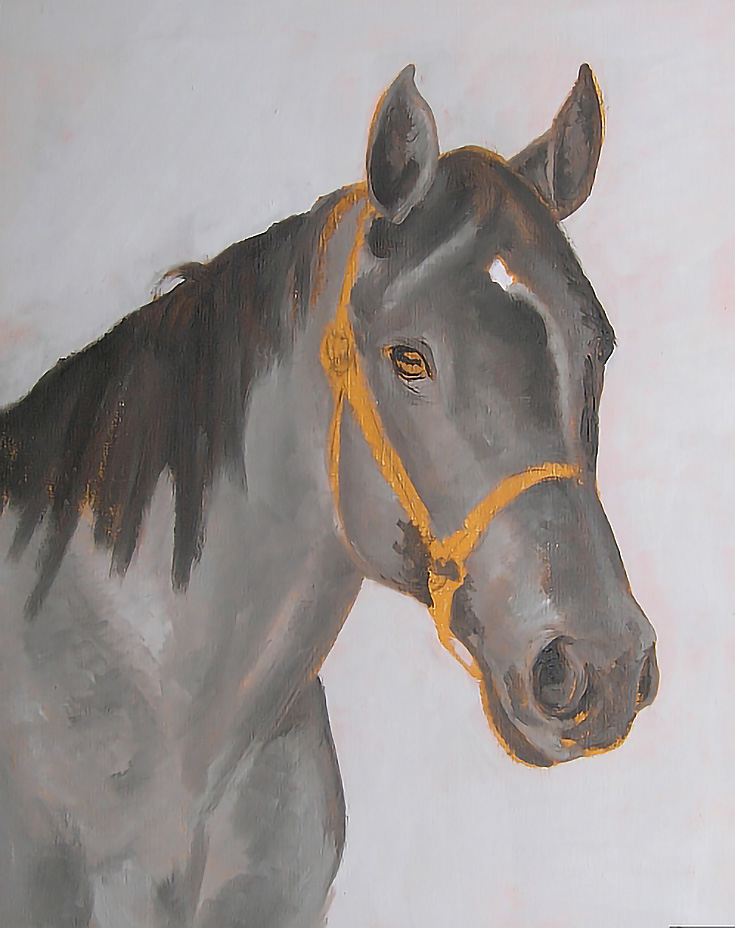
After the previous work was dry, I used the same colors—Raw Umber and Titanium White—but used a larger, flat bristle that allowed me to apply colors more rapidly and cover the remaining areas of unpainted canvas.
The small rounds and flats came in handy for the placement of more refined detail, especially in the mane. The shoulders were repainted and reshaped, the shadows and highlights emphasized, and detail was more fully developed along the neck from the ears to the bottom of the canvas.
Next, I used a small round sable for lights and one for darks to add details to the mane. That concluded work on my rough underpainting, and I let the painting dry.
3. Make adjustments and finish the underpainting
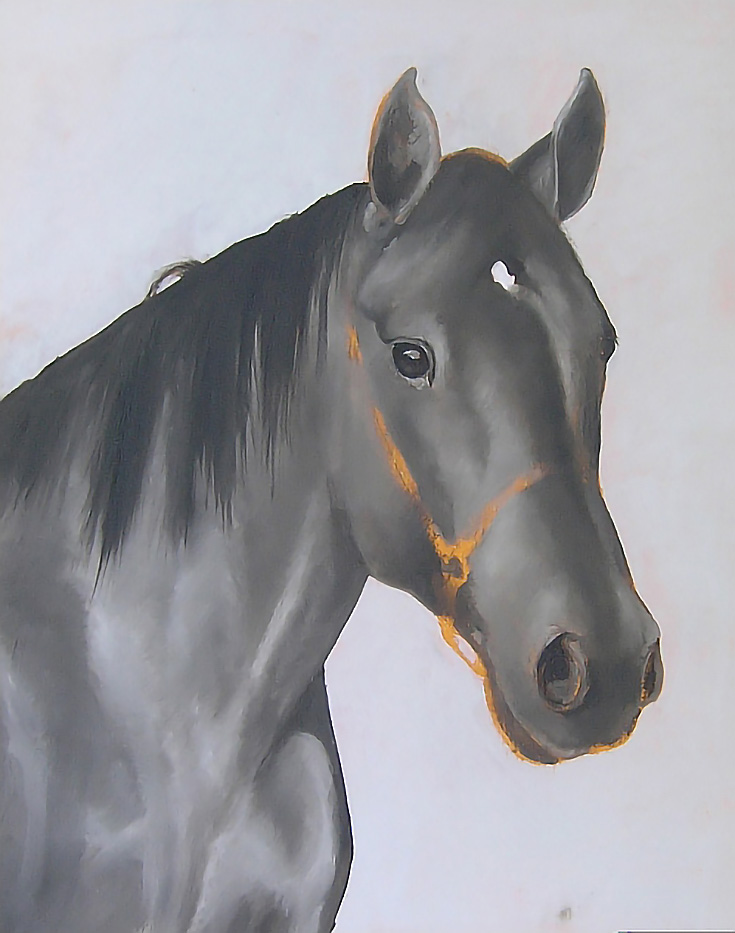
For the final round of work on the underpainting, I painted both the horse and the background. That allowed me to adjust edges, softening edges and reshaping the head as needed. I worked each area to as close to the finished look as possible.
Special attention was given to the eye, painting the shape and angle as absolutely accurate as possible.
To finish the underpainting, I painted the halter around the horse’s head, making corrections and adjustments around the halter. By the end, I’d not only repainted all of the halter, but many other areas on the horse, as well. I darkened some of the shadows, reworked the background, and the mane and forelock.
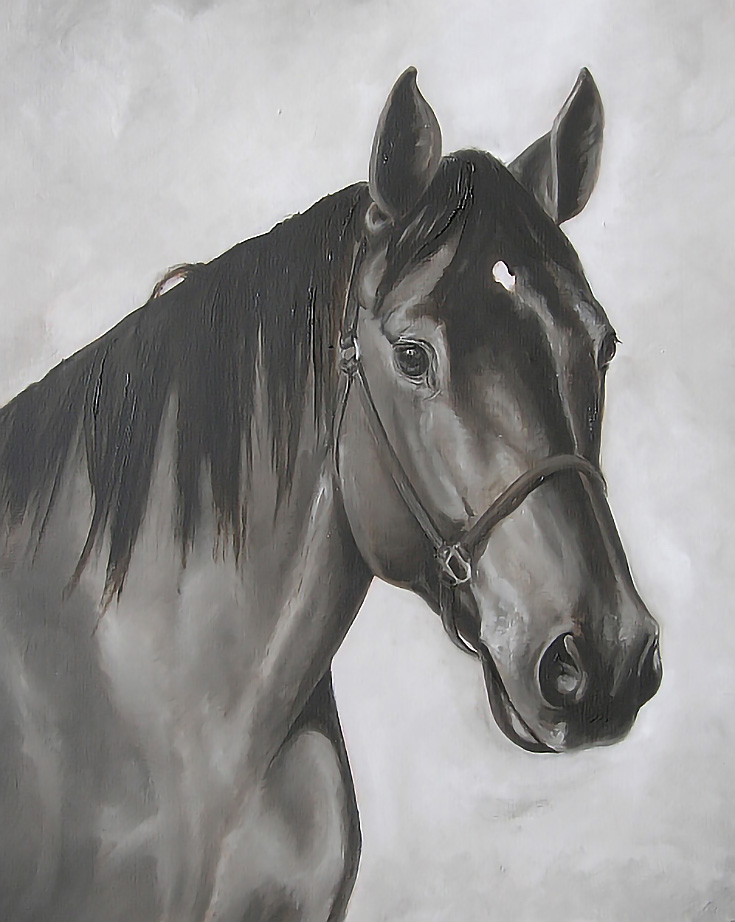
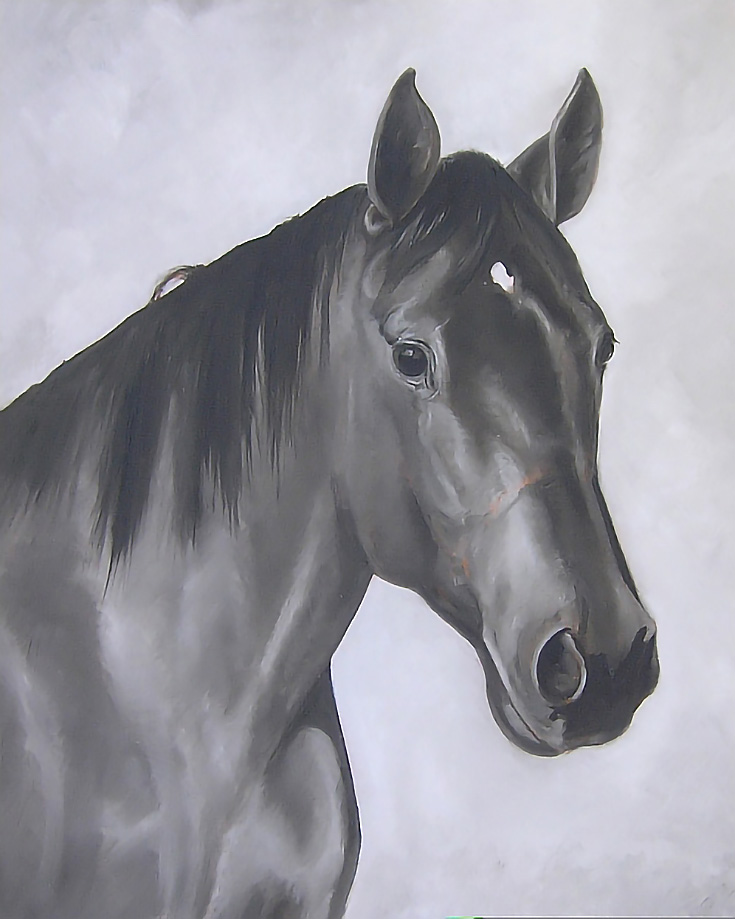
After a 24-hour drying period, I reviewed the underpainting and made necessary changes. It didn’t take much to finish at this point—basically a few highlights dry brushed onto the halter and it was done. Everything else looked good, so I photographed the painting, then moved it off the easel and to the drying room.
You can see that the finished underpainting doesn’t look that much different from a finished dead layer in the Flemish Method. Values and details are developed just as well, and the underpainting is ready for color glazing.
Timeline of the traditional Flemish Method
• Prepping the panel (imprimatura) and drying time: 1 week
• Umber Layer and drying time: 2 weeks (minimum)
• Dead Layer and drying time: 5 weeks (minimum, most likely more)
Total painting and drying time: 8 weeks minimum, or 56 days
Timeline of my “Shortcut” Flemish Method
• Imprimatura and drying: 0 weeks (already done with pre-prepped panel)
• Umber Layer/Dead Layer painting time: 13 days
• Drying time: 14 days
Total painting and drying time: 27 days
Compare the two methods and it’s easy to see I saved a significant amount of time by combining the umber layer and dead layer—painting time was essentially cut in half!
Sure, there are other ways to reduce the time it takes to paint with the Flemish Method, but this is the adaptation I usually use when time is short. In the end it means another portrait delivered on time, and a happy client!
This post may contain affiliate links.