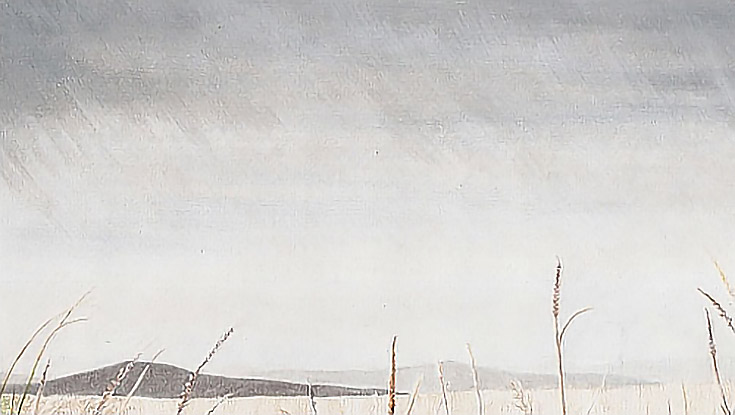
Welcome to the second of three articles describing how to draw a gray, rainy landscape. In the first article, we looked at establishing the foreground and middle ground. Today, we’ll work on the sky.
1. Laying your foundation
The value and lighting of the sky affects all of the landscape, including the foreground, so it’s important to get it correct. The time to tackle it is after the foreground elements have been established and before finishing the middle ground.
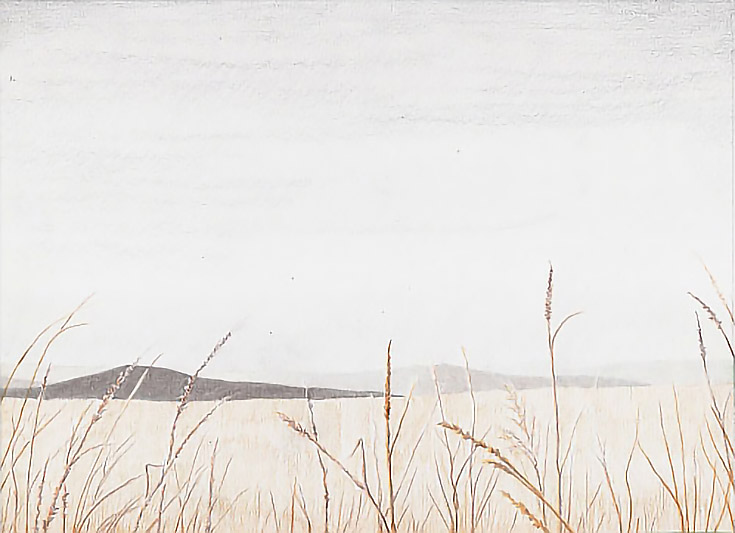
My foundation color is Warm Grey 20%, which is dark enough to see easily on white paper, but light enough to provide a base for layering darker colors. I layered itover the upper portion of the sky.
Because I want a thin, even color layer and also want to take advantage of the paper’s texture, I used the side of the pencil and light pressure. I stroked color across the paper from one side to the other, overlapping strokes in some areas and leaving some areas untouched to create variations in value and color.
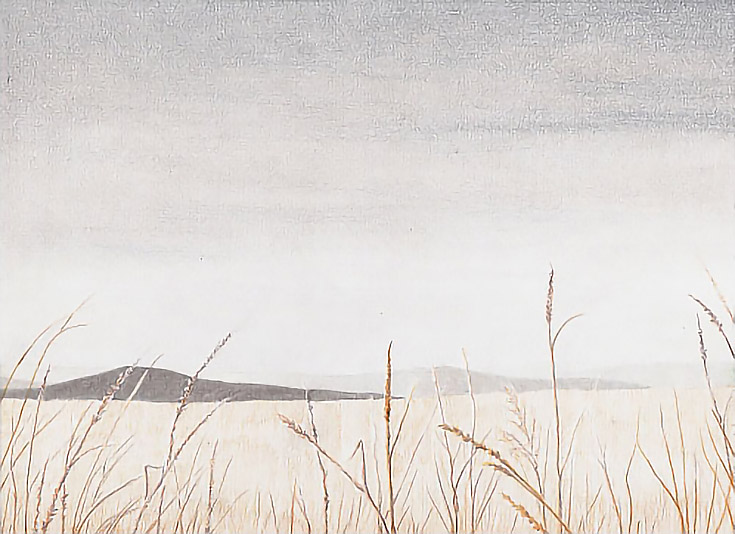
Then I built on those values and patterns with Cold Grey 70%. The first layer was diagonal from upper right to lower left and covered the top inch to inch-and-a-half of the sky. The second layer was applied in the opposite direction (upper left to lower right) and extended roughly one half inch lower than the first layer, but in a random pattern. I then added a layer of closely spaced, horizontal strokes. I kept the pencil well sharpened and used light pressure.
When I finished, I used a paper towel folded into a small square to blend color. Using medium-heavy to heavy pressure, I rubbed the paper towel in circular strokes for one pass and horizontal strokes for the second pass.
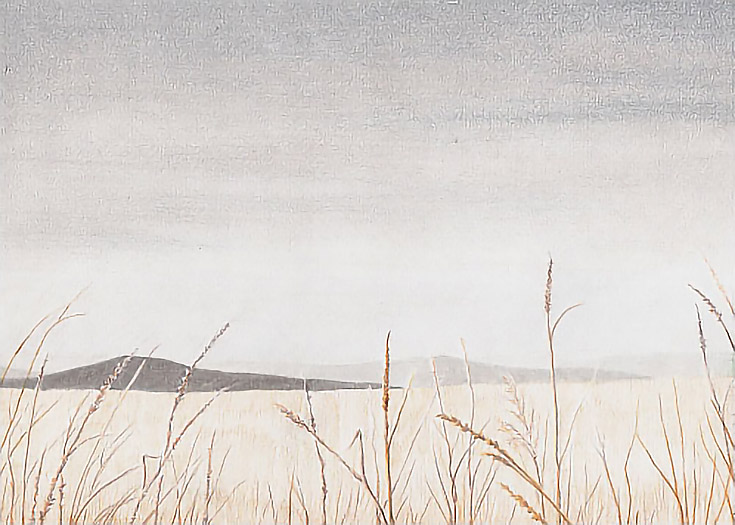
Next, I layered Warm Grey 20% over the sky with light pressure and a very sharp pencil. Strokes were placed close together and blended with a folded paper towel.
Finally, I added Warm Grey 10% beginning at the horizon and working upward. I used a very sharp pencil to apply horizontal and vertical strokes with light pressure. I added one layer near the horizon and two or more layers over the darker areas to unify the overall color. To finish, I rubbed the sky with the paper towel again.
The reference photo shows subtle gradations in value and color, so I kept the gradations on the drawing as subtle as possible. Whenever an edge became too prominent, I smoothed it by blending with paper towel or adding additional color. Sometimes both.
2. Developing details in your landscape
Once my main colors were in place, I developed color saturation and variation by layering Cold Grey 10% over all of the sky with light pressure and closely spaced strokes. I used medium pressure and multiple layers over the darker areas and reduced the amount of pressure and number of layers in the lighter areas.
Cold Grey 10% was then applied to the upper sky with medium-heavy pressure and a blunt pencil in closely spaced vertical strokes. I wanted to lighten the sky but the effect was a slight darkening, so I switched to White and burnished the entire sky, then followed up with a colorless blender over the lower part of the sky.
That still wasn’t satisfactory, so I used turpentine, hoping for a more “fluid” appearance. I used a stiff, bristle brush to stroke turpentine onto the paper, then used the brush to move the turps around, spreading it evenly over the sky. In some areas, I used a light “scrubbing” motion to move more pigment. I then let the drawing air for an hour or more.
I chose turpentine because it more completely breaks down the wax binder in wax-based colored pencils than does rubbing alcohol. Judicious use of turpentine can turn colored pencil pigment almost to liquid, allowing colors to blend more easily. You need heavy color application for the best results, however, and I didn’t have heavy enough color on the paper to allow the turpentine to work productively. After the paper dried and aired, I couldn’t see much of a difference between the before and after.
TIP: If you’re using an oil-based colored pencil, you may not need solvent to blend color thoroughly. If you do use solvent, choose one designed for the type of pencil you’re using.
Always use turpentine or any solvent—even “odorless” solvents–in a well ventilated area and allow the drawing to dry completely before applying additional color. Generally 30 to 60 minutes depending on how wet you got the paper. When I use solvents, I often use them at the end of a session and let the drawing dry over night.
3. Finishing the sky
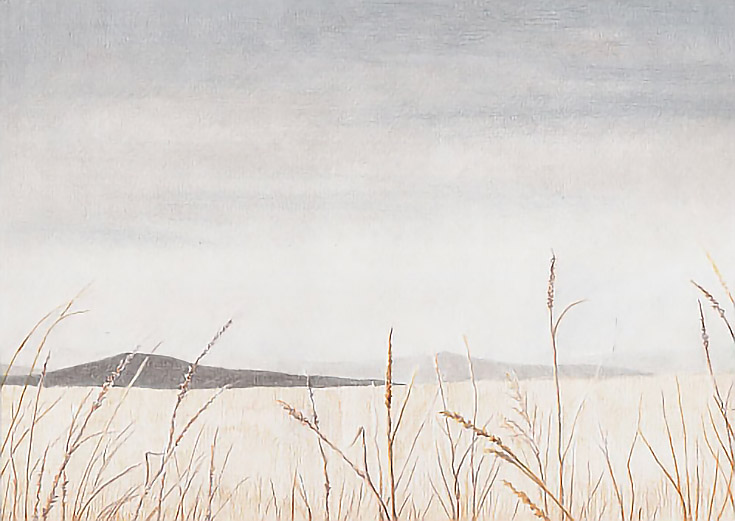
After the paper dried completely, I layered more color into the sky; Cold Grey 10% over the top sky, Cold Grey 20% in the darkest parts, and Cold Grey 10% in the middle. I burnished with each color to get maximum color saturation.
4. Drawing falling rain
To duplicate the look of falling rain. I used a blunt pencil and stroked from within the darker clouds downward over the lighter clouds, decreasing pressure as the stroke lengthened.
5. Adding final touches
I burnished White over the transitions between light and dark with the same kind of slanting strokes I used to create the rain. Along the lower part of the sky, I burnished horizontally and vertically. The most distant hills were also burnished with White, then touched up with Cold Grey 10%.
A final review and the sky was complete.
In the third and final installment we’ll over the landscape drawing again to make whatever corrections and small adjustments are necessary.
Stay tuned!
This post may contain affiliate links.
