What is the most difficult thing you had to master in becoming an artist?
If you’re anything like me, it was learning to draw from life. Somehow, the whole idea of looking at something and drawing it accurately escaped me. I’ve learned a few tricks over the years, but I confess drawing from life is still a challenge.
So when Dan asked me to review his still life drawing guide, I leaped at the chance even though I’m not a still life artist.
How to Draw EXACTLY What You See describes in detail how to draw from life: from setting up a still life and drawing your initial outline to rendering the final details.
Dan’s method of first marking everywhere that your subject “leaves the composition” was new to me and turned out to be the single best tip I’ve heard in a long time, followed closely by the novel (to me) idea of starting by drawing the negative spaces. Those two ideas alone make the guide worth having on my art reference shelf, but there are enough other good ideas included that I’m sure you’ll find some which are new to you as well.
So I’ve already confessed that I’m not a still life artist. . . did I actually try following the guide with my own drawing, or did I just read about it?
I tried it!
My experience with the EE Drawing Guide
My original intention was to do a few life studies with the thought that it would be good for me to try something different. But then life happened.
I injured my right wrist and was unable to create art of any kind for a few weeks. I also had a portrait commission for which I had a difficult time getting a decent line drawing. So my first project with Dan’s drawing method ended up being that difficult portrait, instead of a still life.
Here’s how it worked out. . .
Step 1: Setting up the reference photo
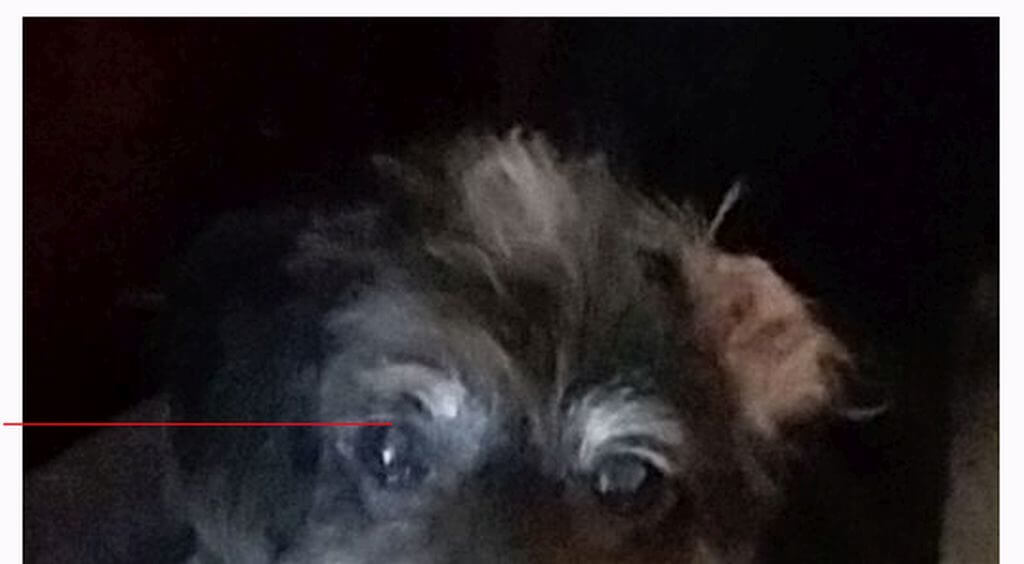
Since my reference image was digital, I used GIMP to mark the edges of the drawing. No part of the dog reached the edge of the picture plane and I didn’t want to crop it, so I adapted the instructions in the EE Drawing Guide and first marked all the “sharpest” lines I could find, beginning with the topmost part of the left eye.
I marked every edge or shape I wanted as guide posts, internal shapes such as the eyes and nose, and external edges such as the larger hair shapes and the ears. To keep the resulting “road map” easy to read, I used red for the internal features and blue for the external shapes.
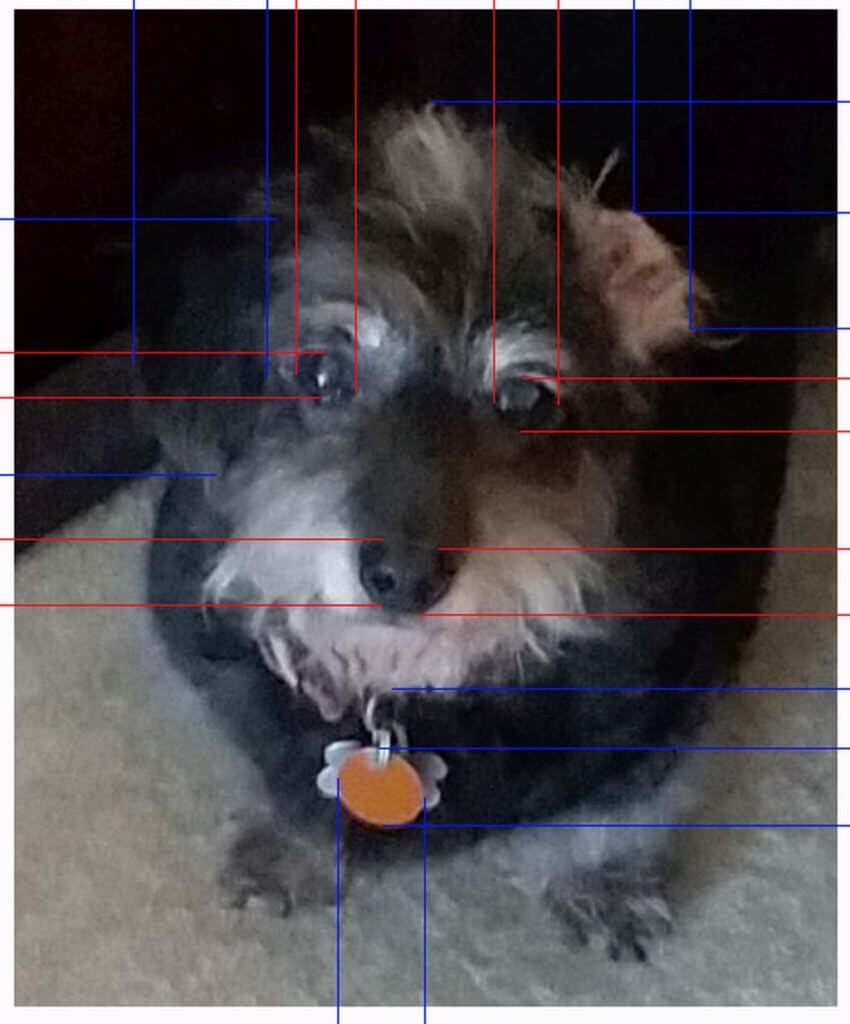
Admittedly this is a bit more in-depth than the methods described in the guide, but it worked for me with the blurry reference photo that I had.
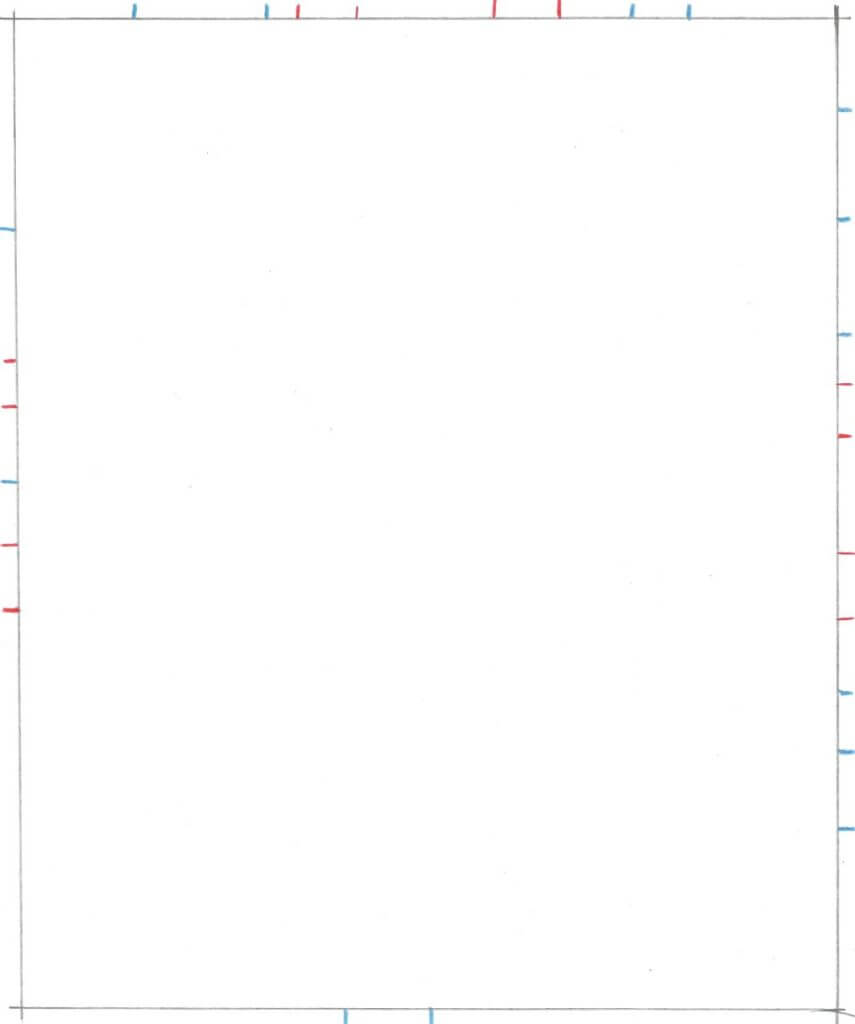
Next, I set up an identical picture plane on my paper in front of me, including the marks. To keep things simple, I made it the same exact size as my reference photo so there was no problem calculating measurements. (I am notoriously bad at measuring!)
After that, the process was pretty much the same as that described in the book. I used the same method of roughing in shapes, then refining them until the drawing was completely blocked in. I used an ordinary No. 2 lead pencil to keep my initial marks quite light so I could easily adjust them with slightly darker lines, or erase them altogether and start over if necessary.
Step 2. The specific drawing process
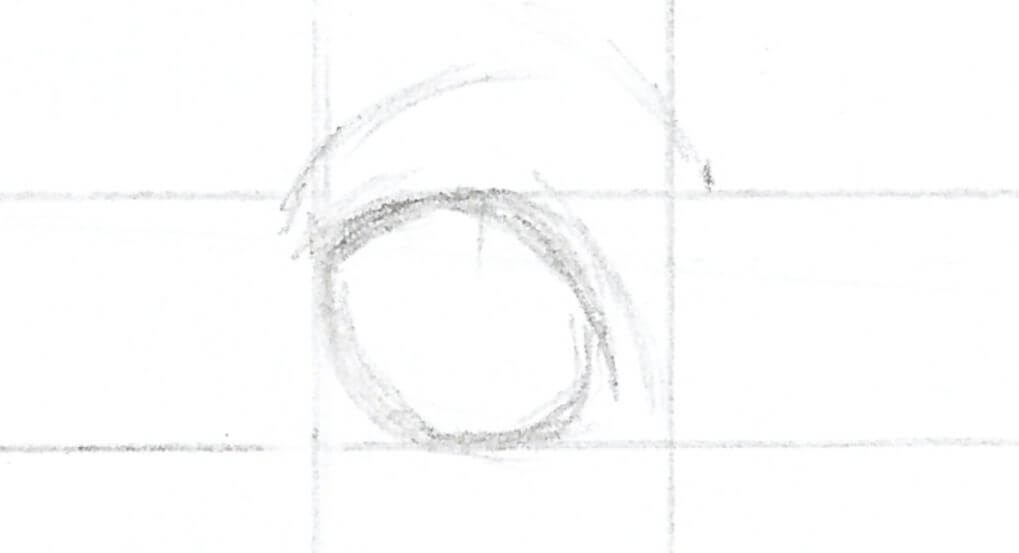
Just like I did when preparing my reference image, I started with the eye on the left.
To get its exact placement in the composition, I extended the four lines pertaining to that eye from the red marks along the edges of the picture plane to the point where they intersected. To make sure the lines were square, I used a right angle straight-edge placed against each side of the picture plane and lightly drew each line beyond the points of intersection, as shown here.
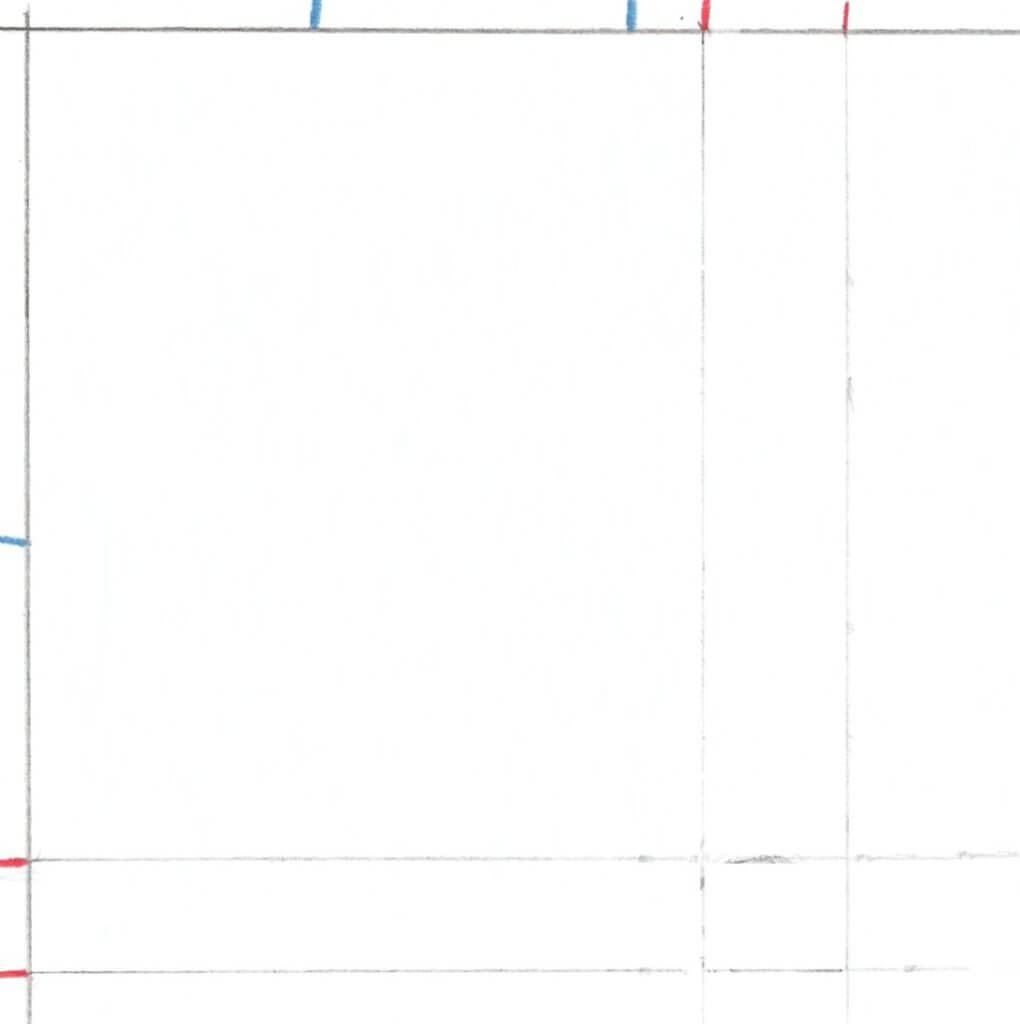
Once the outer edges of the shape were defined by the extended lines, I sketched in the basic shape of the eye within the resulting box – checking my reference photo all the while.
Next, I refined the eye and added details such as highlights and reflections, followed by lightly sketching in some of the details around the eye. The lighter hair above the eye, the lower eye lid, and even the inside edge of the left ear, which is very close to the eye.
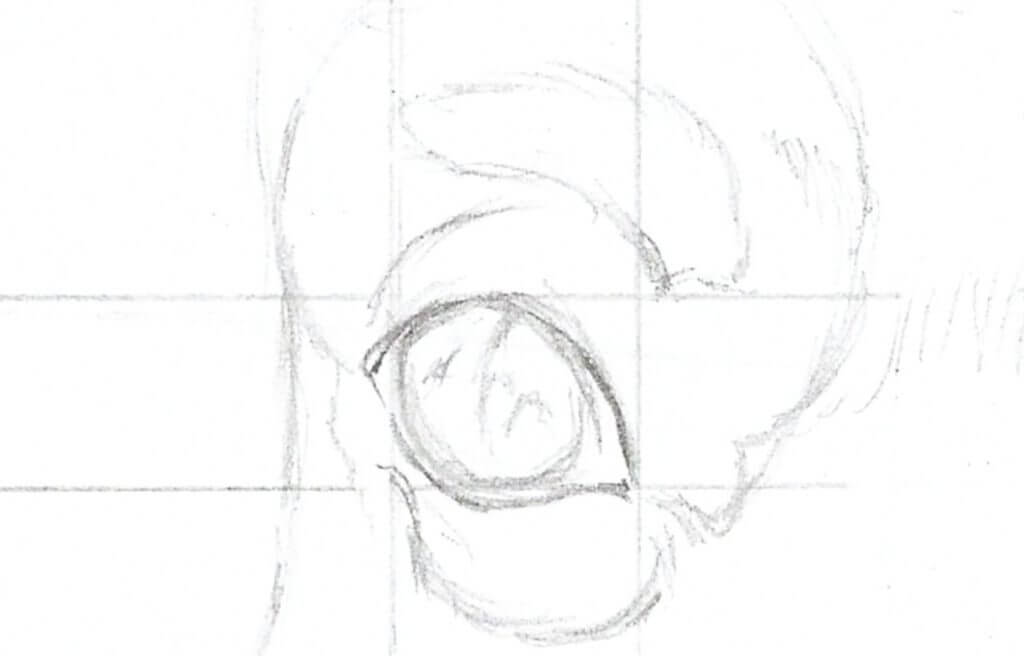
I worked from shape to shape, starting each shape with very light lines, and darkening the lines as I refined details and shapes. With the first shape drawn, I had two sets of reference points: the first set was the red and blue marks along the edges of the drawing, and the second set was the shape I’d just drawn.
The more shapes I completed, the more reference points were available for placing and drawing additional shapes.
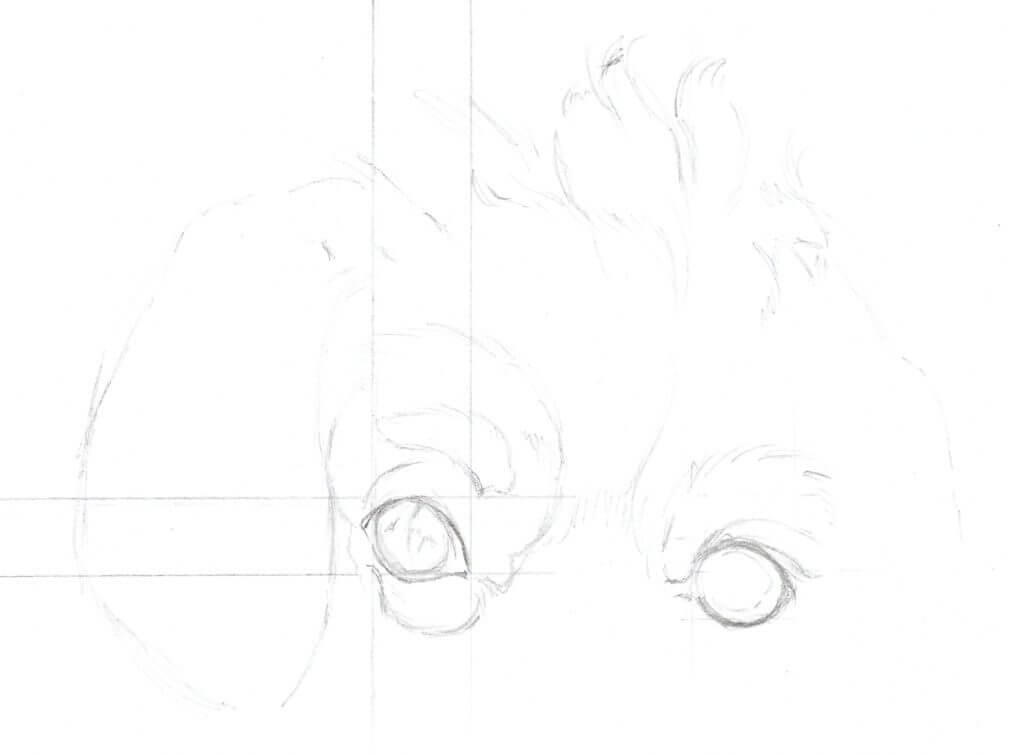
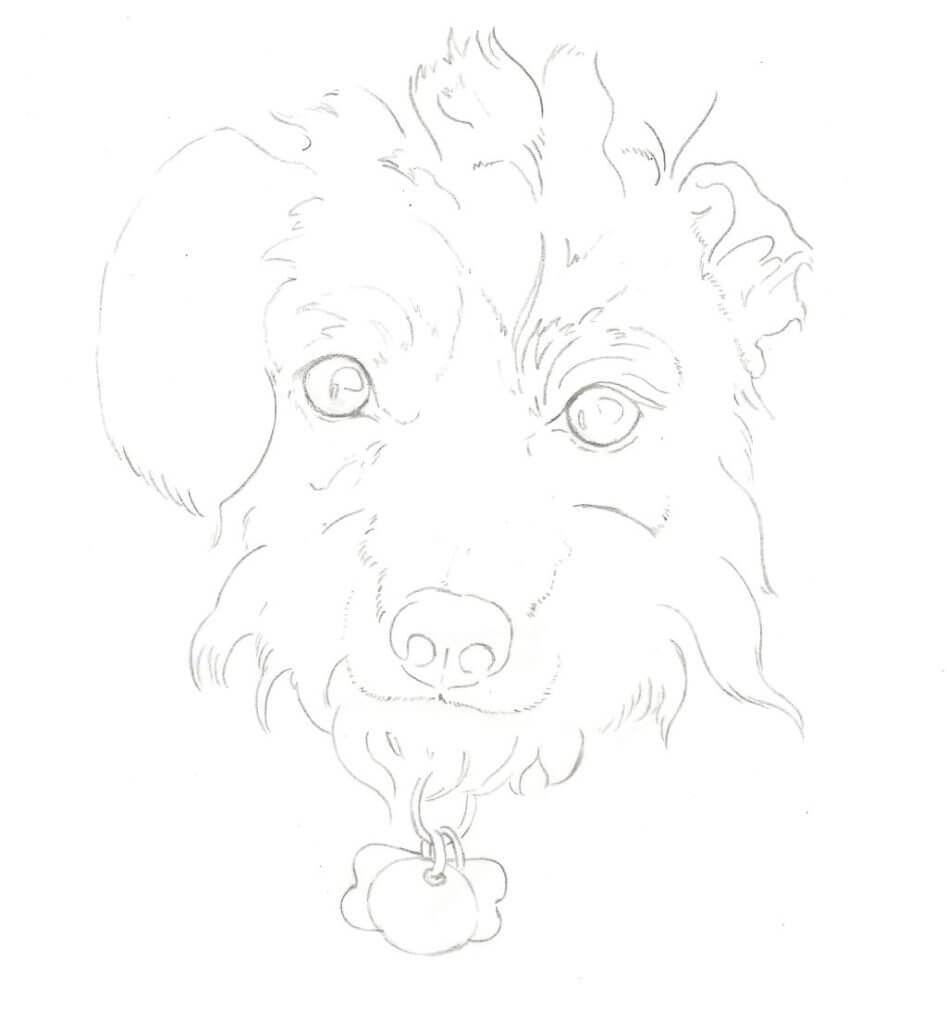
I drew the entire head this way and ended up with a much better line drawing than any previous attempt. Here’s the final line drawing.
You might be thinking that I would have saved myself a lot of trouble, time, and effort by just using a better reference photo. And if I could, I would have. . . but in this case, it was a posthumous portrait and the dog had never been professionally photographed. Of all of the images I received, this reference was the best, and, despite a lot of adjusting in both GIMP and IrfanView, the reference included in this article was the best I could do.
So it was either find a way to work with the reference or decline the portrait. I didn’t want to decline, and the drawing method described in How to Draw EXACTLY What You See seemed exactly what I needed to proceed with the portrait.
I’m glad I tried it, because in the end, I discovered that all the techniques demonstrated in the EE Drawing Guide work equally well when drawing portraits as they do for still life drawings. And I can assure you it will also work for any other subject you care to draw, too!
This post may contain affiliate links.