Earlier this month I began a two-part demonstration of how I paint with India ink and colored pencil. Today I’ll be finishing the painting process using primarily Prismacolor thick lead pencils.
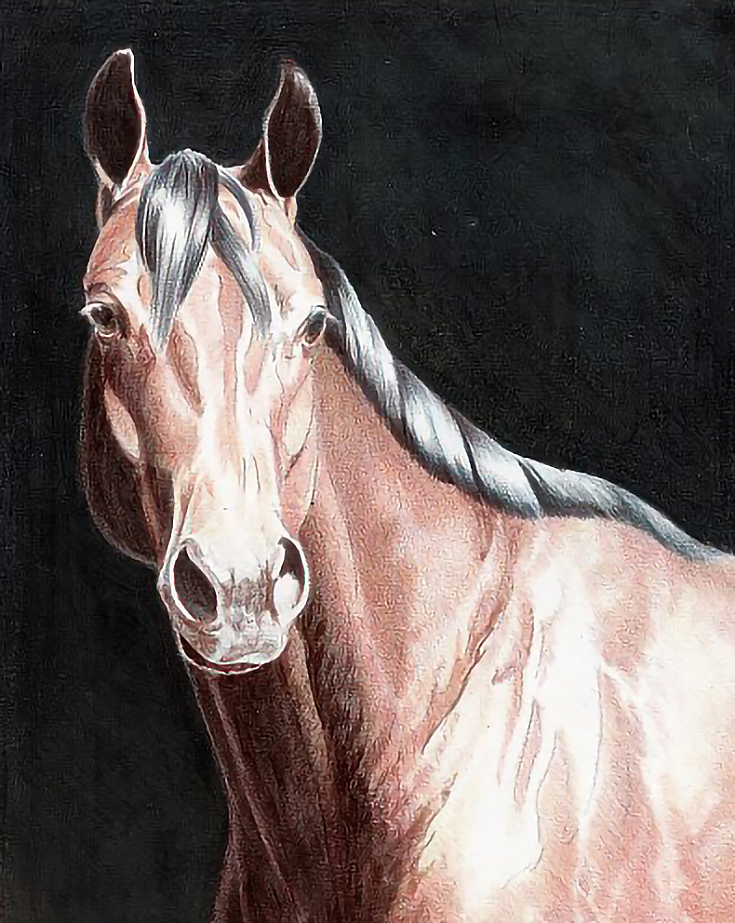
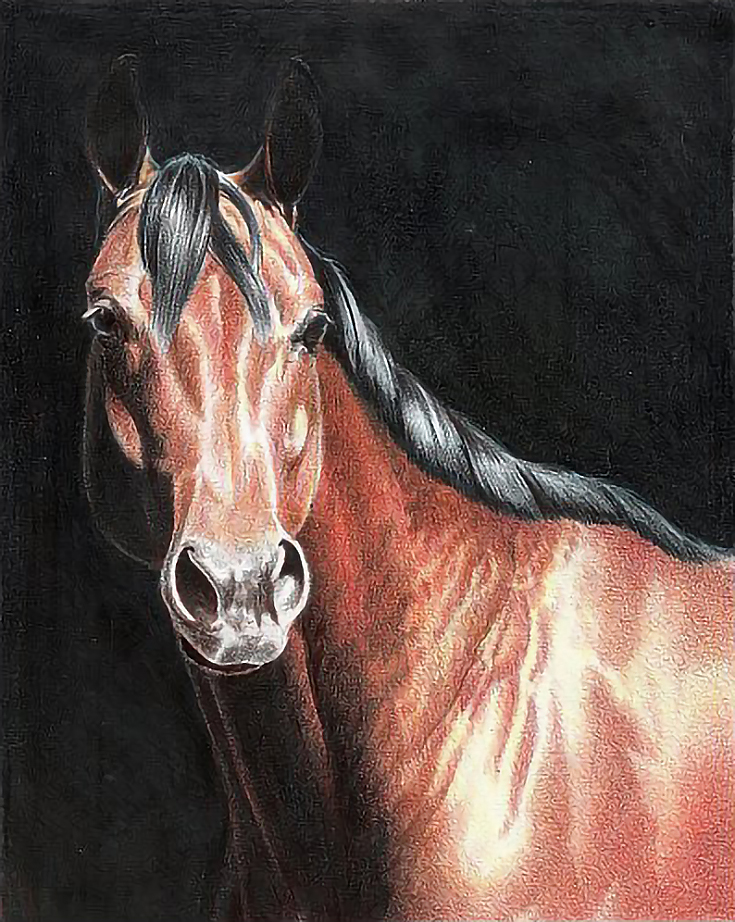
Here’s how the portrait looked when we left off last time:
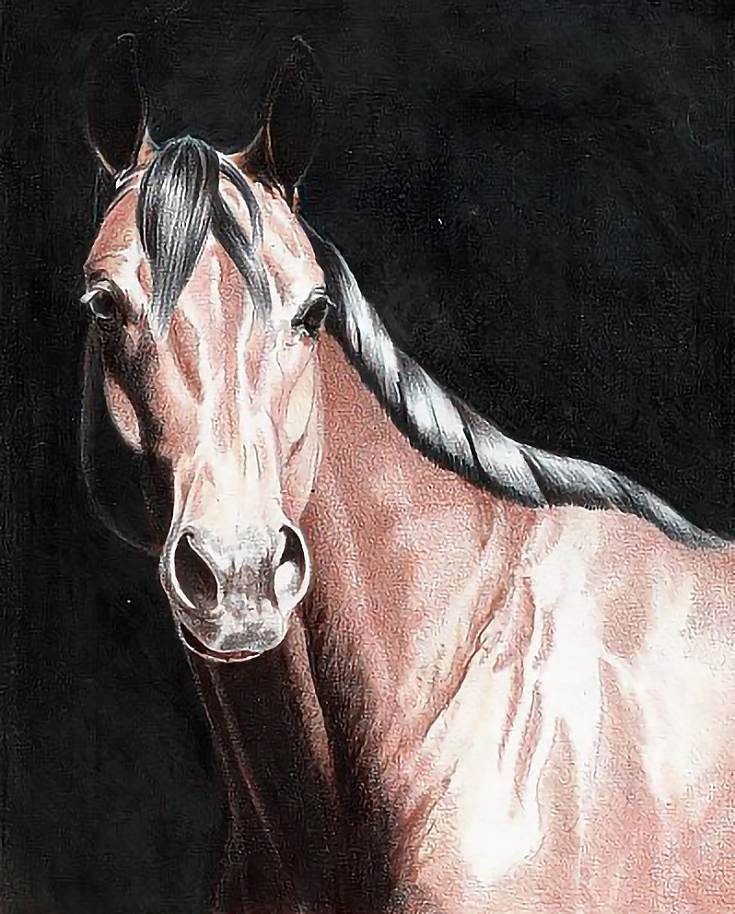
I started this session by layering Indigo Blue into the deep shadows on the left side of the portrait. Layers of Dark Umber and Black followed. Because the ink underneath is the slightest bit slick, I used pressure of 4 to 6 and utilized a variety of strokes to get the best possible coverage.
When the neck and chest were done, I worked through all the other deep shadows on the head, inside the ears, and in the mane and forelock, bringing each area to a similar degree of detail before moving on to the next.
When the shadows were in place, I added touches of Slate Gray and Light Umber for reflected sky light and Goldenrod for reflected ground light along the left side of the head and neck. In each instance, I tried to use a minimum number of strokes and maximum amount of pressure to create the reflected light. Most of it was burnished into place.
I finished the eyes as much as possible with Black, Blue Slate, and Cloud Blue applied with burnishing or near burnishing pressure. I like a life-like eye early in the process so I took the time to finish them as much as possible at this stage. Having an area finished or nearly finished also provides a benchmark against which I can judge the rest of the painting.
I also finished the ears and polished the background around them to adjust edges, softening some and emphasizing some as necessary. I used heavy pressure and most of it was 8 to 10, burnishing in some areas.
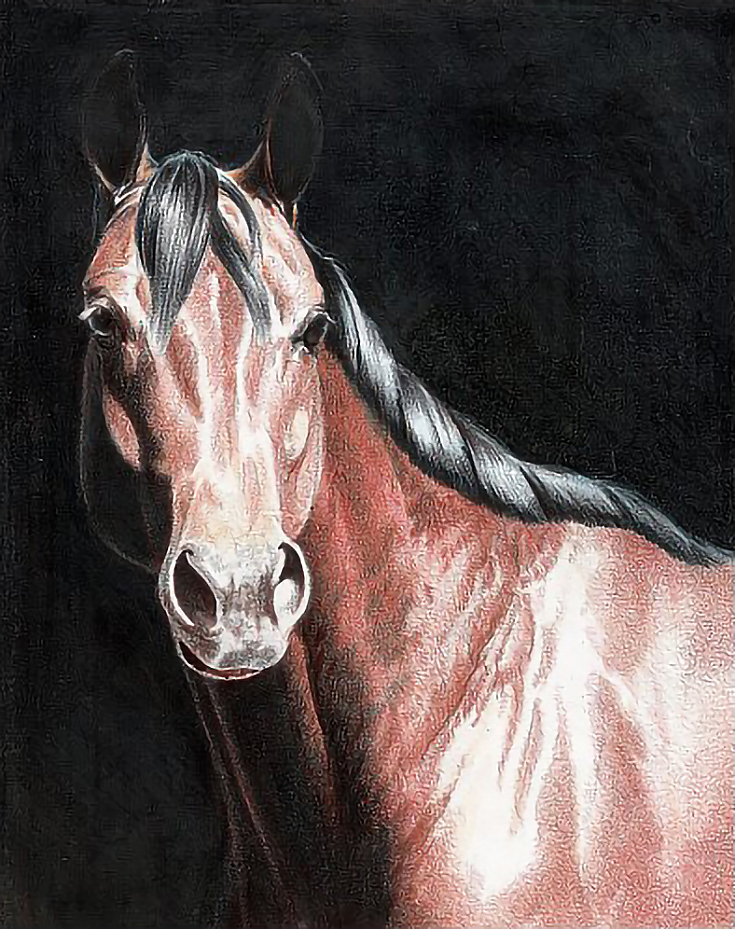
The neck was next. The base color was established with glazes of Sienna Brown and Orange over most of the mid-tones, followed by alternating layers of Black, Indigo Blue, Dark Umber, Sienna Brown, Yellow Ochre, Cloud Blue, Sky Blue Light, and Orange to build color and form throughout the neck, mane, and shoulder. The highlights over the shoulder got a little extra attention because they best define that area and I didn’t want to lose definition or contrast.
After working with Prismacolor pencils for a couple of sessions, I switched back to Verithin pencils to blend and fill in the color fields in the neck and shoulder. I used Dahlia Purple and Grass Green to tone down the red-brown color, then layered Orange and Tuscan Red for further adjustment of the coat color. I also stroked Indigo Blue and Black into the mane and forelock.
I used the colors listed above in the order listed above. For all colors, I used light pressure (2 or 3) and a variety of strokes with the goal of creating as smooth and saturated a color layer as possible.
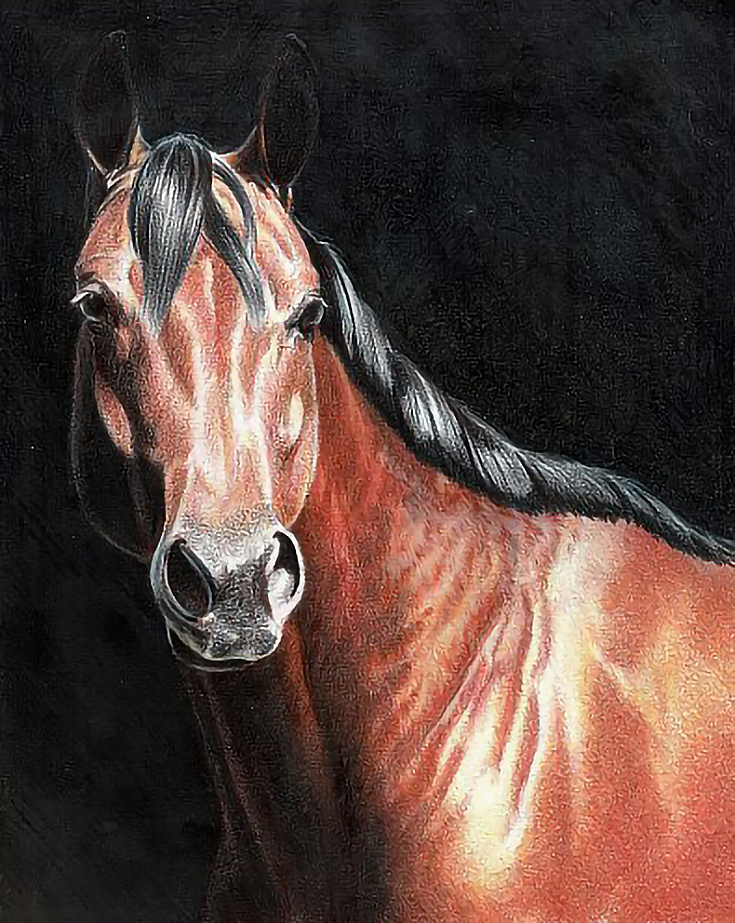
The net result of the previous work was a purple tint that was a little too bold. To tone that down, I layered Verithin Canary Yellow over all of the neck, shoulder, and head, then followed up with Orange in all areas but the brightest highlights and, finally, with Terra Cotta over the head, neck, and shoulder except for the highlights.
I used pressure ranging from 2 to 5 for all of this work. Most of the work was done with a needle sharp pencil and the pencil tip, but I also used the side of the pencil when and where necessary. Mostly along the back of the shoulder, where the painting meets the margin of the composition.
I finished the neck with Prismacolor pencils and a lot of burnishing and tweaking. Colors were applied with heavy pressure (8 to 10). Some of the lighter colors were used for burnishing. I tried to work light to dark in each area, choosing colors based on the final color and the lightness or darkness of the area. But I was more interested in getting the right color and right value than in following procedure.
Colors Used were Sienna Brown, Pumpkin Orange, Orange, Dark Brown, Burnt Ochre, Jasmine, Sky Blue Light, Jasmine, White, Black, and the colorless blender.
I burnished highlights with Sky Blue Light, Jasmine, and White and burnished the area behind the shoulder with the colorless blender. I worked over the neck and shoulder until it was as finished as I could make it. I also worked on the mane and finished that, then played around with the eyes a little bit and blackened the lower background a little more.
The colors I used in the final session were Black, White, Sky Blue Light, Cloud Blue, Indigo Blue, Dark Brown, Sienna Brown, Pumpkin Orange, Orange, Jasmine, Yellow Ochre, Colorless Blender
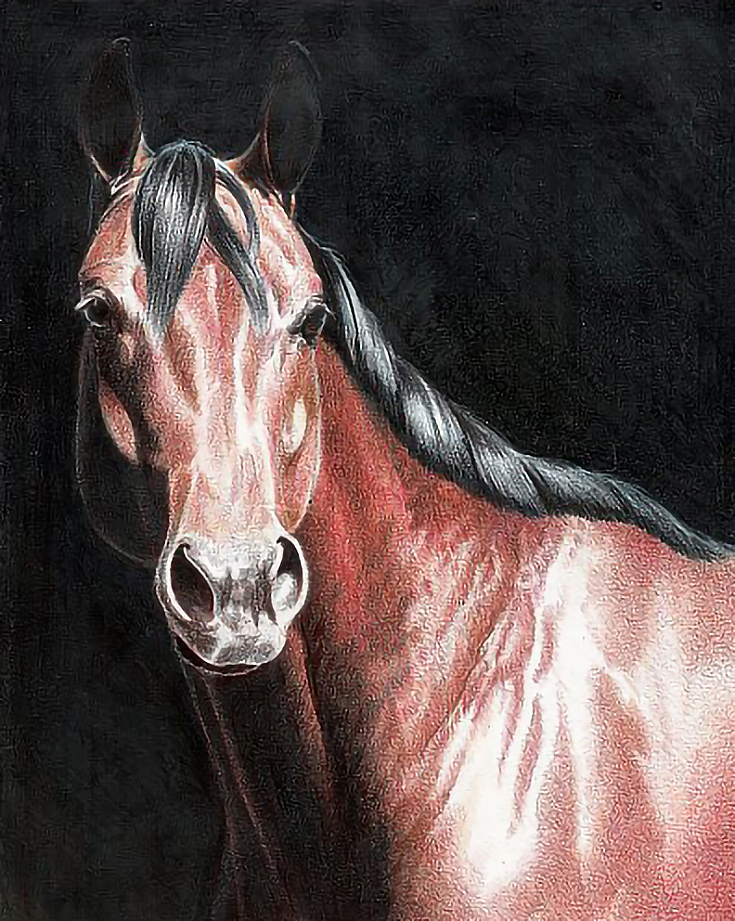
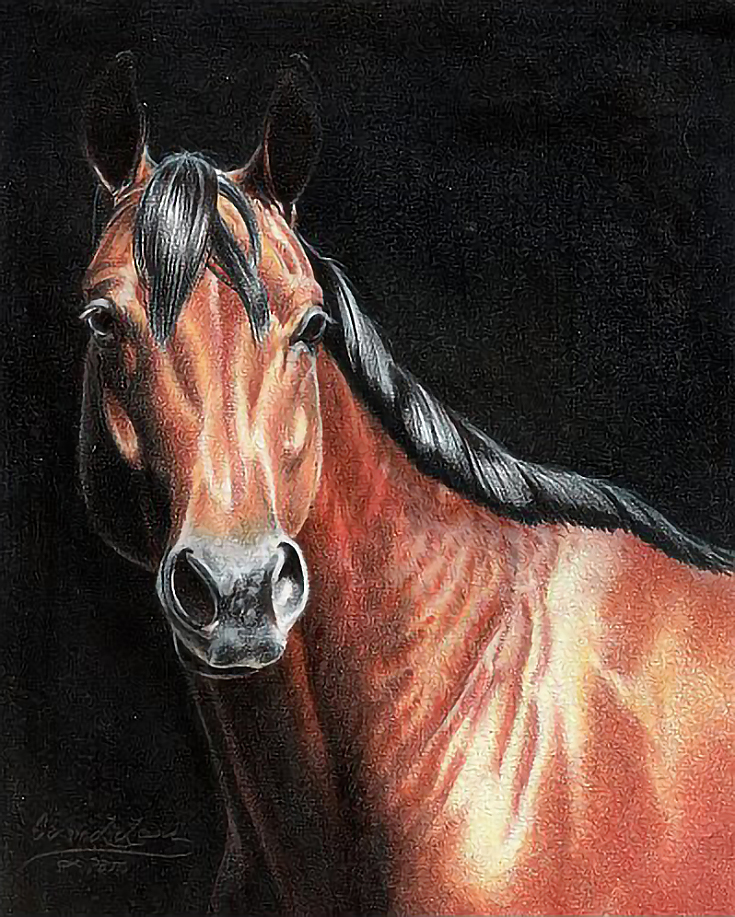
I finished the painting by working on the head, finishing the hair coat first, then the muzzle, and finally working on the highlights and burnishing. When I’d done as much as I could, I sprayed the painting with retouch varnish, then let it air.
After the surface was dry, I did a little tweaking around the eyes, added eyelashes, and fly away hairs, then set it aside overnight. The following day, I reviewed the work a final time. When I was confident I couldn’t improve it, I signed it.
This post may contain affiliate links.
