By Margot Dinardi, permanent contributing writer for EmptyEasel.com.
GIMP provides many useful brushes right out of the box, but from time to time you still may need to create a special brush that isn’t offered.
There are three ways to create brushes in GIMP.
Your first option is to take an existing brush and edit it, then save it as a new brush. A second option is to create your own brush from scratch. The third option is to create a special image brush (called an “Image Hose”).
1. Modifying an existing brush in GIMP
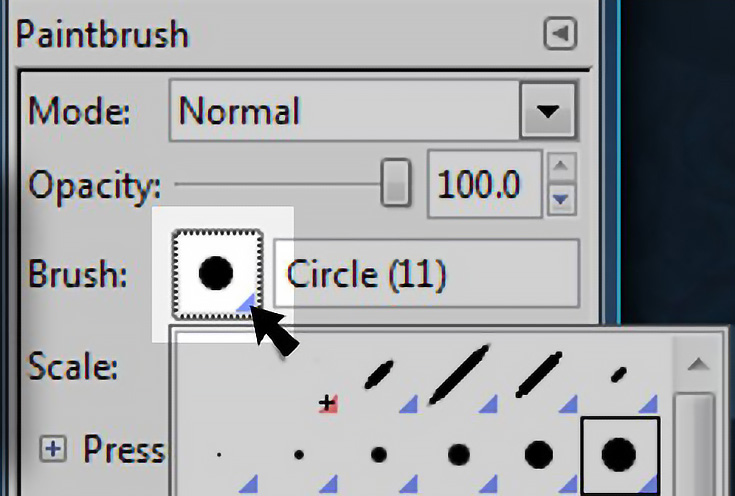
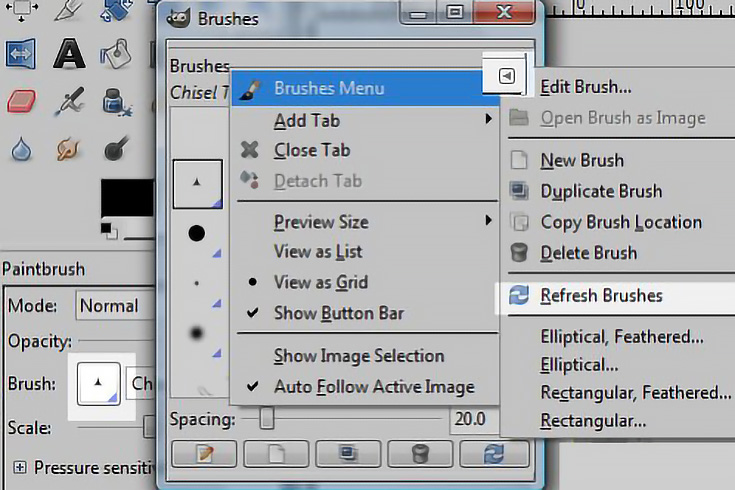
Let’s start off by adjusting an existing brush. With the brush tool selected in your tools palette, click on the icon that shows what brush tip you currently have selected.
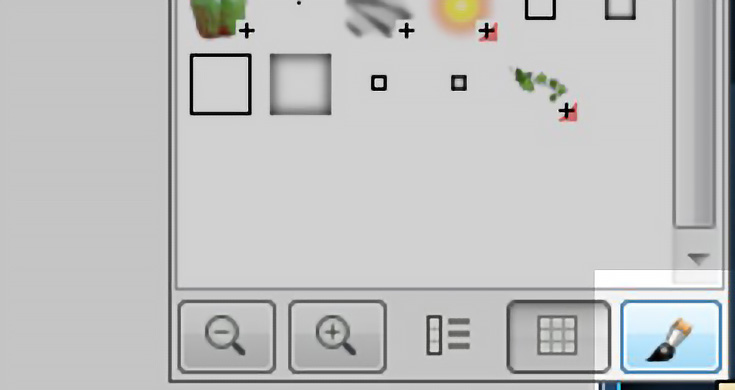
Then click on the button in the lower right hand corner of the box that pops up.
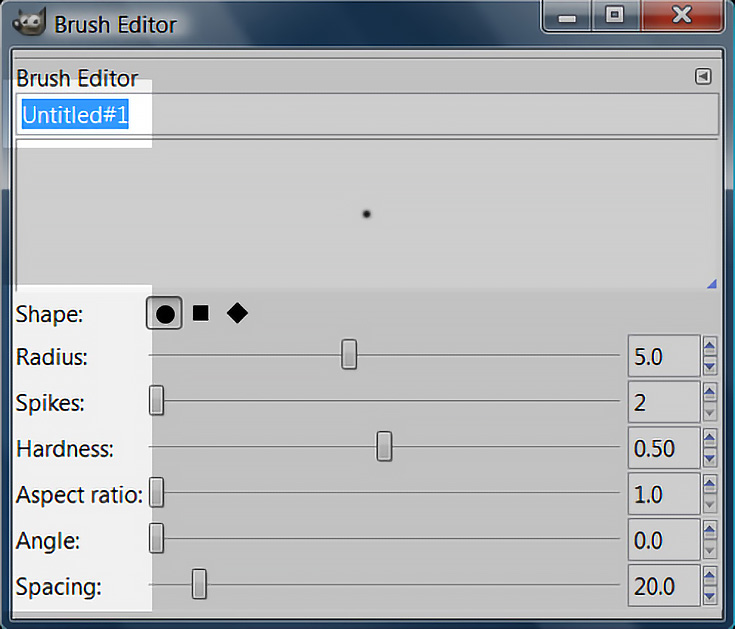
In the first dialog box that appears, click on the “New” button.
Then, name your brush and make any necessary adjustments to suit your needs.
Once finished, that brush will appear in your list of brushes every time you open GIMP.
2. Creating a new brush from scratch
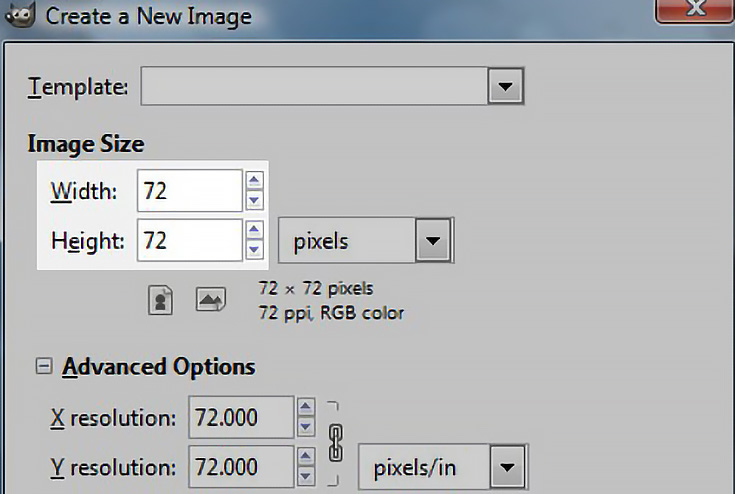
Now let’s look at how to make a custom brush. To start, make a new image that is only 72 x 72 pixels and immediately create a transparent layer.
72×72 is pretty small, so you’ll probably want to zoom in – then, using any tool, draw the “footprint” of your brush on the transparent layer you just created.
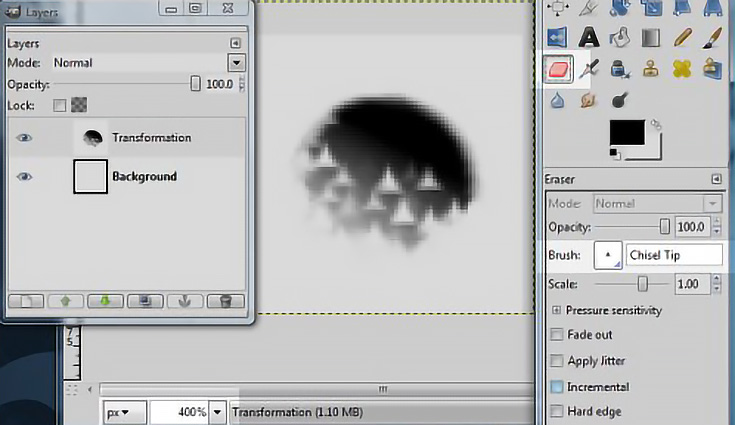
This brush was made by selecting a circle, filling it with a radial gradient, and then erasing portions of it. In a way, creating a brush is just like making a mini-painting!
Once you are satisfied with your mini-painting, delete the background layer so just the transparent layer (with your brush footprint on it) remains.
Save that image as a .gbr file. This is the GIMP Brush file format.
To have your brush load automatically when you run GIMP, make sure you save it in your personal GIMP folder, not the Programs or Applications folder on your computer.
If you want to use the brush immediately you’ll need to refresh your brush palette. Click on the double arrows button at the bottom right of the palette to refresh.
Hopefully your new brush is exactly what you wanted.
If the brush just looks like a solid block, then the transparent part of the brush wasn’t saved correctly—most likely, you forgot to paint on a transparent layer and/or delete the background before you saved.
3. Creating an Image Hose in GIMP
Here’s the final way to make a brush in GIMP (or more accurately, here’s how to make an Image Hose in GIMP).
With an Image Hose, you can create a brush that uses a specific image instead of a simple brush-mark as its footprint. You can even create an Image Hose that alternates between two or more variations of the image!
To demonstrate this process, I went online and found an image of a strawberry to turn into an Image Hose brush.
The first thing I did was save the original JPG as a GIMP file. (JPGs don’t support transparency, and like a normal brush, Image Hoses need be on a transparent layer.)
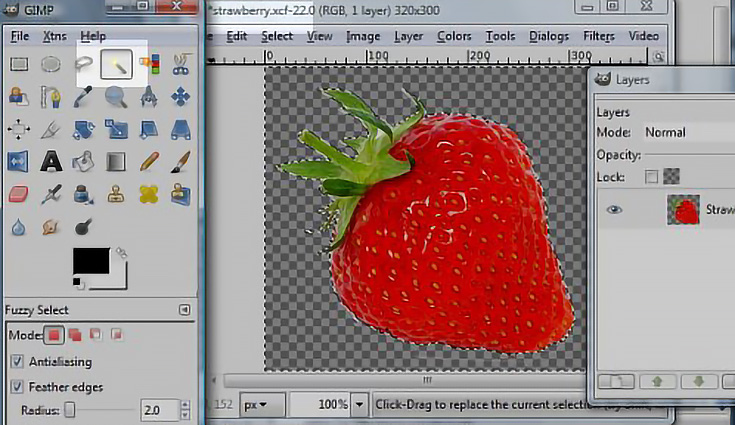
Using the Magic wand tool, I selected the background of my image (everything BUT the strawberry) and deleted it. You may have to do some extra selecting with your Lasso tool just to make sure you get all of the background.
I then selected my isolated strawberry (by right-clicking on that layer and choosing “Alpha to Selection”) and copy/pasted the strawberry into a new 72×72 pixel image.
I scaled, rotated and moved the image to fit into the space, then created a duplicate layer using the exact same methods as before—except this time I made the strawberry tilt a bit differently, to give a little variety to my Image Hose.
If you want even more variety, keep creating new layers that are all slightly different.
When you’re satisfied, delete the background layer so just your image layers remain, and count the number of layers. You’ll need to know that number in just a moment.
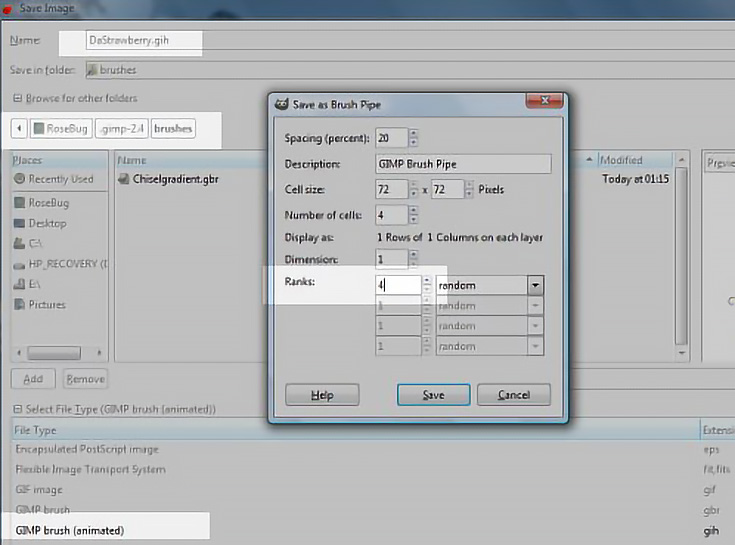
Save the image as a .gih file, since this is the file format for a GIMP Image Hose. In the pop-up dialog box that appears, change the “Ranks” field to the exact number of layers you used and click “Save.”
Remember to refresh your brushes palette, then look for a brush with a red corner on it. That red corner indicates that it is an Image Hose instead of a regular brush.
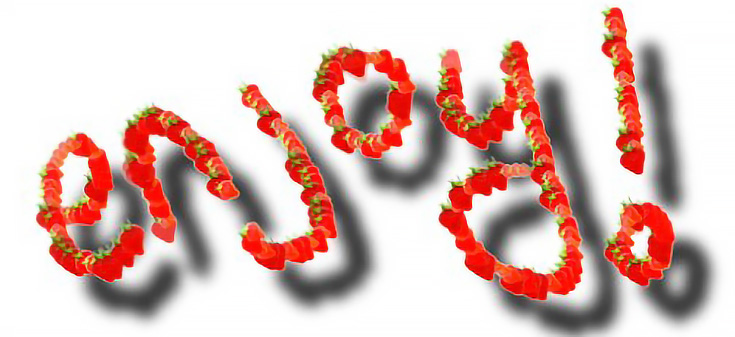
Here’s the effect I got from my strawberry brush—and the possibilities are endless.
To see more brushes created by the GIMP community, head over to Google and do a search for “GIMP brushes.” You’ll be amazed at all that’s out there!
This post may contain affiliate links.
