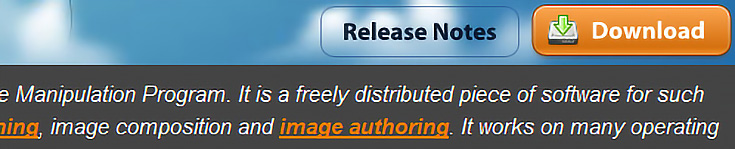
If you want to edit photos or create digital artwork, GIMP is a great free alternative to Photoshop Elements or Photoshop CS3. (The name GIMP is an acronym for GNU Image Manipulation Program, by the way.)
To download and install GIMP on your PC, the first thing you’ll need to do is go to www.gimp.org and click on the download button near the top of the page.
Since all computers have different operating systems, the next thing you will need to do is choose the appropriate one for you. For example, my operating system is Windows XP, so the option below works for me.
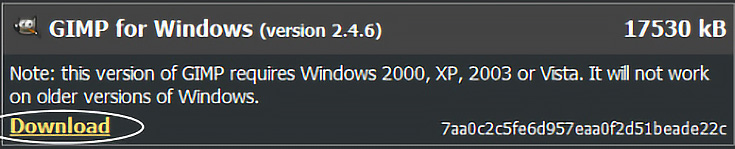
As I write this, GIMP version 2.4.6 is the “stable version”—you’ll want the latest stable version as well. (It should be right at the top.)
Click the download link to start your download.
My safety features won’t let me download the software unless I right-click on the download link and choose “Download file.” It also opens up a new website just for downloading. If this happens to you, don’t worry, it’s normal.

You’ll probably want to save the software to your program files folder, so when asked, click “Save” and navigate to “Program Files.” Once the download is complete, click on “Open Folder.” You should see something similar to the image below.
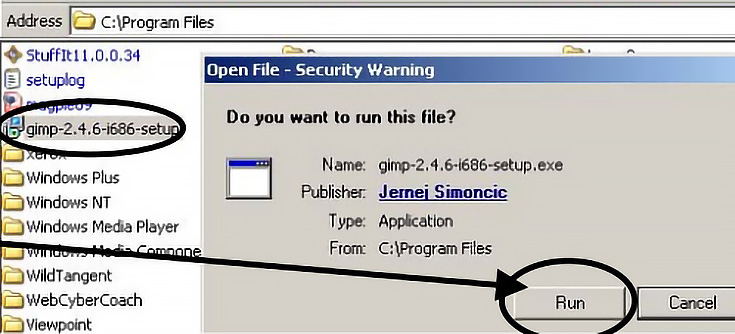
In the folder that just opened, double-click on on the GIMP Icon. When it asks, click “Run” then click “Install.” This will bring up the GIMP Setup Wizard—just click the “Next” button until you see the final screen, where you can click “Finish.”
As long as the “Launch the GIMP” box is checked, GIMP will open right away, and there will be a new shortcut icon on your desktop for later.
At this point, even though GIMP is running, there’s no document open yet.
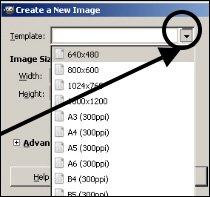
A quick way to start a new document is to hold down the “Control” key on your keyboard (CTRL) and tap the “N” key.
The box shown to the left should appear.
Click on the drop down menu and choose a document size, preferrably one with 300 DPI. Once it’s open, play around a bit. There’ll be plenty more GIMP tutorials coming up, so don’t worry if everything looks strange at first.
If you’re a Mac owner, check back next week for your own GIMP installation tutorial!
This post may contain affiliate links.