As I mentioned last week, scraping off as much of the old painting as possible is only half the job if you want to re-use a wood or masonite panel. You also need to cover any remains of the old painting so that no “ghosts” appear on the new one, and prep the surface of the panel to form a permanent bond with new paint.
The method I’m about to describe isn’t very pretty, but it accomplishes both of those things (and it’s fairly cheap, too).
Step 1: Covering the old painting
If the leftover paint on your panel is acrylic, just re-apply acrylic gesso or acrylic paint and you’re all set. If it’s oil, acrylic gesso is out of the question.
With oil, you could use an oil-based gesso or primer and do very well. Those products are available, but they tend to be on the expensive side. Many times they’re also lead-based, which is a big taboo in my studio.
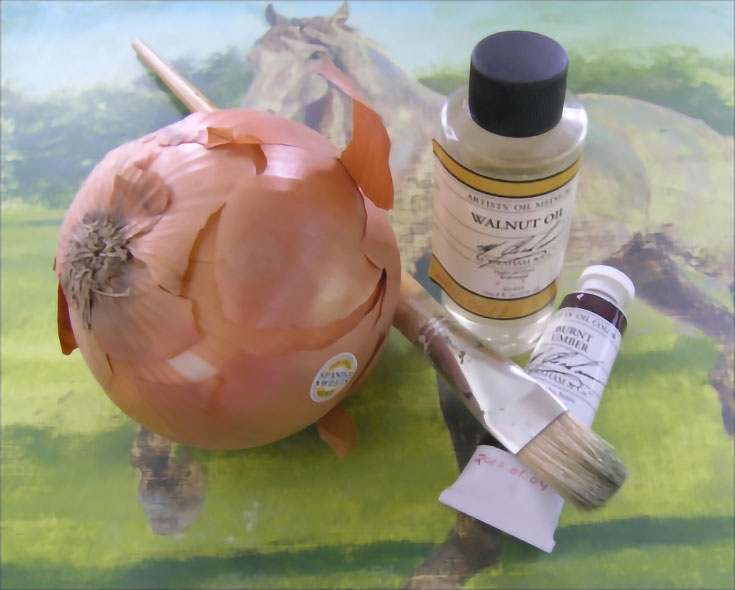
So instead, I brush a good, basic color that won’t fade over the old paint. What color do I use? Burnt umber.
• Burnt umber is a basic earth tone available in every line of paint.
• It’s inexpensive. Usually among the least expensive colors in any line.
• It dries fast.
• It’s semi-opaque. Whatever is under it will stay under it.
• It doesn’t fade.
All of those things make it a great choice for concealing old paintings and laying the groundwork for a new painting.
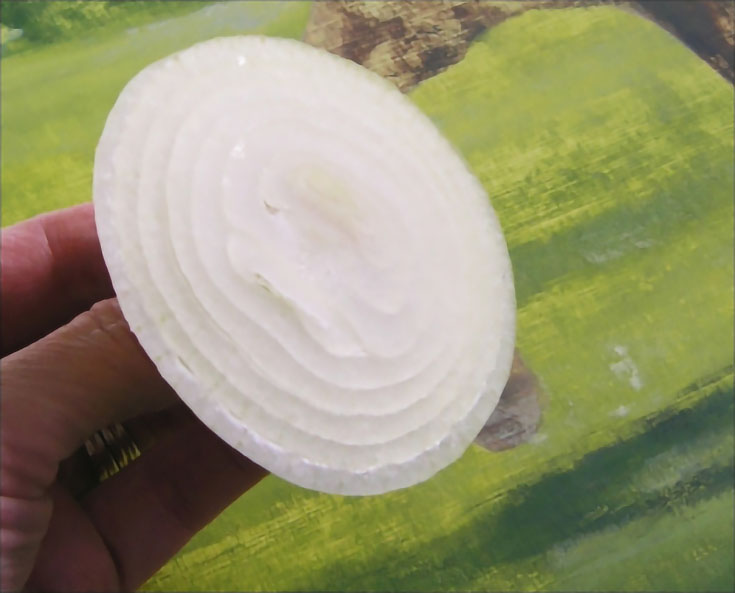
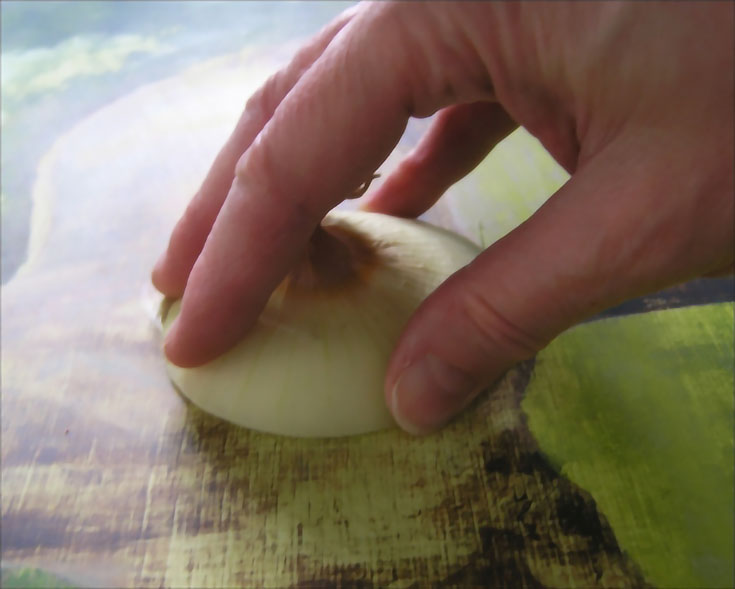
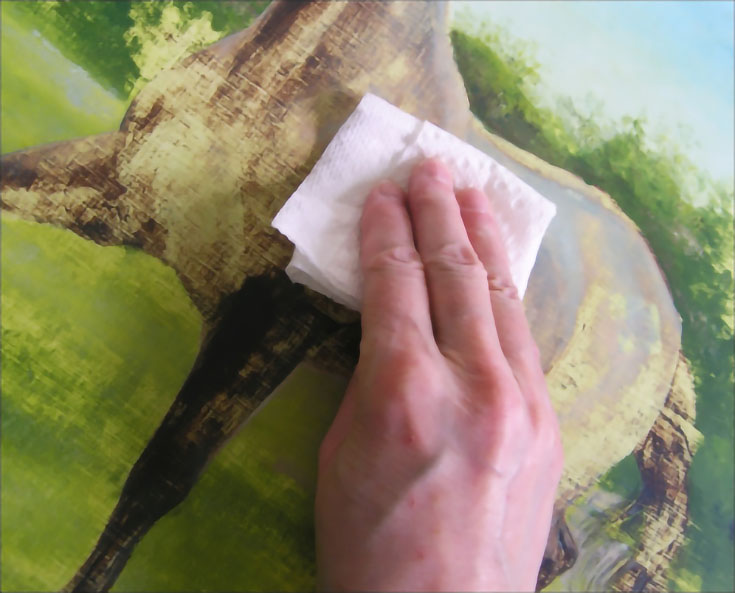
Before I paint, though, the surface has to be revived enough to allow it to bond with fresh work. To do that, I first rub the surface with a sliced or halved onion. The ether oil in the onion softens the paint already on the surface and allows a more secure bond to form between old paint and new.
For best results, press the onion flat against the panel and use a circular motion to cover all of the surface. Use light to medium pressure and make sure to cover every portion of the panel.
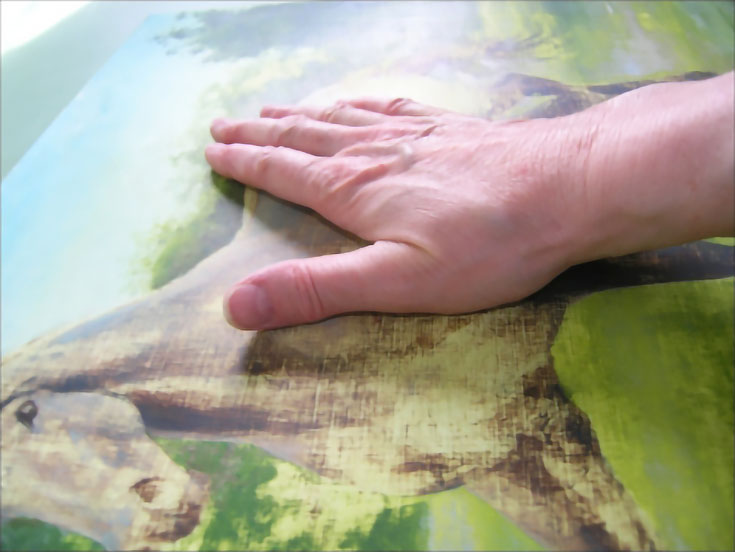
Next, I condition the surface with a little walnut oil (you can also use linseed oil). Pour a small amount into the palm of your hand, then rub it over the painting surface. The warmth of your hand and the friction will help open up the old paint even further.
Wipe off the excess with a paper towel and you’re ready for step 2.
NOTE: You can also just begin the new painting at this point, if you don’t have the time or inclination to brush on a new, blank layer of paint. However, there’s always the possibility that the old painting will show through.
Step 2: Covering the old paint with a new layer
When brushing on a new base layer, my preference is to apply burnt umber straight out of the tube with no added oil or medium. I use a large brush for maximum coverage and spread paint evenly over all of the panel.
In most instances, I work through four passes on the panel and stroke across the fresh paint in a different direction each time: Horizontal, vertical, diagonal top left to bottom right and diagonal top right to bottom left.
I also don’t recommend more than one layer of paint.
If you prefer a textured surface, use a bristle brush, stroke in multiple directions, and don’t smooth out the brushstrokes. If you like a smoother surface—as I do—you can still begin with the bristle brush, but finish with a softer brush and work lightly over the fresh paint to remove as much or little of the brush stroke pattern as you like.
Step 3: Final preparation
Burnt umber ordinarily dries within 24 hours so you could theoretically begin painting the next day. But I prefer caution, and usually let such panels dry for a week. Even then, I use a razor blade to make sure the paint is dry all the way through.
Here’s how you do that: lightly scrape the surface of the paint with a razor blade held flat against the panel at between 90 and 45 degrees. The blade should be tipped toward you at the top. If you angle it away from yourself and stroke toward yourself, you risk getting under the layer of paint and removing it altogether.
If paint comes off as dust or powder, it’s dry all the way through and ready to work on. If the paint that comes off is like a string or roll, it’s still wet inside. Give it another few days or a week and test it again.
When it’s completely dry, condition the surface again by rubbing it with walnut or linseed oil, and you’ll be all set to start painting!
This post may contain affiliate links.
