Erasers are good for more than just fixing mistakes in your drawings—they also make great drawing tools.
Don’t believe me? I didn’t believe it either until I started drawing clouds this summer. In the course of experimenting with graphite and a variety of subjects, I discovered several great techniques for drawing with erasers.
Here are a few of them:
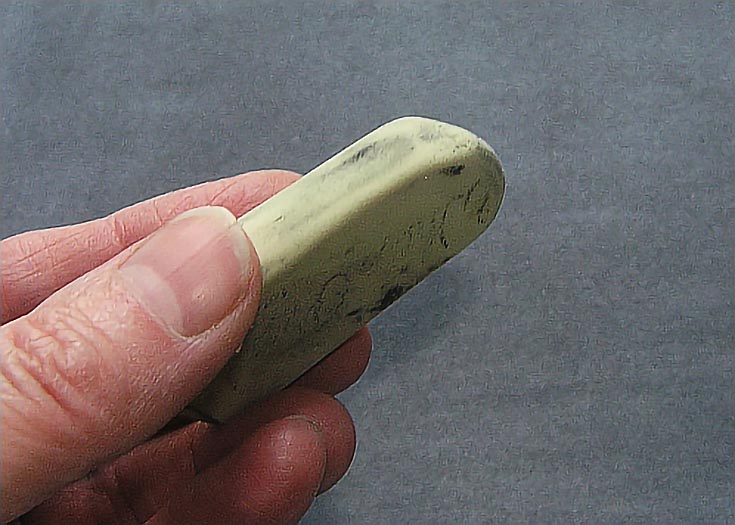
Drawing with a basic white eraser
This is a White Pearl, but other types of similar eraser also work.
Colored erasers are also very good at removing pigment. I have a Pink Pearl, but use that sparingly because it can leave pink marks on the paper. By all means try these erasers, but just make sure they won’t stain or tint your paper before using them on an important drawing.
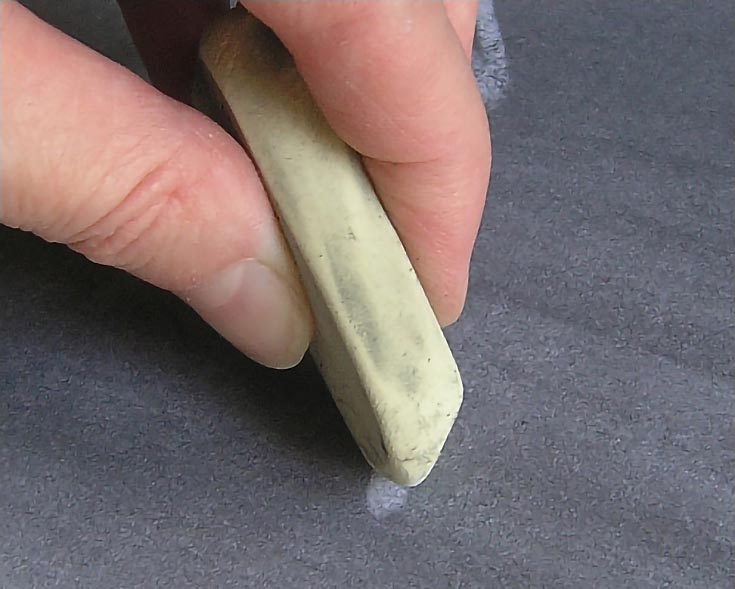
These erasers have three types of surfaces. The largest surfaces are the top and bottom. The sides of the erasers are usually long and narrow and are also flat. The ends are the smallest flat surfaces and may or may not be flat for very long. The flat surfaces can be used to lift large areas of pigment. Simply lay the eraser on the paper and slide it across the area you want to lighten.
In particular, however, it’s the edges that are useful for created small marks and details. Because they’re fairly sturdy, you can also cut these erasers to create a size or shape to fit almost any need.
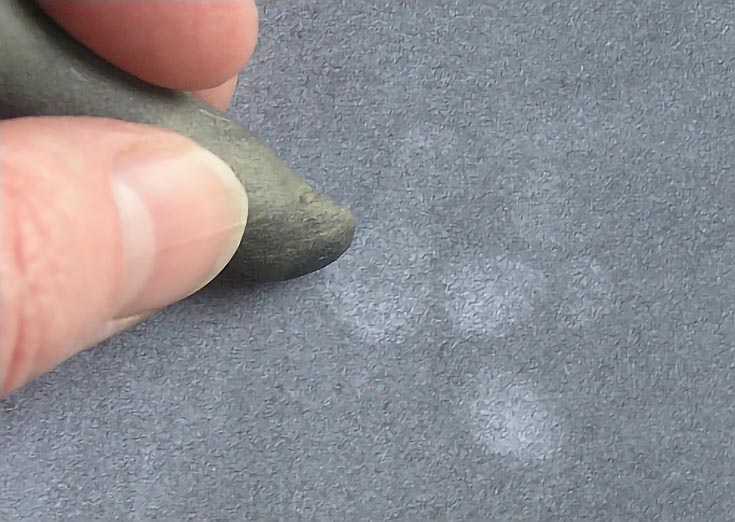
In the illustration below, I’m using the edge. The resulting mark has clean edges and is very light in comparison to the graphite. Marks made with the flat surfaces have more blurred edges and are usually not as bright unless you use the eraser several times over the same area or use heavy pressure.
I recommend light to medium pressure to avoid lifting too much pigment too quickly or scuffing the paper.
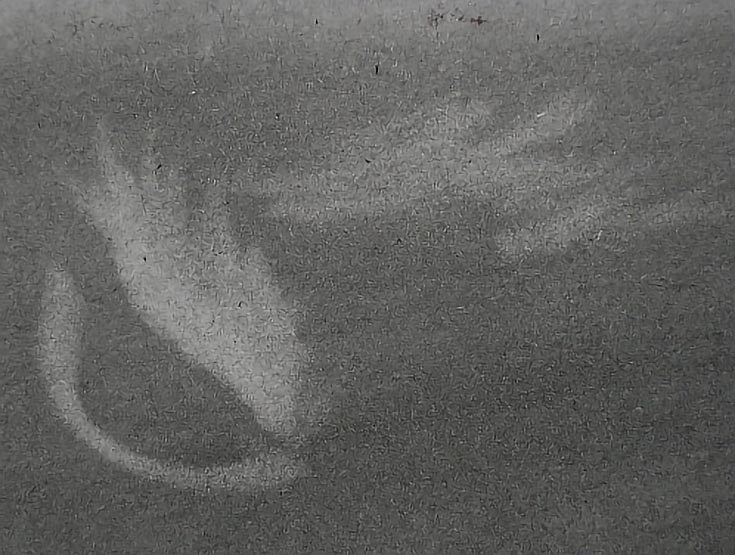
The curved mark below was made with the narrow edge of the eraser.
The other marks were made by stroking along the paper with the edge of the eraser, then brushing over them with the widest part of the eraser and with a light-pressure, “lifting” sort of a stroke. This method is great for drawing light, wispy clouds and creating light gradations in value.
Using a kneaded eraser to draw unique marks
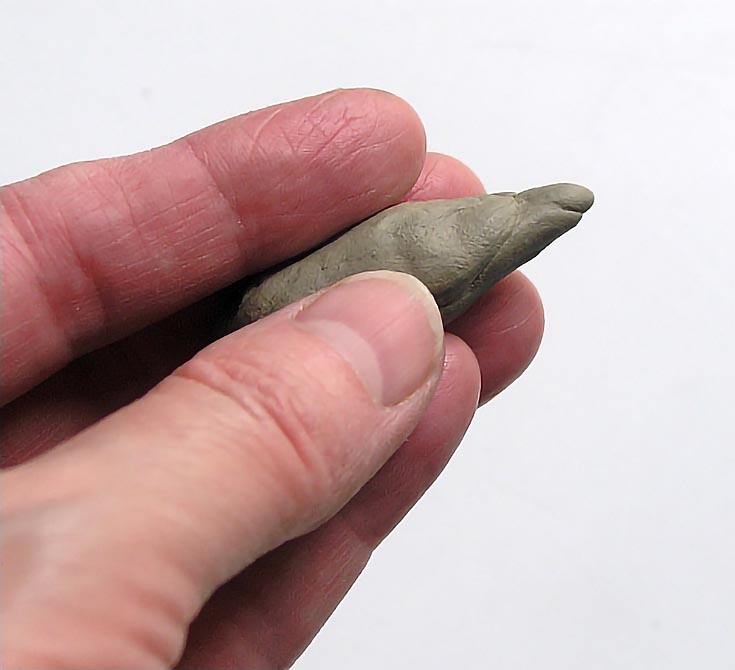
Next is a kneaded eraser. The advantage to kneaded erasers is that they can be formed into any shape and are therefore good for lifting small amounts of pigment and creating a variety of unique marks.
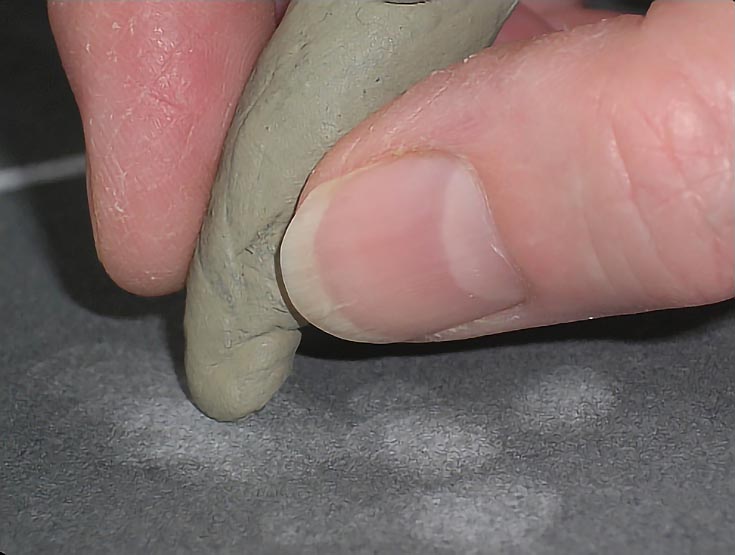
Here I’ve rolled the eraser between my hands until it’s shaped like a pencil and has a fairly narrow tip.
Hold the eraser like a pencil and press it against the paper with light to medium pressure.
If all you do is press the eraser against the paper, the resulting mark will be very faint, like the marks in the upper right corner of the illustration below.
The brighter marks were made by pressing the eraser against the paper, then turning it while holding it against the paper.
The amount of pressure you use with a kneaded eraser doesn’t make much difference in the amount of pigment removed. The eraser is so soft, that using more pressure flattens the eraser. You will remove pigment, but it will be over a larger part of the drawing and will have very vague, often faint edges.
To get a lighter mark, press the eraser against the same place several times or press the eraser against the paper, then turn it while keeping it pressed to the paper.
You’ll have to reshape the eraser frequently and will also have to clean it if you’re doing a large area. Luckily, cleaning a kneaded eraser is very simple—just stretch the eraser out, then fold it end to end, into itself. Continue folding it and kneading it until the pigment has disappeared.
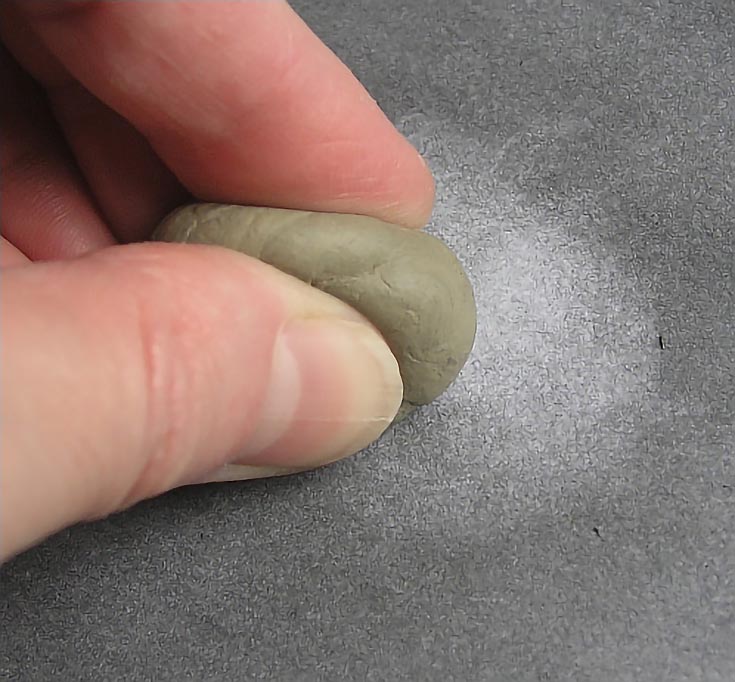
You can also use a kneaded eraser rolled into a ball or in a fairly shapeless condition. I started with the eraser rolled into a ball, as shown below. But, of course, the first time I used the eraser, it ceased being spherical. :)
When formed as a ball, I pressing it against the paper and turning it about a quarter turn. I used medium to heavy pressure and applied the eraser several times to the same area to lift the most possible pigment.
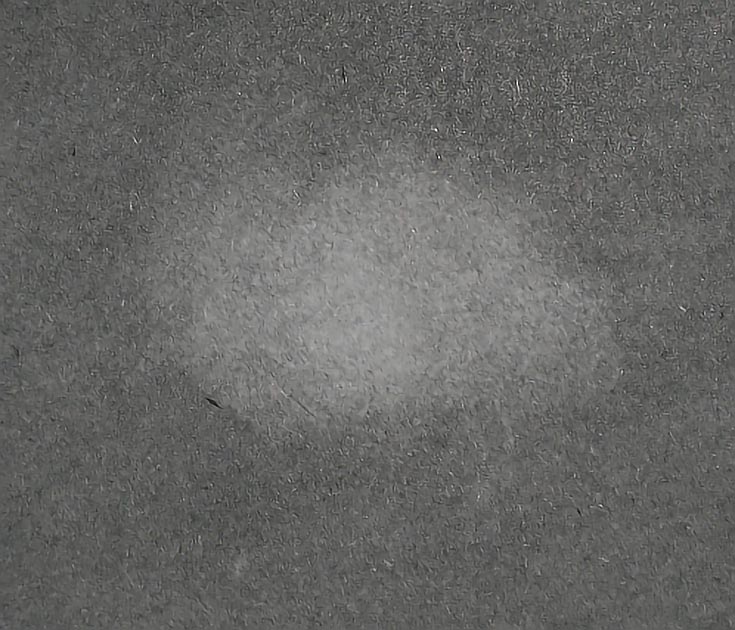
I also used overlapped the strokes. The result is a very nice cloud-like shape with gradations in value and blurred edges.
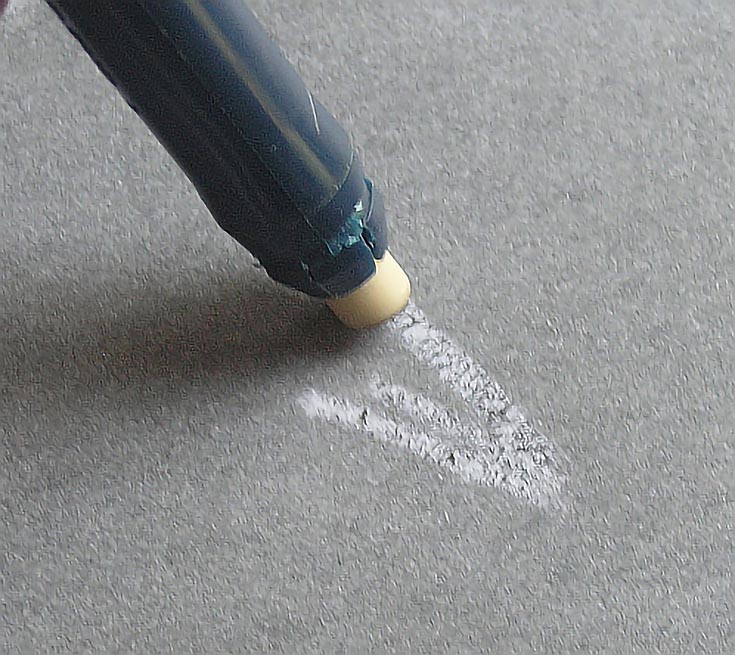
Drawing with a click/pen eraser
This eraser comes in a long, tube-like shape and is inserted into a pen-like device. A click eraser is generally harder than most other erasers and can be sharpened like a pencil. It holds shape and tip much longer than other erasers and can be used to draw fine details or even write.
It requires more pressure to be effective, but is a good eraser to have on hand, especially when combined with one more tool. . .
Using an eraser shield for more control
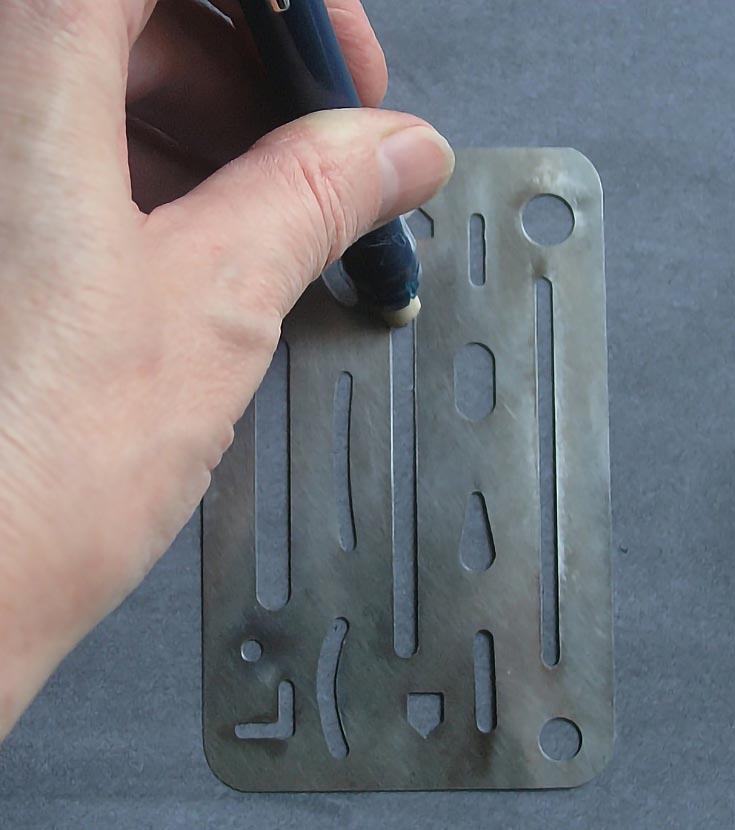
This final tool is an erasing shield, and I definitely recommend using one if you plan on drawing with erasers a lot.
An erasing shield is a small, flexible device with a variety of openings. It’s usually made of very thin, flexible metal so it works on curved or uneven surfaces as well as on flat surfaces. A click eraser is best suited for use with an erasing shield, but any of the other erasers featured in this article also can be useful.
To use an erasing shield, lay it on your drawing wherever you want to make a mark. Use your pencil—or in this case, eraser—by inserting it into one of the openings as shown below.
Hold the shield lightly but firmly while you stroke or press with the eraser. Repeat as many times as necessary to get the type and value of mark you need.
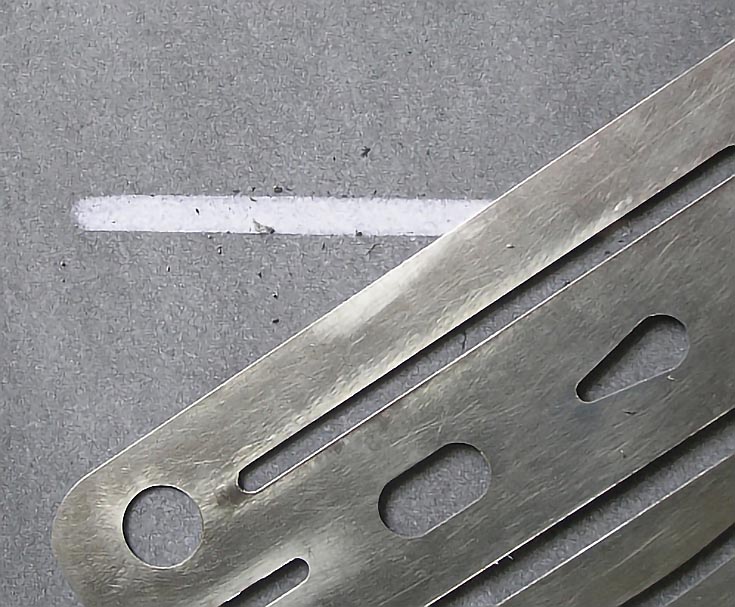
For this illustration, I used medium heavy pressure and a back-and-forth stroke without lifting the eraser. The result was a nice, clean line with crisp edges.
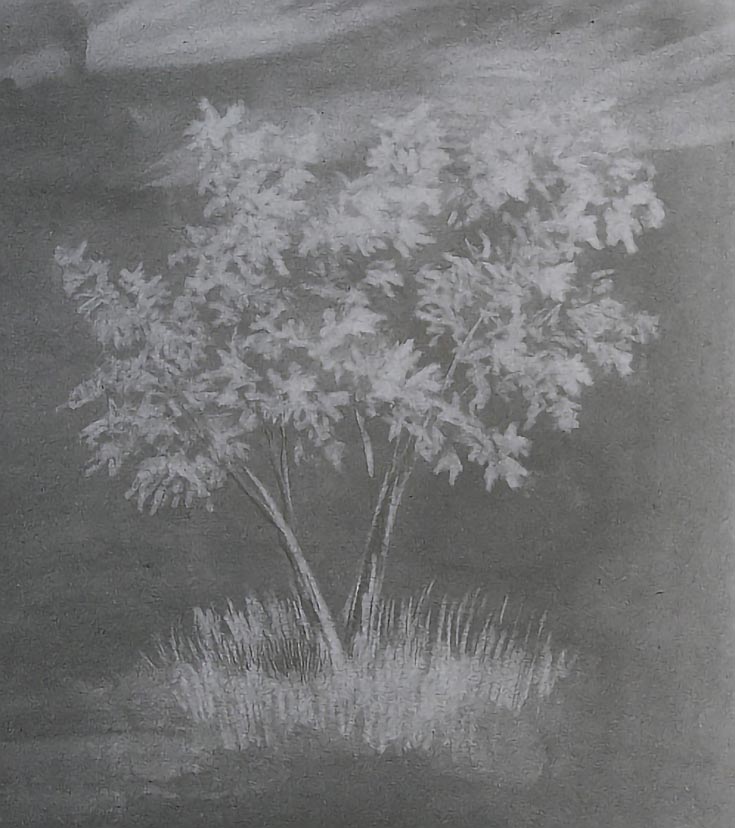
Finally, just to show you what’s possible, here’s a little sketch I did entirely with erasers. I used most of the tools and strokes described in this article to make this drawing.
If, up until now, you’ve only considered erasers to be corrective tools, I highly encourage you to take a few minutes and see what you can draw with them. . . you might be surprised!
Also, although I used graphite to illustrate this article, the same methods work with colored pencil and other mediums. Results from different erasers always vary, so make sure to test on scrap paper before trying anything new in an important drawing.
Good luck, and have fun!
This post may contain affiliate links.
