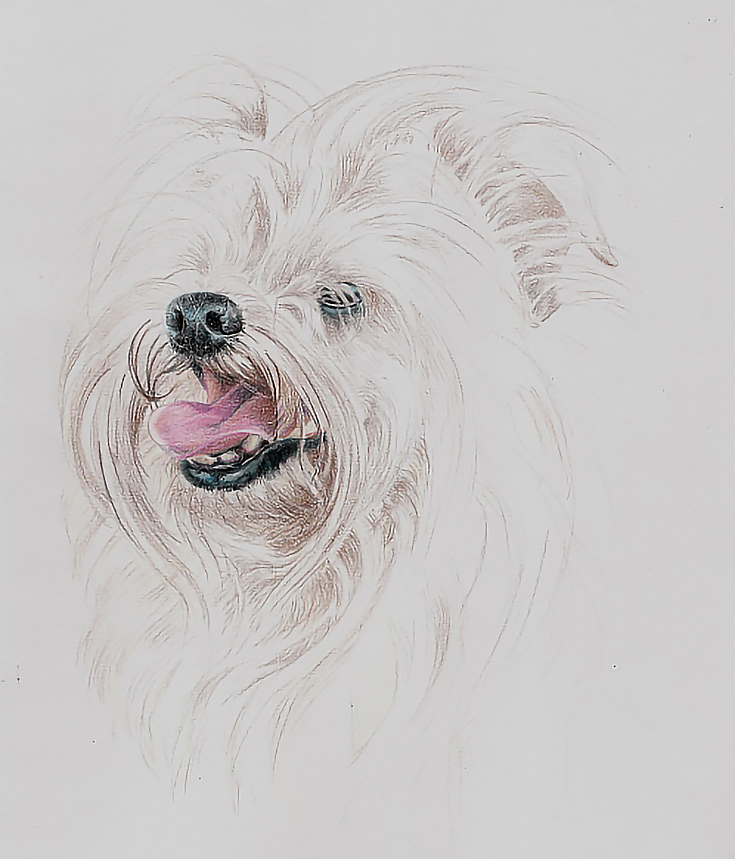
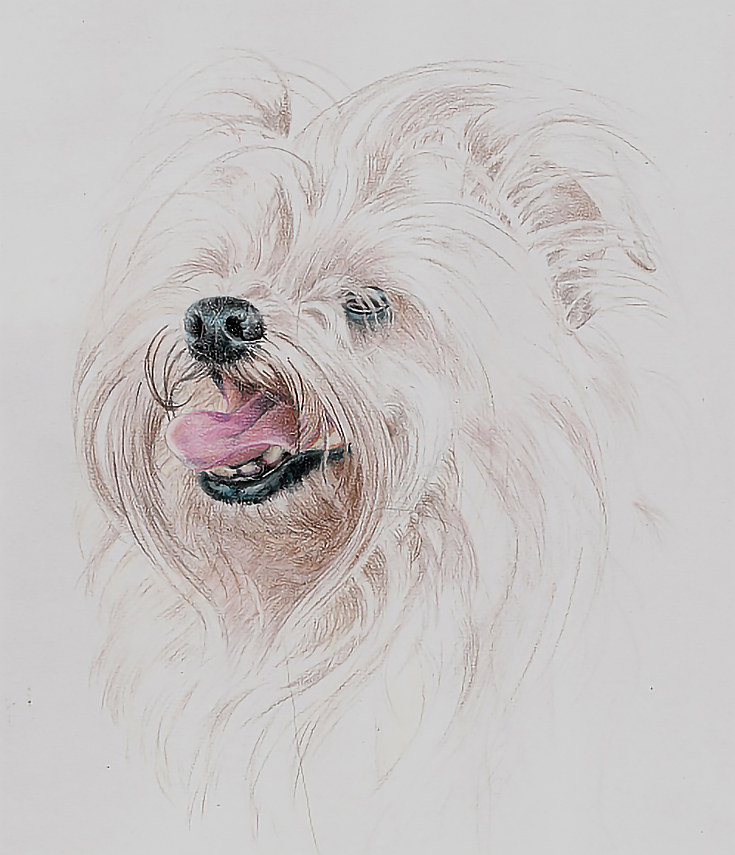
A few weeks back, I began a portrait of a long haired dog. I concentrated on getting accurate placement and detail on the dog’s eyes, nose, and mouth and only lightly sketched the hair.
This week, we’ll finish up the portrait. There are a few things yet to be done with the fixed features and I’ll show you how I finished those first. But most of the work will be on all that hair. Let’s get started.
Finishing the features
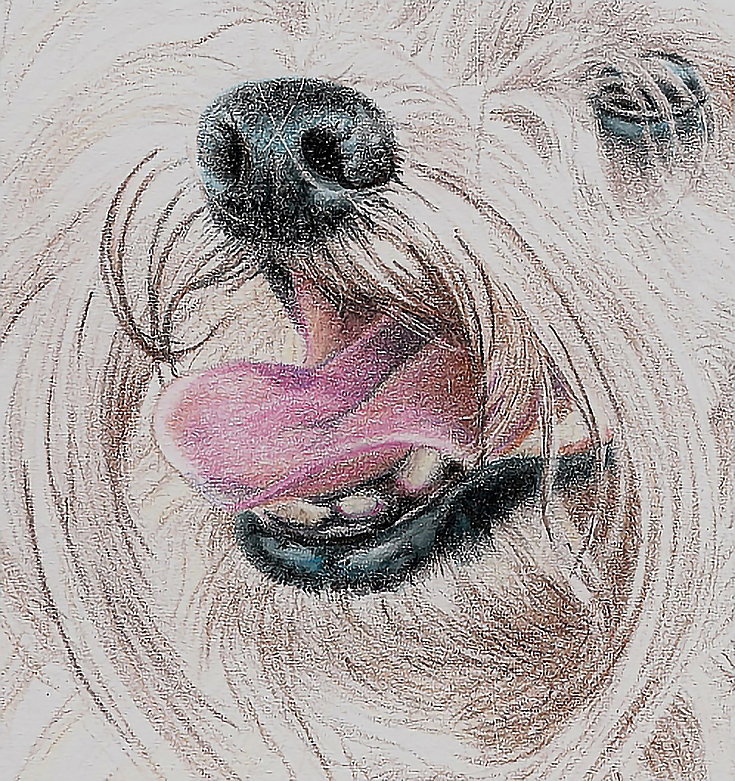
On the tongue, I layered Flesh, Blush, and Pink (in that order) over all but the brightest highlights using very sharp pencils and tight, circular strokes with light pressure. For the dark spot on the end of the tongue, I used the same stroke and pressure with Imperial Violet. I also layered Imperial Violet into the shadows on the back of the tongue, then began alternating layers of Flesh, Blush, Light Umber, Imperial Violet, and Pink to build color depth.
I added Black in the darkest shadows and White in the lightest highlights to push the value range as far as possible. I burnished a couple of times with Pink in the darker areas and White in the lighter areas to finish the tongue.
The lower gum and inside cheek were finished with alternating layers of Black, Pink, Blush, and Dark Brown blended with a heavy application of Cream (you could also use a blending stick) and burnished with Pink.
I finished the teeth with Dark Brown and Light Umber blended with a heavy application of Cream, then burnished a few of the lighter places with white.
On the top of the nose, I used Black, Dark Brown, and Light Umber with medium heavy pressure, short strokes, and sharp pencils. On the front plane of the nose, I stippled Black with heavy pressure, then blended with Dark Brown and slightly lighter pressure. Over the top of the nose, where there is a lot of reflected light, I used Indigo Blue as the dark, shaded it lightly with Black, then layered Dark Brown and Sky Blue Light with light to medium pressure.
I worked in the hair around the nose and mouth using sharp pencils, light pressure, and directional pencil strokes. I spent quite a bit of time detailing the transition between skin and hair along the lower edge of the lip and around the nose and accenting the larger groups of hair sweeping down from either side of the nose.
Note how the color and details up to this point were developed through lots of layering. You can achieve the same sort of results with heavier applications of color and fewer layers, BUT you run the risk of making mistakes that cannot be corrected.
For that reason (especially with complex drawings) I find it best to use lots of layers and take my time.
Drawing the long hair
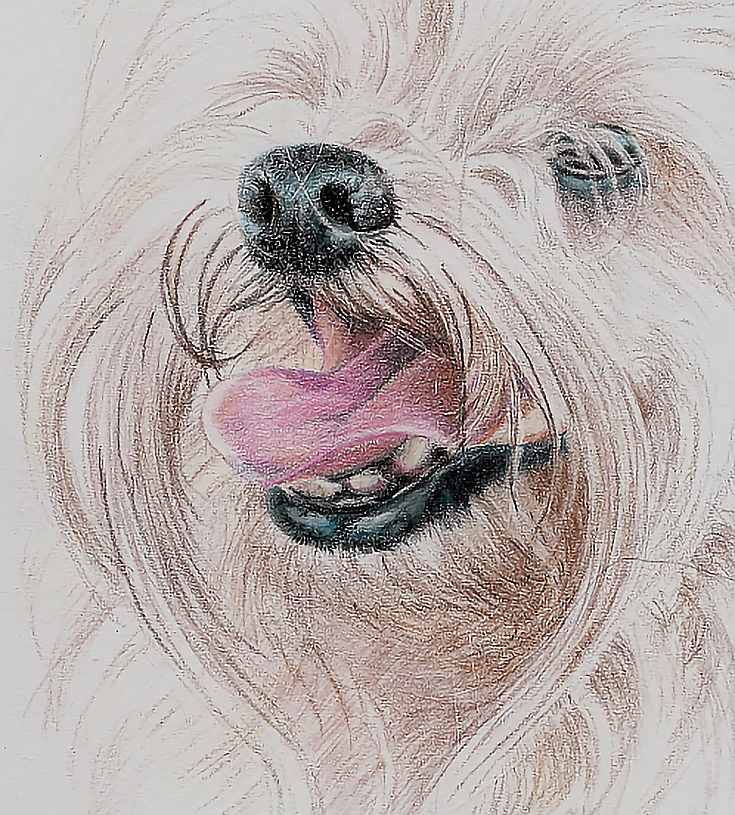
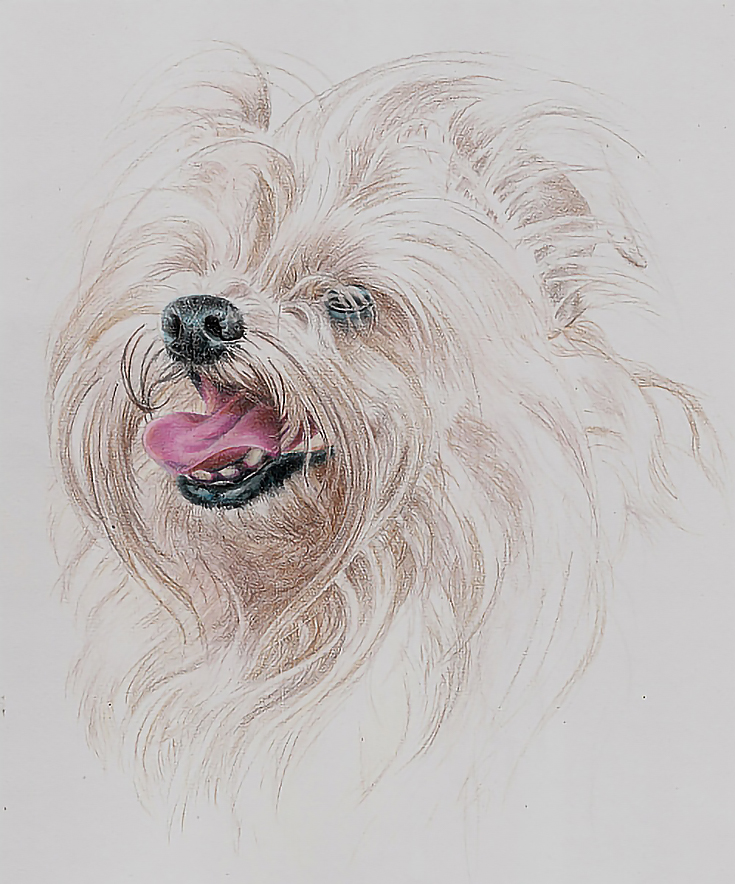
Moving outward from the mouth and nose, I used Verithin Dark Brown to add mid tones beginning under the chin and on the chest. There’s an upside-down triangle of dark middle tone in that area and I shaded that using the point and side of the pencil and light to medium light pressure, alternating between directional strokes and crosshatching to get the proper value.
I also added a few flyaway hairs around the mouth and along the edges of the two large masses of hair on each side of the muzzle. These impressed lines will show up as the values get darker and will add depth to the portrait. Then I glazed Verithin Light Peach over the face and around the muzzle using light pressure and the side of the pencil.
From the area under the chin, I worked outward in all directions, alternately glazing Dark Brown and Light Peach in the shadows and middle tones throughout the face and head and into the neck. I used decreasing levels of detail as I moved outward to keep the focus on the face while adding detail to the hair around the eyes, nose, and mouth.
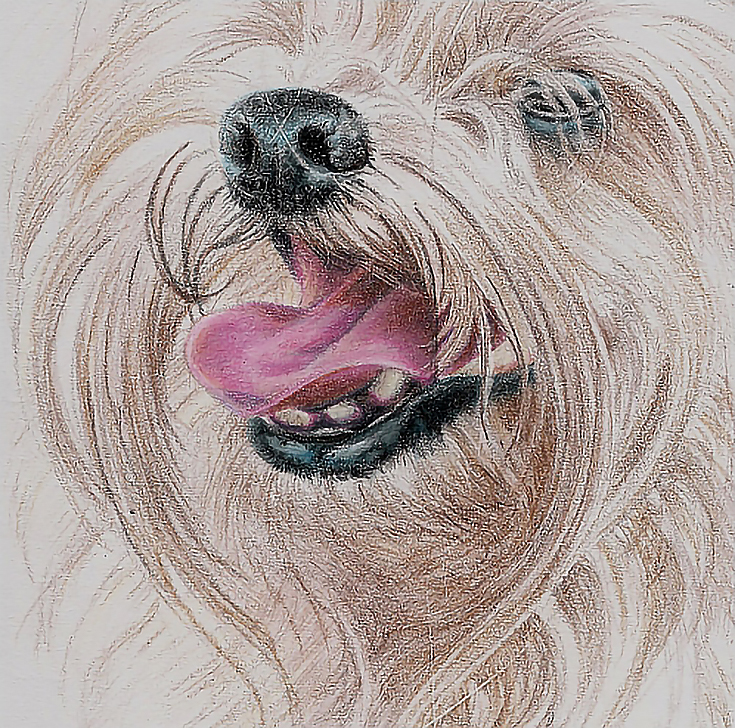
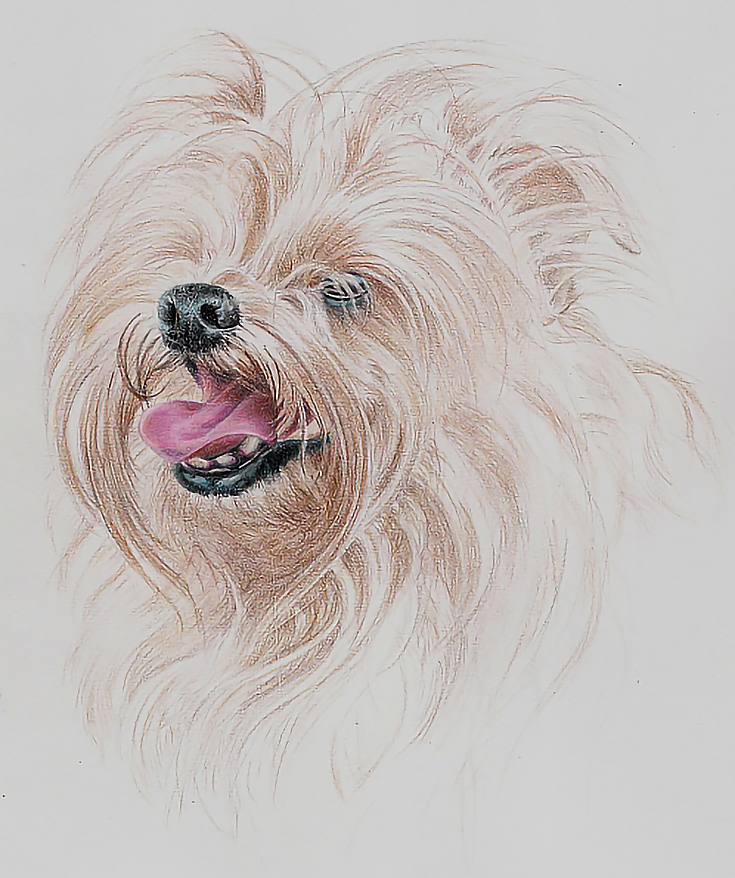
The final work was done with Prismacolor pencils, which are softer and lay down more color with less effort. I layered Bronze into the middle tones to bring out the lighter highlights and outlined some of the lighter hair groups, then shaded between them.
I next stroked Dark Brown into the shadowed areas and continued to add middle tones and values until each shadow and middle tone was the proper darkness and there was the correct amount of contrast between shadows and highlights.
The overall color was not red enough, so I added a layer of Faber Castell Art Grip Aquarelle Cadmium Orange. I followed the direction of hair growth, using the side of the pencil and very light pressure. I preserved only the lightest areas and even in those areas I kept the edges soft and muted.
I then went over the same areas with Prismacolor Light Umber to redefine the hair groups. I followed that with accents of Prismacolor Terra Cotta around the nose, mouth, and eye and touches of Light Umber and Blush inside the ear.
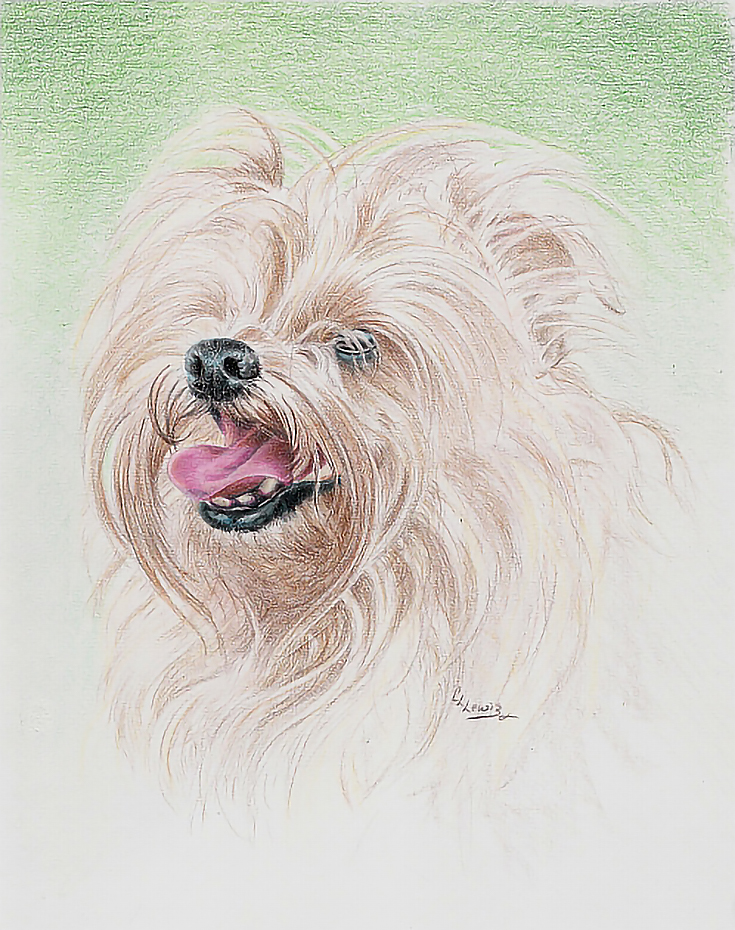
I finished this portrait by glazing Metallic Green, Light Green, Apple Green, and Dark Green (in the order listed) into the background. With each color, I reduced the amount of background covered until the Dark Green was only in the upper corners. I glazed greens in among the hairs around the head, as well as adding hair details with Cream.
After a final review of the entire portrait, and adding a few additional details as necessary, the portrait was ready for my signature and its new home.
So here’s the take-away:
Even the most complicated subjects are within your grasp if you start with the most important features, work slowly and carefully, and don’t get too caught up in the tricky details early in the process.
Focus on that mindset, practice drawing from life whenever you can, and you’ll do just fine, no matter how complex or difficult the subject matter may be.
This post may contain affiliate links.
