Creating texture in colored pencil can be a time consuming and often frustrating proposition. One way to add dramatic textural touches to any colored pencil drawing is to look for what I call “found” texture. Found textures are the textures you encounter every day in the world around you—textures like the one shown here.
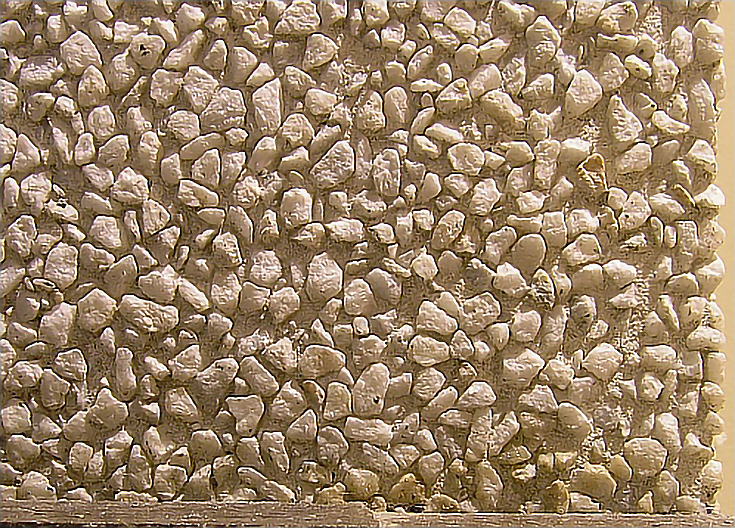
I found this particular wall treatment at a local business. The largest stones are no more than an inch across, while the smallest are little more than stone chips.
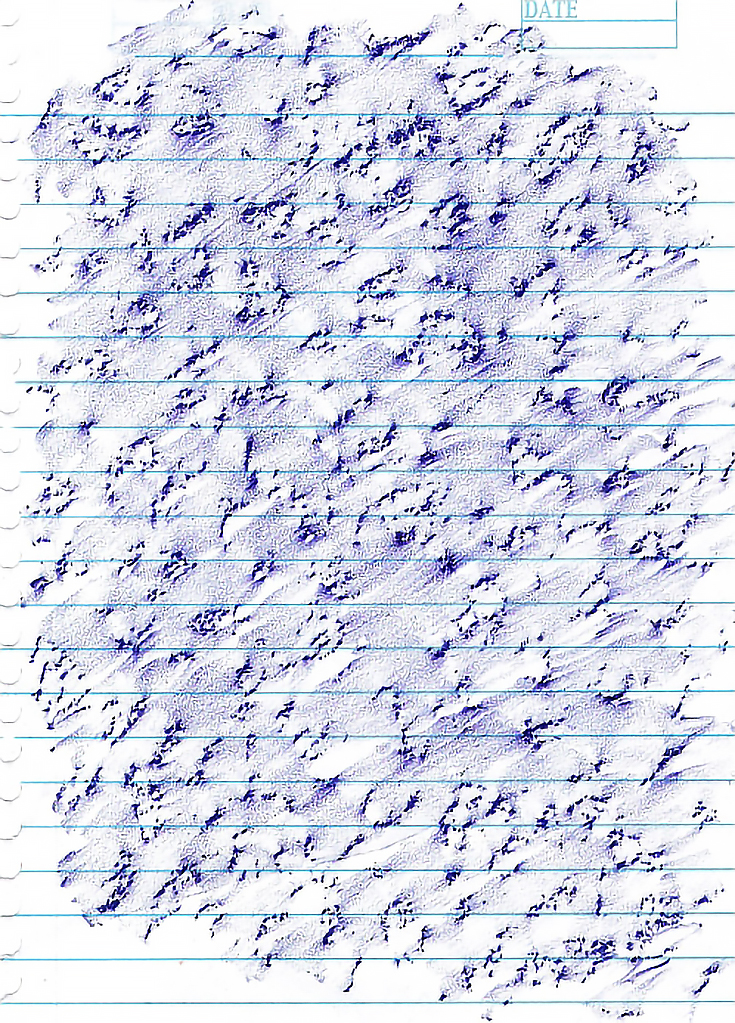
Capturing texture from a surface as dramatic as this may take some experimentation. It has a lot of depth and fairly sharp edges. My first attempt at capturing texture with regular notebook paper nearly ended with holes in the paper!
Ultimately I was able to get a nice, clear texture, but it was easy to damage the paper. I got a small sample, shown here, but it was too small to do more than show me the texture could be useful. The small size also left no opportunity for trying different colors or ways of capturing texture.
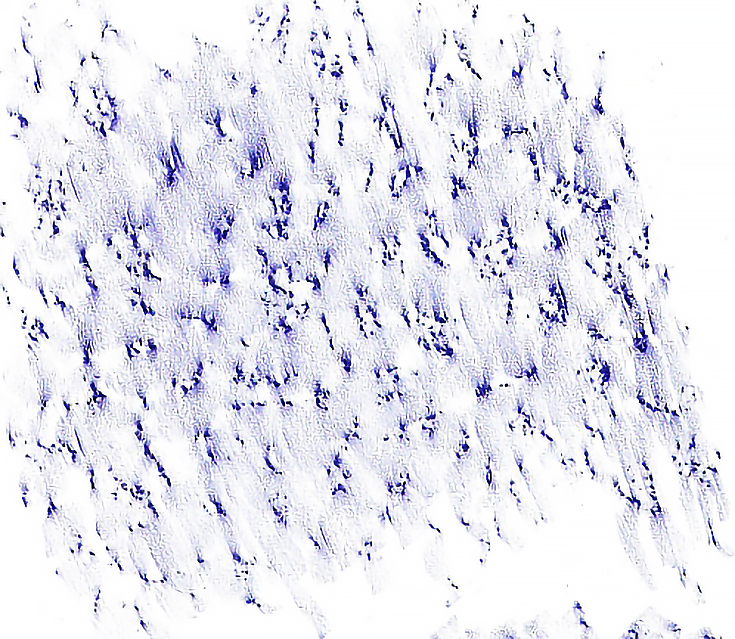
For the second attempt, I used premium laser printer paper and a full sheet (8.5 x 11 inches). The larger size provided plenty of area to capture a large sample (or more than one small sample) and left ample space for me to hold the paper. The larger working area allowed me to use a looser, freer stroke. I used a blunt pencil, but also tried using only the side of the pencil.
Notice the difference in the results.
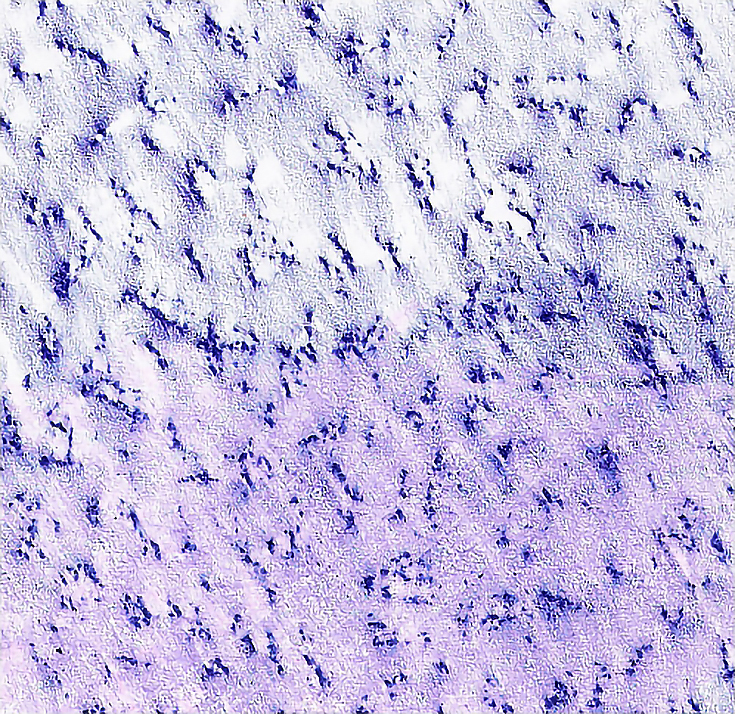
I also took the opportunity to work with a second color. After using blue, I turned the paper 90 degrees and repeated the process with pink. I layered pink over blue with the result you see here.
Unless you’re capturing texture for a specific use and know exactly what you need, it’s a good idea to take as many samples as possible when you have the opportunity. Especially if it’s unlikely you’ll be able to revisit the location.
Collecting samples on different types of paper is also helpful. You never know when a particular sample or texture will be useful, so it’s best to be prepared.
Possible uses for a stone wall texture
The patterns I got would make an ideal landscape feature if you’re doing maps of any kind.
In still life compositions, it would be a great detail on stoneware or earthen ware. It could even be a point of interest as a wall treatment for your still life.
It is also a great texture for adding unexpected visual interest to landscape elements such as roads, walls, buildings or stony areas.
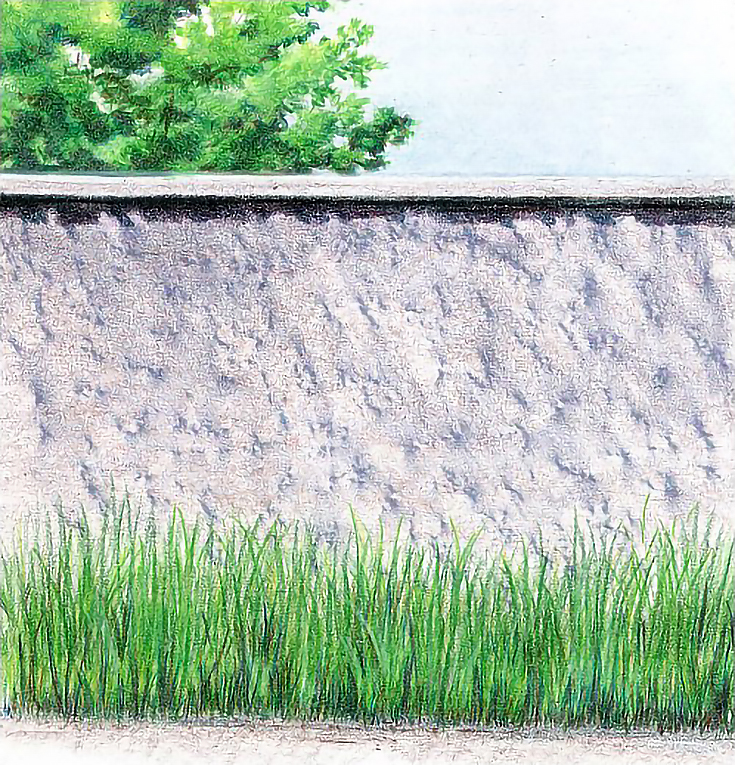
In the illustration, below, I used my found texture to create a wall.
Beginning with the found texture, I added a horizontal “wall cap” then used Dark Umber, Indigo Blue, Black Grape, and Ultramarine Blue in multiple layers with medium to medium heavy pressure to add the cast shadow at the top. Immediately under the top ledge, I also used Black applied with heavy pressure.
Over the face of the wall, I layered a variety of colors using light pressure and the side of the pencil or pencils with blunt tips. Colors included Dark Umber, Orange, Ultramarine Blue, French Grey 20%, and Dark Green. The goal was to create a nice gray-ish color that built on the blue of the original texture but didn’t completely cover it. I also applied color in open strokes and worked in more than one direction, creating a color field that shows the various colors in a random pattern.
I then added the grass using Apple Green, Limepeel, Grass Green, Olive Green, Dark Green, Orange, Dark Brown, Indigo Blue, Sand, White, and a touch of Dark Umber applied with medium to medium heavy pressure in vertical strokes.
The sky was tinted lightly with Non Photo Blue, then burnished with Cloud Blue and White. The bush behind the fence was built one color at a time beginning with Olive Green and Dark Green. I worked into the lighter areas with Limepeel, Apple Green, Sand, and White and into the shadows with Dark Umber, Dark Green, Dark Brown, and Indigo Blue. For each layer of color in this area, I used a squiggly stroke to imitate a leafy bush.
Other ideas for found textures
The potential uses for any found texture are limited only by your imagination. Even a bold texture such as this can be put to use in a number of ways.
• Background texture for subjects drawn in a vignette style
• Textural details in abstract work
• Stony or coarse ground
• Roads and trails
• Fields
• Collage work
Additional tips for transferring texture
The thinner the paper you use, the more easily texture will be transferred. I use a high quality, 24 pound laser and ink jet paper for the illustrations in this article. Such paper may not be archival so shouldn’t be considered ideal for most artwork, but it takes color well and is extremely good for transferring texture.
Also, make sure the surface from which you’re transferring texture is clean. You may want to consider placing a sheet of onion skin or tracing paper between your art paper and the surface from which you’re transferring texture to keep the art paper clean and/or to mute the transferred texture.
Remember, always have fun and experiment! You never know what textures might work until you try them. Just don’t try something for the first time on an important piece of art. Test it out on a scrap piece of paper, to make sure the texture comes out like you think it will.
Good luck!
This post may contain affiliate links.
