I recently received the following question from a loyal EmptyEasel reader who is also an oil painter:
I have been following your blog on EmptyEasel and used it to teach myself how to paint. My biggest problem seems to be that nothing is drying fast enough. On my next color layer I have waited at least two weeks and the linseed oil is still removing some paint. I live in the cold mountains of Colorado. . . can I paint anyway?
This reader is asking about the Flemish method of oil painting, which I described for EmptyEasel readers in a series of posts (click the link above for the first post in the series). The Flemish method is also known as the Seven Step method because a painting goes through seven distinct steps beginning to end. The seven steps are:
1. Imprimatura (toning the canvas or panel)
2. First umber layer
3. Second umber layer
4. Grayscale layer
5. First color layer
6. Second color layer
7. Detailing layer
All of the layers except the first two go on transparent, so light travels through all of them, bounces off the canvas and back out again, creating lustrous color. Each layer must be completely dry before you add the next layer in order for all the layers to stick together permanently. That’s what this reader is asking about.
The short answer is. . . You should wait until the paint is completely dry all the way through.
If you don’t, you risk having new layers lift or damage previous layers when you’re painting. Even if that doesn’t happen, the layers may not adhere properly to each other, and they could separate as they age.
A layer that is dry to the touch CAN mean that it’s dry all the way through, but not always. So how do you know when paint is dry all the way through?
How to tell when an oil paint layer is completely dry
There’s a surprisingly easy method anyone can use to answer this question. If the paint is dry to the touch and you think it might be dry all the way through, take an ordinary razor blade and lightly scrape the surface of the paint.
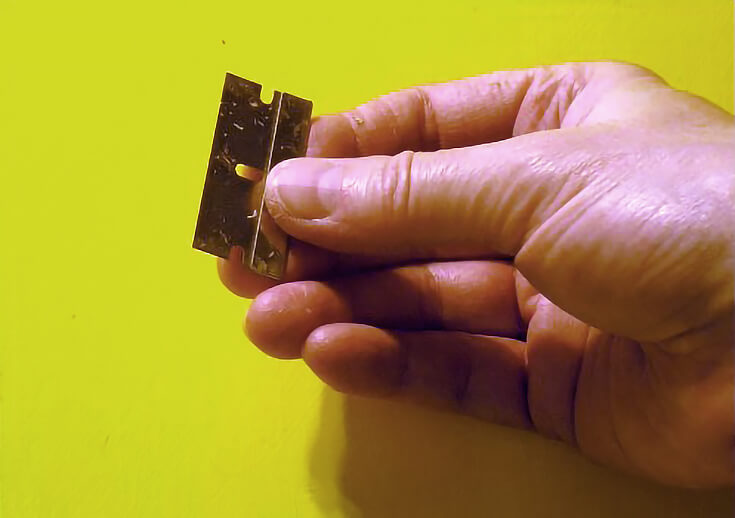
Hold the blade flat against the paint at a slight angle to the painting surface. Tilt the blade toward you, not away.
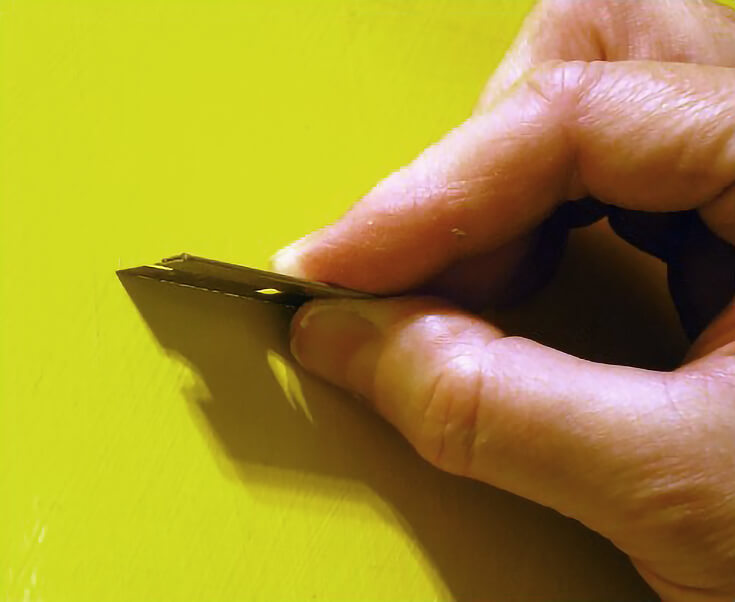
Very lightly scrape the blade across the surface of the paint. It’s best to move the blade toward you because you’re less likely to gouge the canvas or painting surface.
Some paint will come off from your layer. That’s normal and necessary.
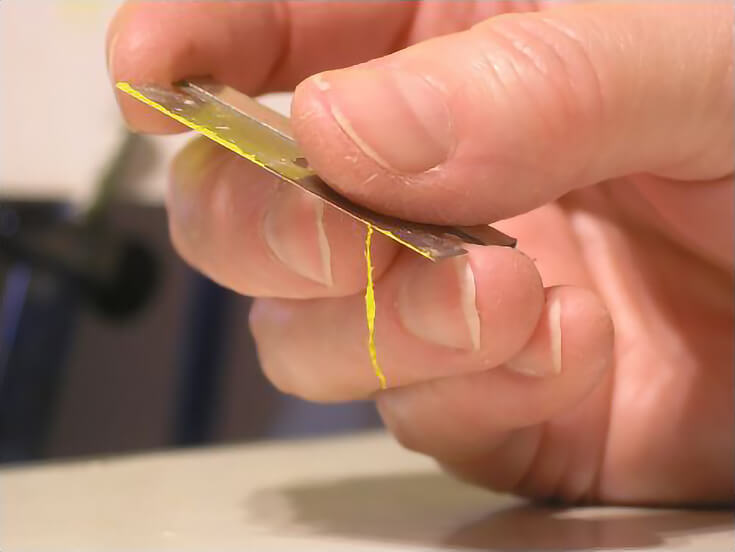
If the paint comes off as powder or dust, the paint layer is dry all the way through, and you can paint the next layer.
If, however, the paint comes off in a roll or string, it’s still too wet to paint on. In the illustration below, you can see the paint that came off on the blade not only formed a roll along the edge of the blade; it stuck together like a thread. It’s nowhere near dry all the way through.
In a case like this, it’s best to let the paint dry another week and test it again. Continue the cycle of drying and testing until the paint comes off in a powdery dust.
TIP: Make sure to use very light pressure when testing the dryness of paint this way. You only want to make sure the paint is dry—you do NOT want to gouge paint all the way to the support!
But what if a layer of oil paint takes weeks to dry?
I know what a challenge it can be to wait for paint to dry all the way through. My preferred oil paint was M. Graham Oils, which are made with walnut oil. Walnut oil is very slow drying, and I’ve had paintings that needed to dry up to four weeks before I could do the next layer. If I used a slow-drying color, it could take even longer to dry all the way through.
One way to avoid long waits for paint to dry is to use faster drying colors. The umber layers, for example, often dry over night or in day or two because earth tones usually dry more quickly.
The sample painting above featured yellow paint, a notoriously slow drying color, even in thin layers. It took a couple of months to dry all the way through even though I’d applied a very thin layer.
So save those jewel tones for later in the painting process, when you’re glazing the final layers or adding finishing details.
There are also workarounds for drying time.
One of my favorite methods was to always have at least two paintings going at the same time. That way, I could work on one painting while the other was drying.
For large paintings (16×20 or larger) two paintings were often enough. By the time I painted a layer on one, the other had dried. For smaller paintings, I sometimes had as many as four or five in progress simultaneously.
For those who prefer not to have multiple pieces in progress (or who find it distracting and counterproductive to work on more than one piece at a time) drying time is a great time to work on preliminary sketches or sketching from life or outdoors. If the current painting involves objects you’re not very familiar with, or that you struggle with, do a few thumbnail sketches as studies while you wait.
Or, if you prefer, you can use drying time to plan the next piece, stretch canvases (if you do that by hand) or to prep your painting surfaces for future use. And if your art is your business, you can always spend some of that time on marketing chores.
So take a look around your studio or work area, or take a close look at your normal work habits. It’s likely you’ll find things that can be done while you’re waiting for paint layers to dry. Even if it’s organizing studio space or photographing finished work, just because you can’t paint doesn’t mean that time has to go to waste!
This post may contain affiliate links.