Who’s your worst art critic? Be honest!
It’s you, isn’t it?
But it’s also true you’re the person best-suited to correctly evaluating your work, because one knows your intentions for each piece better than you do. No one knows your overall art goals better, either.
The trick to successfully evaluating your artwork is to have a system; a method that provides consistency and removes some of the “I hate everything I do” subjectivity that all-too-often follows after creativity.
I recently shared a few tips for setting up such a system. If you missed it, take a few minutes now to read How to Make A Crit Sheet to Self-evaluate Your Own Artwork.
Today I want to follow that up by sharing several tips for conducting a self-evaluation, hopefully using the crit sheet you made after reading that article. But before we start, here’s one very important point:
Remember to evaluate your art in-progress!
While most of us think of evaluating our work when it’s finished, there are good reasons to evaluate your work at least once while it’s in progress. The best reason is that it’s a lot easier to correct problems when they’re small, instead of after the work is finished when problems may be much larger.
Sometimes, by the end, a mistake is so huge it’s actually impossible to fix!
That’s an awful thing to find out at the end of so much work, so regular self-evaluation of each piece is vital. You’ll more likely to discover mistakes early, when corrections are easier to make.
So when is the best time to do a self-crit, you ask?
That depends largely on the drawing method you use.
If you draw in stages (first the under-drawing, then layers of color/detail, etc) good times for a self crit are after each stage is completed. For very complicated drawings, you might also consider evaluating your progress halfway through each step.
Other good times for a self evaluation are when you finish or begin work for the day. Personally, I think at the beginning of the day is best because you’ll be fresh. The drawing will have “cooled off” over night and you’ll be able to look at it with new perspective. What better time to look for potential or developing problems?
And what better time to fix them? At the very least, try evaluating your work at the halfway point.
All right, now that you know WHEN to evaluate your work, here are my tips:
Tip #1 – Remember the reference photo
I believe the absolute best way to do an ongoing self-crit is to spend more time studying the reference photo than your drawing, at least in the early stages. Things to look for are accurately drawn shapes, accurate colors, and accurate values. This applies no matter what drawing method you use.
Tip #2 – Establish a routine
The best way to do good self crits is to do them regularly throughout every drawing. Establish a pattern and stick with it every time. You may have to try different routines to find the right one, but it’s worth the effort.
Tip #3 – Make a checklist
Make a list of common problems. For example, I tend to draw right over highlights if I’m not careful. That’s something I need to check frequently.
You know the struggles you face with almost every drawing. Those “challenges” you just can’t seem to avoid. Those challenges should be on your checklist.
NOTE: If you think you have a lot of problem areas, select one or two to work on improving. Otherwise, it’s way too easy to get frustrated over lack of improvement.
Choose the things that would make the most improvement overall and work on them. If you consistently have problems getting values dark enough, drawing even color, and knowing which colors to choose, improving how you draw values will be of the most benefit the most quickly, so that’s the first thing you should work on.
As you improve in each one, add something else to the list.
And while we’re on the topic. . . keep your checklist close by! Making one is great, but it won’t be much help if you forget to use it. Trust me! I know!
So keep your list close at hand. Preferably in a place where you can see it from your working area, like clipped or taped to your drawing board or easel.
Tip #4 – Use a mirror
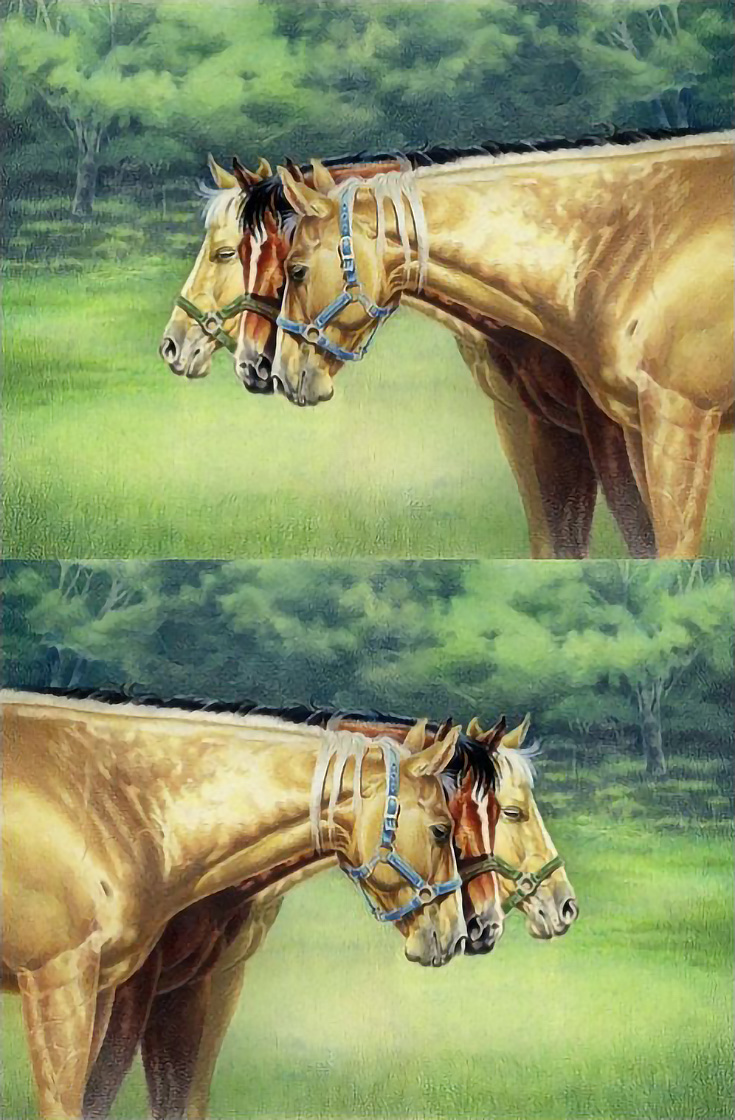
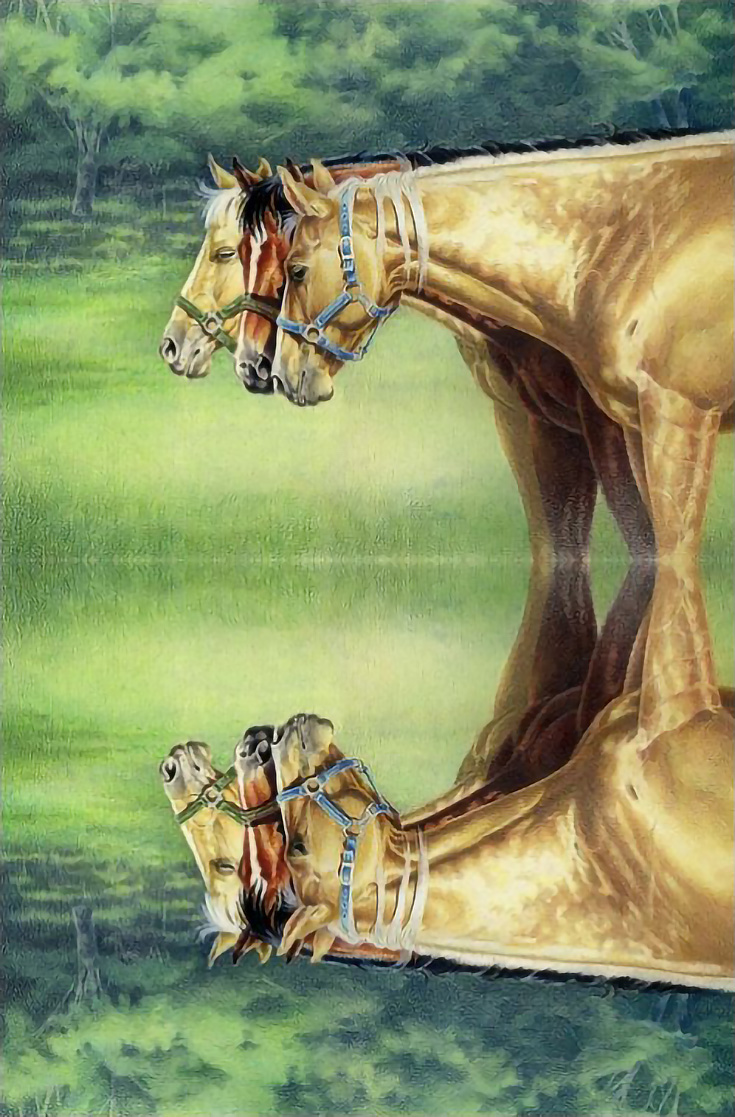
One excellent way to get a more general evaluation at any time is by viewing your work in reverse. Hold your drawing up to a mirror. Errors you can’t see when looking at the drawing from the front become glaring when seen in a mirror.
Scanning the drawing and looking at a reversed digital image is a good way to do this, if that’s easier:
Turning it upside down can also help:
It doesn’t really matter how you achieve a different viewing perspective; what’s important is seeing your work from a different perspective.
Tip #5 – Practice, practice, practice
Getting into the habit of doing self crits on a regular basis is just like developing any other habit. It takes time! So be patient and don’t be too hard on yourself.
Yes, it may feel uncomfortable and intimidating at first, but it’s a skill—and a habit—worth learning. If you take the time to develop a system, and exercise the discipline to use that system with every drawing, you will see progress.
This post may contain affiliate links.


