As a colored pencil artist, I’ve found that soft-focus backgrounds (like the kind you see in many photographs, especially portraits) are excellent backdrops for equine and animal portraits as well.
Just like in a photo, these ephemeral, colored backgrounds lend a sense of space to a colored pencil portrait that might otherwise be lacking pictorial depth.
So, in this article I’ll walk you through each different layer of color that I used to create a soft-focus background for one of my recent horse portraits. (All the colors referenced below are Prismacolor Premier unless otherwise stated.)
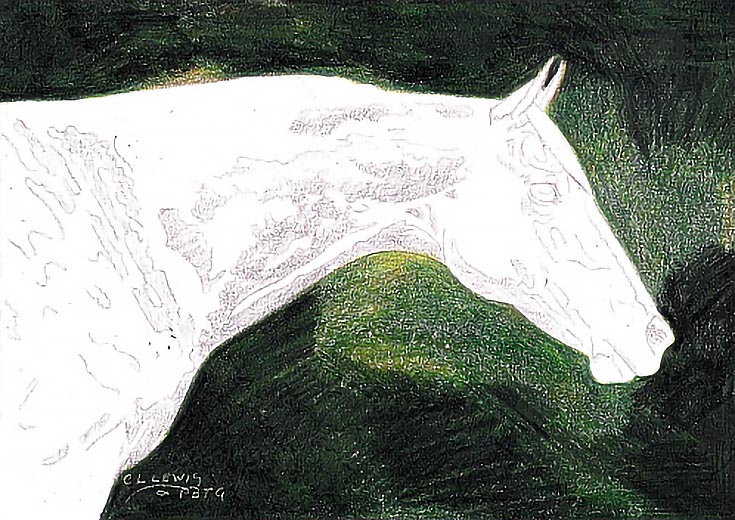
Step 1: Starting with Limepeel
I began by cross-hatching Limepeel in short, parallel strokes in all directions. For the first layer, I used medium pressure and didn’t sharpen the pencil once I got started.
The second layer of Limepeel was applied with light-medium to medium pressure. I stroked in all directions again, using quick, short hand movements to add color so that I ended up with a background of random patterns and values.
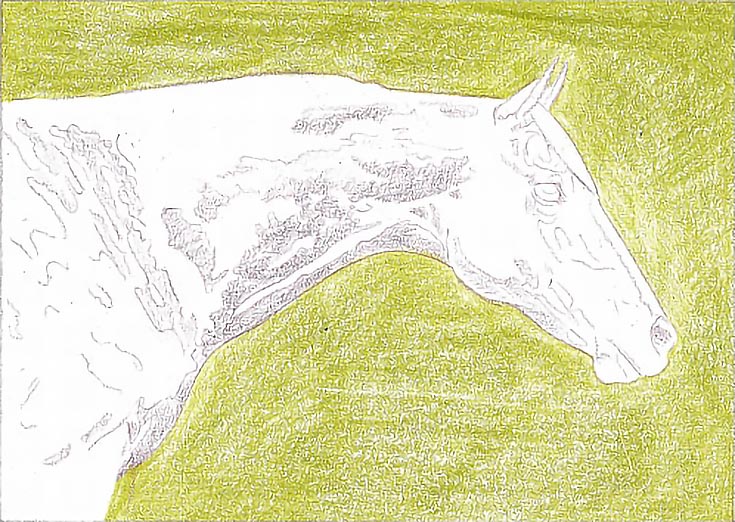
The resulting color was nicely saturated, but sketchy, with lots of paper holes in a variety of shapes and placement throughout the background.
Sometimes, I’ll create a pattern that’s more clearly foliage, but when time is a factor (as it was in this case) I like to use this soft-focus method instead.
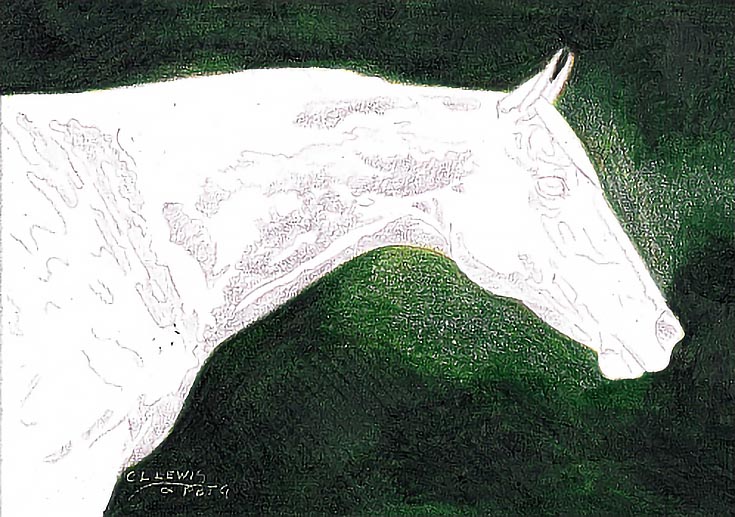
Step 2: Layering Olive Green
I layered Olive Green onto my background in the same way, using open, cross-hatching strokes with medium pressure. I sharpened the pencil once at the beginning, then let it become blunt, using directional strokes around the horse to draw crisp edges, and loose, short strokes everywhere else.
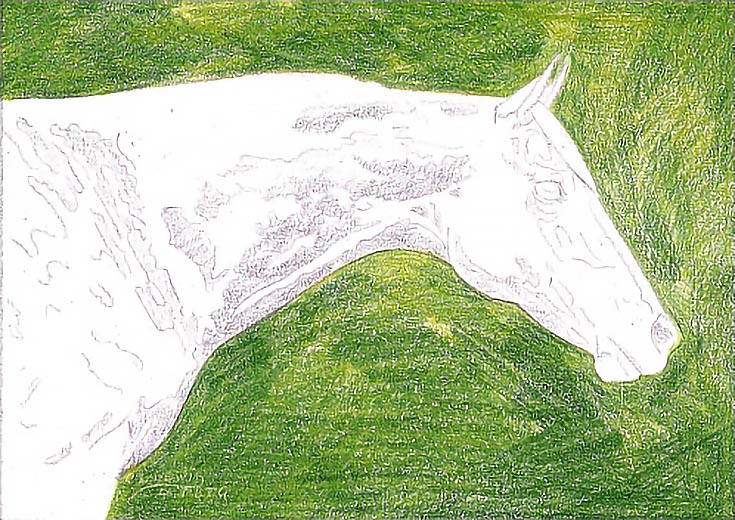
As before, I applied two layers, using a wider range of pressure with the second layer.
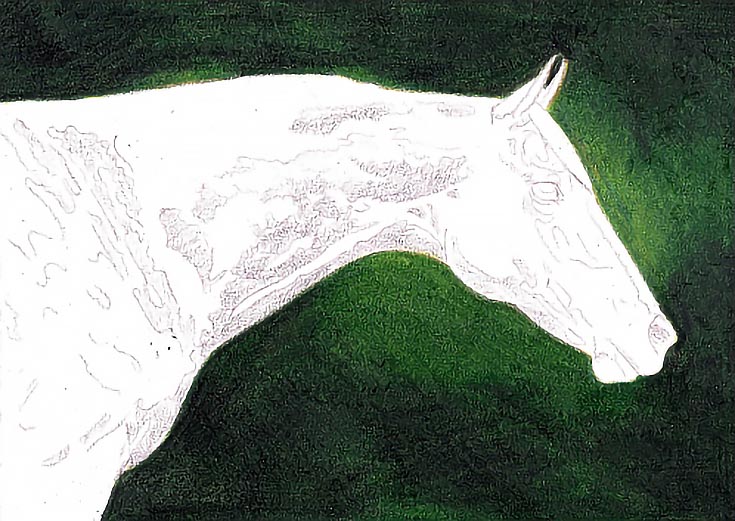
Step 3: Adding Indigo Blue
The next color was Indigo Blue. I applied two layers with medium to medium-heavy pressure and open strokes in several directions.
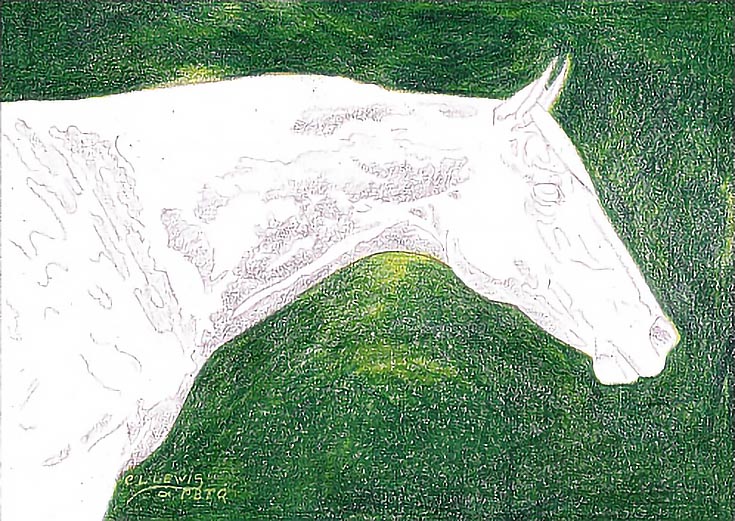
Like the previous layers, the only thing I was careful about was preserving the drawing of the horse and leaving plenty of open areas in the layers of indigo blue.
Step 4: Toning down with Sienna Brown
So far, I had only used only greens and blues. The combination produced good, dark greens, but the color was also beginning to look unnatural—too bright and artificial.
Before going any further, I needed to tone down the greens, at least a little. Any warm color such as orange, red, or brown would be acceptable, but I’ve had the best success using earth tones.
I layered Sienna Brown throughout the background with medium pressure and open, cross-hatching strokes. Since I wanted all of the greens—light and dark—to be toned down, I was more careful to go over all of the background.
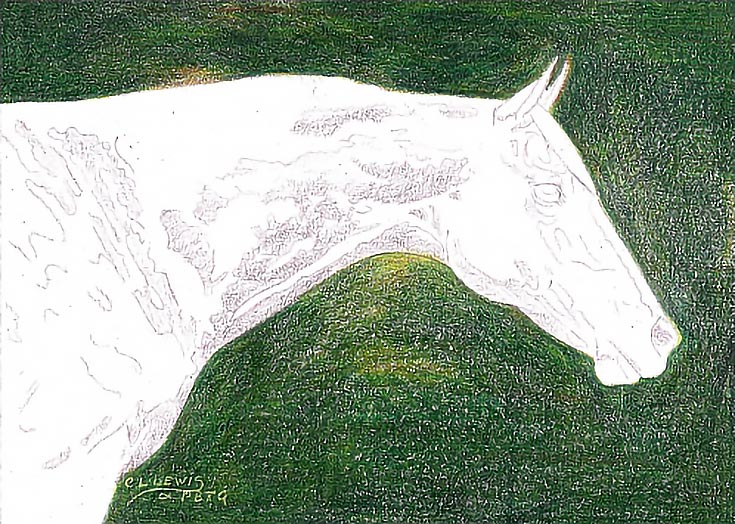
NOTE: I chose Sienna Brown in particular because the horse that I’ll be drawing for this piece is a bright red chestnut, and Sienna Brown will be one of a handful of main colors in the chestnut. Using the same color in the background not only tones down the greens, but creates color unity between the background and the horse in the finished drawing.
Step 5: Burnishing with Black
Once the background was satisfactory, I burnished with Black.
I burnished around the outside edges of the drawing but didn’t burnish other areas adjacent to the horse to focus attention on the head and upper neck.
Step 6: Burnishing with Dark Green
I next burnished with Dark Green. Once again, I burnished only the darkest areas. The lighter areas were glazed with medium or light pressure.
And, you’ll notice that some of the lightest areas were neither burnished nor glazed.
Step 7: Glazing with Olive Green & Limepeel
I finished the background by glazing Olive Green over all parts of the background,. Then I burnished the lighter areas with Limepeel, blending them into the middle tones and dark areas. This also softened the sharper edges between colors and values.
NOTE: I had to use burnishing pressure almost everywhere because there was so much pigment and wax on the paper.
Step 8: Optional blending with paper towel
To finish off the background, I folded a piece of paper towel into quarters with the most textured side outward and rubbed it over the background.
The results of blending with paper towel are subtle, and don’t show up well in a photograph, so I didn’t take a picture. In person, it does move enough pigment around to soft edges, as well as smoothing the physical surface of a drawing.
You can skip the paper towel for a less “painted” look on your finished colored pencil drawings, and if you want even more blending, try using rubbing alcohol to blend your colored pencil instead.
In the end, my soft-focus background process took about two hours, so if you need a background fairly quick, this method will get you there.
And, while I focused on creating a background that mimicked out-of-focus foliage, you can use this technique with any combination of colors to create vibrant and interesting backgrounds. Enjoy!
This post may contain affiliate links.