“Colored pencil drawing is like mowing a lawn with a pair of scissors.”
That’s what I tell people when they ask about the differences between oil painting and colored pencil drawing. It’s especially true if you like a lot of detail and texture in your drawings.
Luckily, there’s way to create texture without having to draw every detail. . . using found texture!
What is found texture? In short, it’s any texture you find in the world around you. If an object has texture and if you can lay a piece of paper over it and transfer the texture to the paper by shading, that object is a source of found texture.
I’ve written more than one article about using concrete texture or stone texture in artwork, specifically in colored pencil work. If you’ve missed those articles, they’re good ones to start with, and I won’t be rehashing the same information today.
Instead, I’m going to share how to assemble your own found texture library.
Why every artist needs a texture library
For many years I took rubbings of interesting textures wherever I found them, and then tried to incorporate those samples in my studio work. But for some reason I didn’t give much attention to the wisdom of building a library of textured objects that I could use again and again.
Then one day, I picked up a chunk of broken concrete from the back walk and discovered it had two completely different sides. One side was smooth and medium grained; the other was uneven and very coarse.
It was also small enough to bring into the studio, but large enough to make capturing large samples of texture possible. I experimented with it that afternoon and realized it would be a good idea to keep it inside, where it would be clean, dry, and available whenever I needed it.
That find was just one of many. Here are some of the ways I’ve collected found texture to use again and again.
Sticks and stones and other stuff
Since the best method of collecting samples is finding “pieces of texture” and bringing them into the studio for safe keeping, keep your eyes open for objects that suit themselves to that method. They should be small enough to move and store, but large enough to be useful.
The more storage space you have, the more flexible you can be in the size of objects, but there’s no reason you can’t begin a collection even with limited storage.
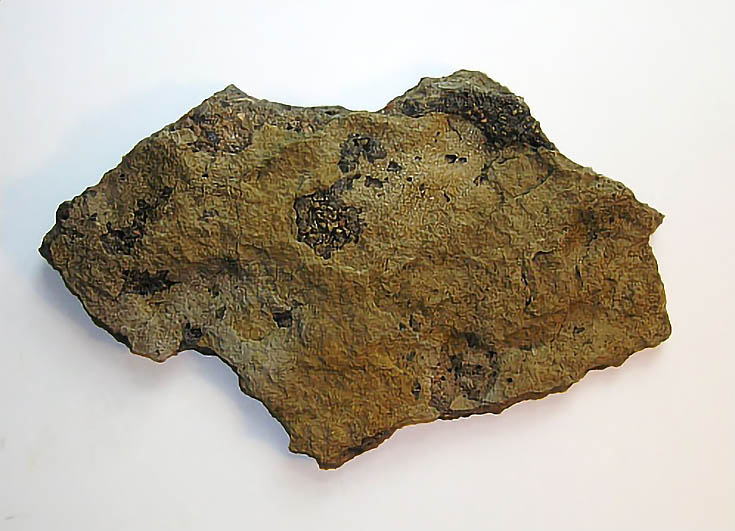
Below is the aforementioned piece of concrete – well, one side of it, anyway.
It’s a little over 12 inches long, so it’s not exactly something to display on a shelf or mantle, but it’s an ideal accent piece for indoor plants, so that’s where I keep it. Here’s the other side:
When I need to use it, it’s a simple matter to dust it off and make use of it yet again.
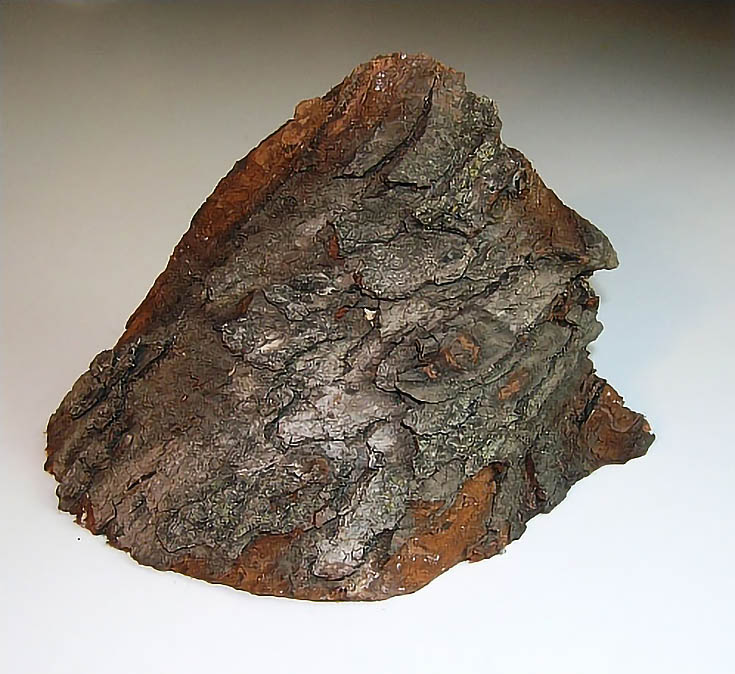
Here’s another object I collected: a piece of dried maple. It has different texture inside and outside for very different results. Here’s a look at the inner texture:
Since the tree came from our front yard, I have several other samples too. I keep this piece on the mantle, but only because we have two house cats that are always looking for new scratching posts!
Of course, no mention of my collection would be complete without a good, old-fashioned paver. Streets in this part of the country used to be paved with brick, and some still are, but many of the bricks have been replaced by asphalt.
I have access to several types of bricks ranging in texture from surprisingly smooth to very rough. This one also doubles as a door stop when the need arises.
And don’t forget your everyday household items!
The more texture objects I collect, the more I become aware of surface textures found on many of my own household items. Wood flooring, textured wall paper, and plaster samples are just a few—I’m sure you can find many in your own house, too.
For example, this next sample of wood flooring is in our entry. There’s no need to find storage for this piece; just a mop and wax once in a while!
The texture in this old linoleum is more subtle, but no less useful.
What about using a cast iron skillet as a source for found texture? For thinner paper, it’s a great textural surface. Shading across the bottom of a skillet with the side of a pencil and light pressure might be one of the easiest ways to draw dirt I can think of.
(Just make sure the skillet is clean and don’t use the inside of the skillet. . . Especially if it’s properly seasoned!)
Can you guess what this is?
It’s the baffling on the side of my computer monitor. Doesn’t it suggest some interesting ideas for texture?
And this next texture? It’s the speaker grid on the television.
I have no doubt that there’s a wealth of found textures all around you, too. Just take a look around, and keep your creativity flowing!
This post may contain affiliate links.


