One of the worst things that can happen to a work-in-progress is finding a scratch, indent, or scrape in your paper. This is especially frustrating when you’ve worked a long time on a drawing, and it seems like all your hard work is about to go to waste.
Here’s some good news—very few of these problems need to be fatal to your work. And today, I’ll show you how to deal with them.
Blending in scratches
I loved the old version of Rising Stonehenge paper, but it had be treated with kid gloves. More than once, I’d begin layering color over an area only to discover a scratch or impressed line.
When you find a scratch, the first inclination is usually to use heavy pressure to cover the scratch. But that usually doesn’t work, especially with deeper scratches, because the more color you apply, the more obvious the scratch becomes.
I actually found several scratches as I worked on the drawing below. So I was careful around the scratches, and followed my own method for hiding them.
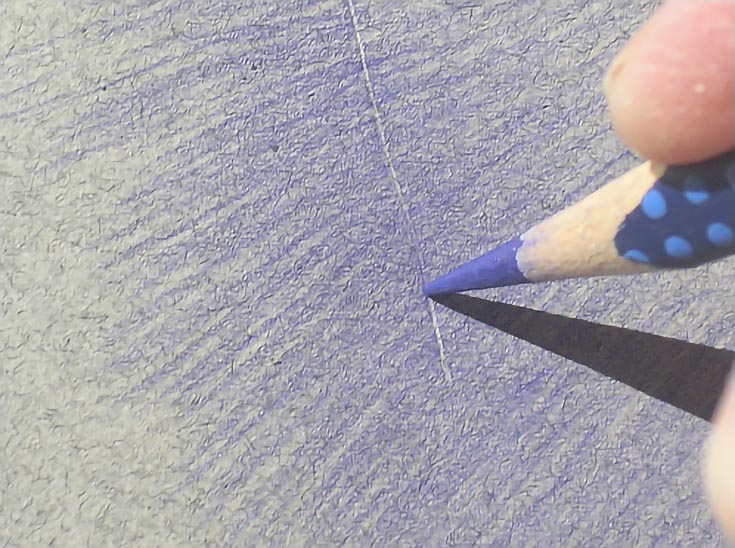
The trick is to sharpen your pencil until it’s needle sharp. The pencil tip needs to fit into the scratch, so if sharpening alone isn’t enough, use an emory board or sanding board to further sharpen the pencil. Use the same pencil you were using when you discovered the scratch because you want to fill in the scratch with the color around it.
Every time I found another scratch, I just added a few strokes of color to them with my extra sharp pencils. By the time the drawing was finished, the scratches blended so well into the rest of the drawing they were virtually invisible.
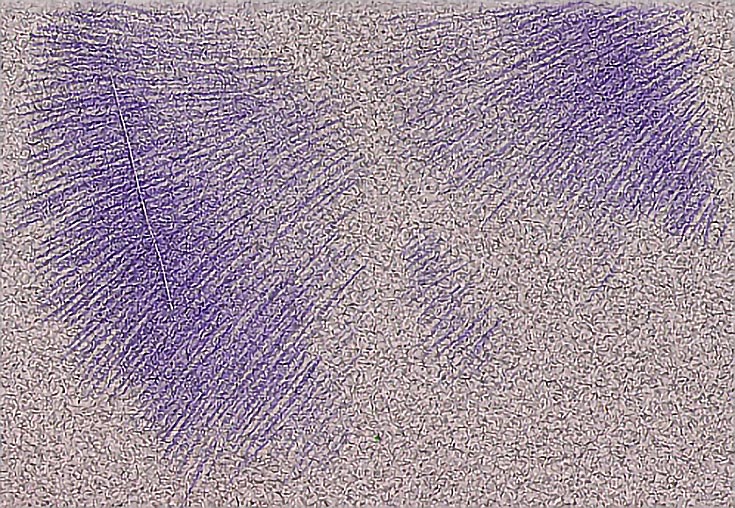
Here’s an example: notice the scratch in the paper on the left side of this drawing. It’s very short and very fine, but still quite visible against the purple strokes that I laid down.
Scratches like this are frustrating, but they CAN be filled in quite easily. Simply draw along the scratch using the lightest possible pressure and short, overlapping strokes. And sharpen your pencil often.
If you layered more than one color around the scratch, use the same colors (in the same order) to fill in the scratch. As you work, the scratch will gradually disappear. If you finish your work with heavier layers and/or with burnishing, the scratch will disappear entirely.
Hiding larger indentations
Unlike scratches, indentations can cover a larger area and are often random shapes. How does an indent get onto your drawing paper? Maybe the corner of a small container pressed against the paper at some point, or something hard dropped onto your paper and left a dent.
Whatever the case, if the indentation is narrow, the repair method is identical to that for a scratch. Just use a sharp pencil to get color directly into it, so it blends into the rest of your drawing.
If the indentation is wider and more shallow, you can use a less sharp pencil and different strokes to repair the damaged area. Just be careful where the indentation and undamaged paper meet. Hard strokes there may cause the edge of the indent to show up more clearly.
Covering scuffs and scrapes
A scuff happens when the sizing on the surface of the paper is damaged. The damage isn’t usually as deep as a scratch, but it usually covers more surface area. The illustration below shows paper damage (caused by excessive erasing) that occurred in a nearly finished drawing.
The moment you discover a scuff, stop and examine the damage. Small areas can be repaired if the damage is minor. Because this drawing was so close to completion and the damage disturbed only the surface of the drawing, I carefully layered additional color over the scuffed area and surrounding areas.
I used very light pressure to smooth the paper fibers, then followed up with a couple layers of color applied at medium pressure. When the drawing was complete, I sprayed it with retouch varnish to seal the damage.
If the damage is more serious, smooth the fibers down by stroking from where the scuff begins to the ends of the lifted fibers. Begin with light pressure and increase pressure gradually until the layers of pigment “seal” the scuff. Stroke beyond the end of the fibers and onto undamaged paper.
Take note of the area so you don’t inadvertently damage it again, but the more color you apply over the top, the more secure it will become.
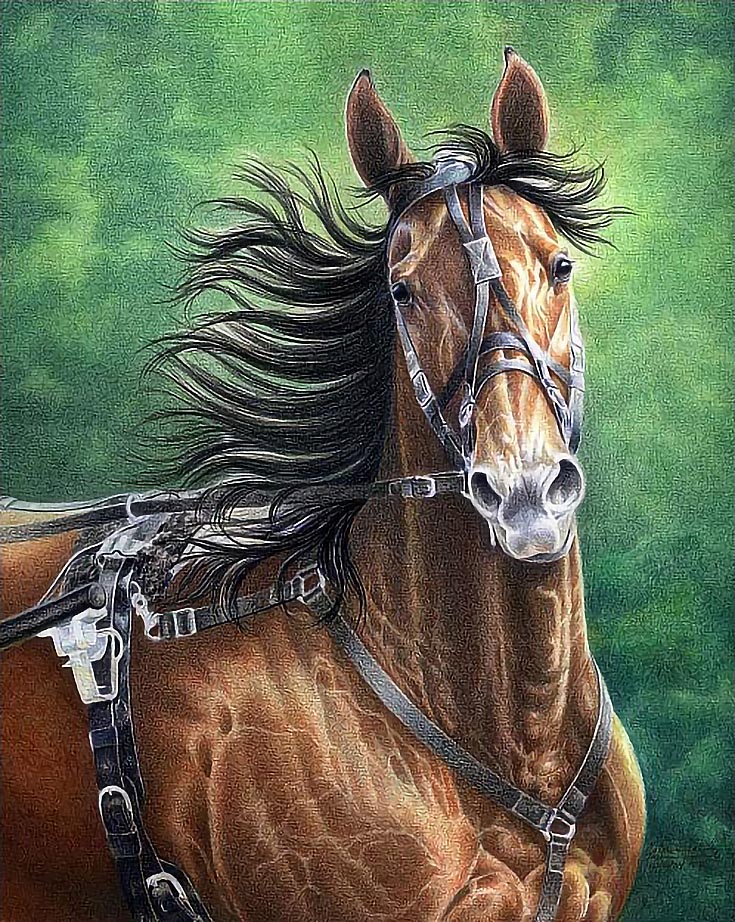
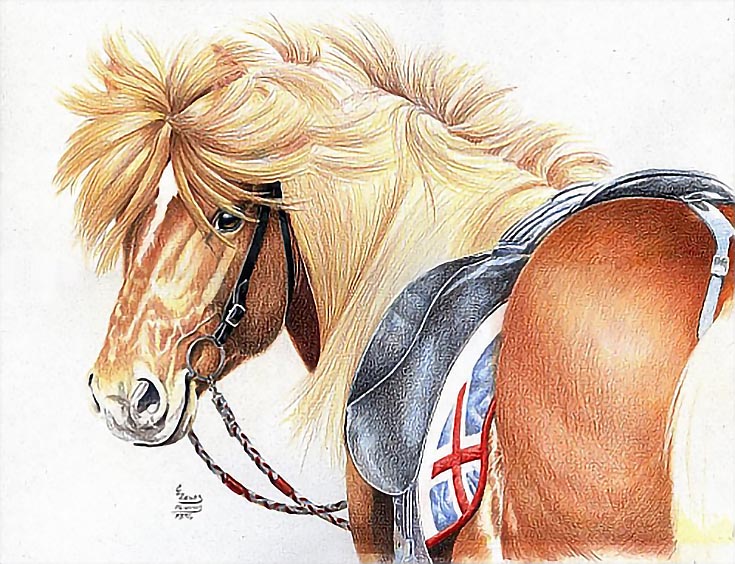
In another drawing, I scuffed the paper quite badly. I was sure the drawing was doomed, especially since it occurred in the rump of the horse, which wasn’t going to get a lot of layers of color. I just couldn’t see any way to cover the damage or compensate for it.
But look how it turned out:
I simply worked over the scuff carefully, using light pressure and lots of layers to avoid damaging the paper further. As you can see, there’s no evidence of the damage in the finished drawing. (Even better, the drawing sold quickly!)
Another option
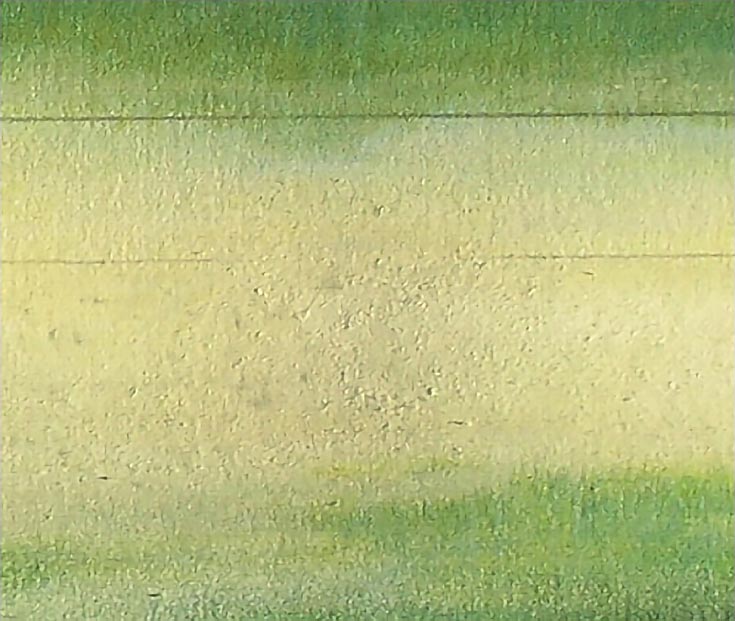
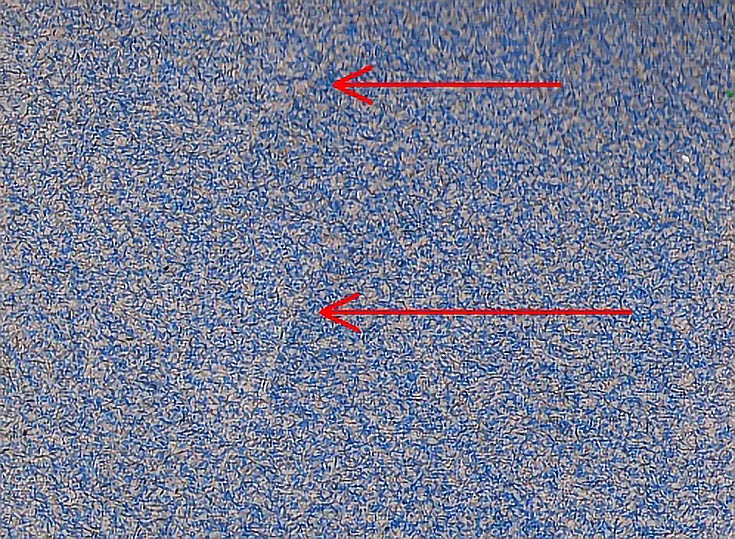
Sometimes, the best thing you can do with minor surface damage is find a way to incorporate it into the drawing. For example, in this next illustration I created two indentations on purpose (they’re right at the tip of both arrows.)
They barely show through the layers of color, however, and since they’re not too prominent, the best way to deal with something like this is probably just to work it into the drawing, almost like found texture.
Although any type of damage to your drawing surface seems dramatic when you discover it, it is possible to recover from most scratches, indentations, and scuffs on even the softest paper. The most important thing to remember is to not panic and don’t be too hasty to discard the drawing. With a little patience, a light touch, and some outside the box thinking, you can salvage a lot of drawings.
For more information on repairing damage to paper, make sure to check out my article on dealing with minor spills on your paper and (if needed) using bleach to remove tougher stains.
Good luck, and happy drawing!
This post may contain affiliate links.
