In my first article describing the Flemish method of painting, I talked about the first step of the process, including the drawing, inking, and the imprimatura. Today, I’ll describe the umber layers (steps 2 and 3).
For reference, here are all seven steps:
1. An imprimatura
2. First umber layer
3. Second umber layer
4. Grayscale layer
5. First color layer
6. Second color layer
7. Detailing layer
As with all painting methods, there’s definitely room for adaptation, so as I describe the traditional Flemish method, I’ll show you how I do it as well.
Ready? Let’s get started!
Make sure your painting is ready for the next layer
Waiting for paint to dry completely is important with the Flemish method. Each paint layer must be dry all the way through, and if you paint too soon, you risk damaging previous work.
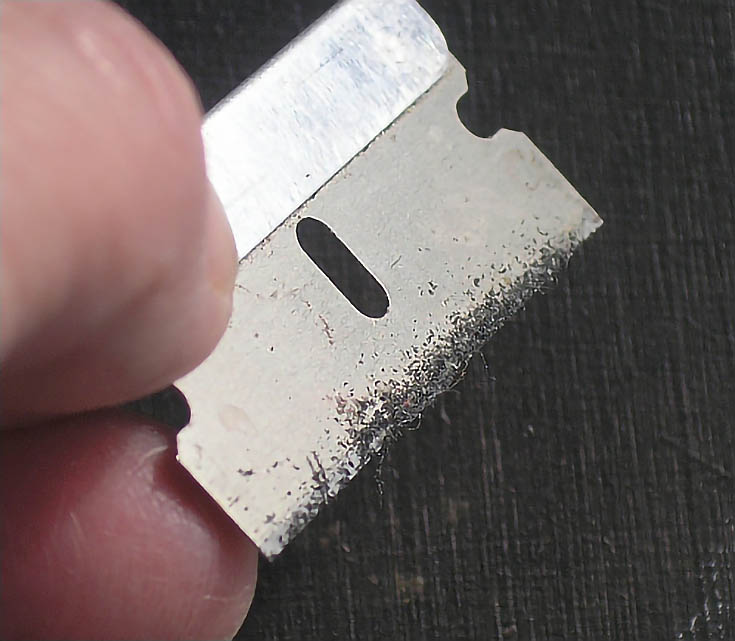
To check a paint layer, lightly scrape part of the painting with a razor blade. Use light pressure and draw the blade across the surface of the painting. If paint comes off the painting and forms a roll against the blade, it’s too wet to accept another layer of work.
BUT, if paint comes off as dust or powder, as shown in the illustration above, it’s dry all the way through and you can move on to the next step in the process.
Prep the surface for the next layer
Pour a small amount of linseed or walnut oil into the palm of your hand, then rub the surface of the painting until the surface is oiled. The warmth of your hand warms the oil so it “opens the pores” of the previous paint film and allows new paint to stick to the old paint better. Use a clean cloth or paper towel to wipe off the excess oil and you’re ready to paint.
Paint the first umber layer
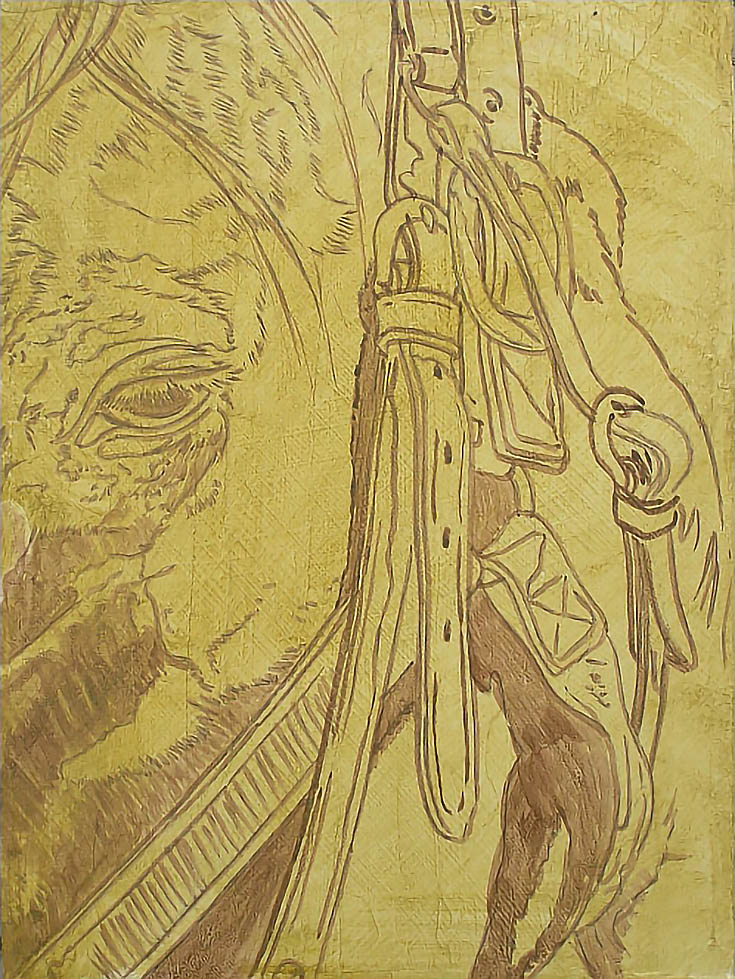
As you’ll recall, here’s where I left off last time with my composition:
For the first umber layer, I’ll be putting in extra details and pushing the value ranges. Typically, Burnt Umber is the color of choice for this layer, but you’ll use a special medium (two parts turpentine, one part Damar varnish, and a drop of lavender oil) to thin it down to the consistency of watercolor.
Once your Burnt Umber is thinned down, apply it to any areas of your composition that need darkening or additional detail. You may need to apply more than one wash for the darkest areas, and your lightest areas won’t need to be painted at all.
Try to add thin layers of color without brush strokes. If you see some brushstrokes happen, blend them out with a large, soft, clean brush.
It’s helpful to work from one area to the next, finishing each one before moving to the next. Depending on the size and complexity of your painting, it may take a week or more to work through the first Umber Layer so you want to have each area complete before it dries.
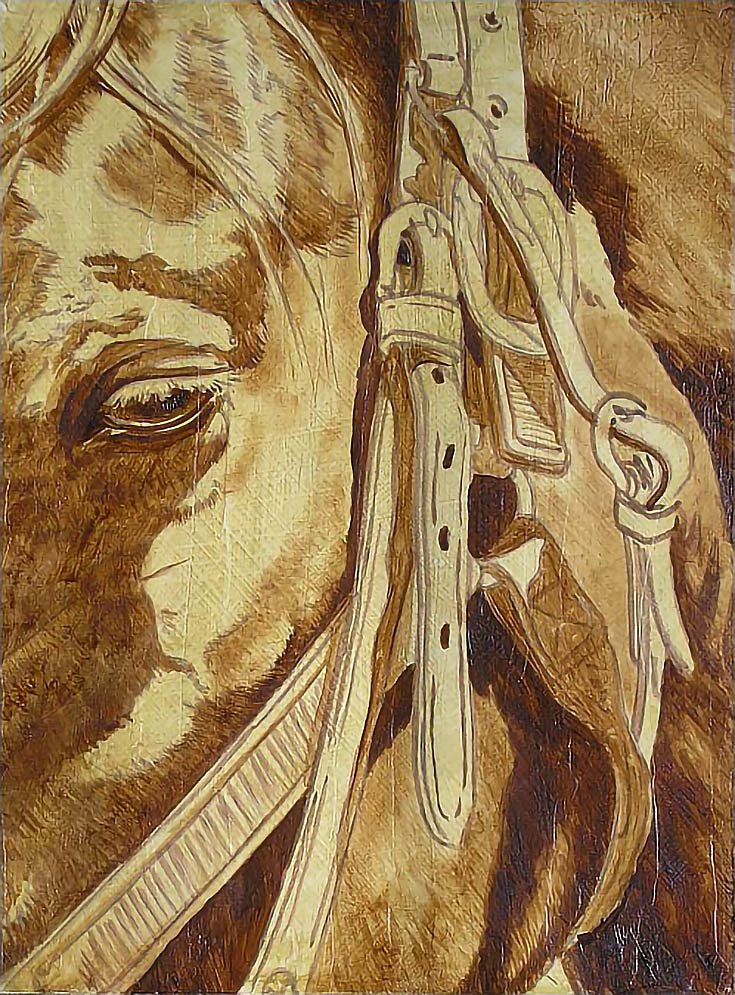
Here is my first umber layer, finished.
Now, because of allergies and my particular working style, I made some adaptations to the method described above.
For example, I didn’t use painting medium at all; I used straight walnut oil to thin my paint. I also applied paint with a clean cloth or with my fingers so I could “rub in” very thin, strokeless color layers. By not using medium, the paint dried much more quickly (basically overnight).
There WILL be a second layer of Burnt Umber, so be careful not to go too dark. Once the first umber layer is complete, let it dry completely for one week before moving on.
Paint the second umber layer
In this step of the process, your major value contrasts with be created. As before, lightly scrape the painting to check the level of readiness, then condition the surface before starting.
Then, using the same Burnt Umber plus painting medium that you used in the first layer, put down additional washes of umber over the painting to darken the darks and unify the composition. Since you’re trying to push the contrast, don’t paint the areas where you’ll have your brightest highlights, but do try to create gradual transitions in value from the lightest areas to the darkest.
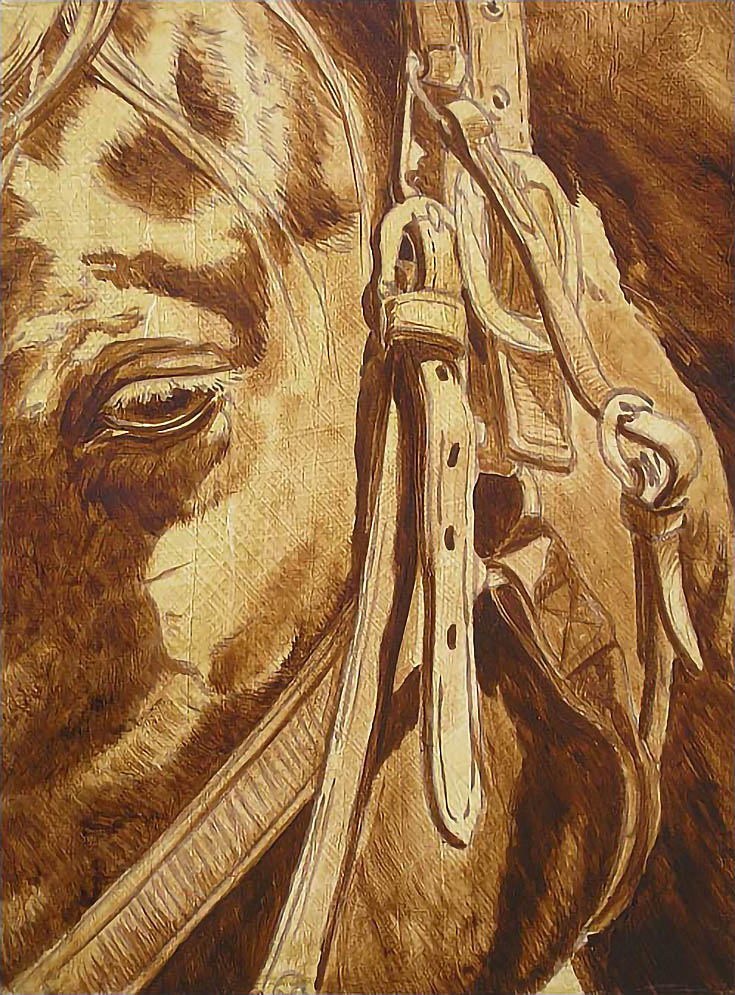
Here is my finished second umber layer:
If needed (especially in the darkest areas of yoru composition) you can let the Burnt Umber dry and then go over it again with additional layers of umber as many times as necessary. Just make sure to let the layers dry completely each time, and as always, smooth out brush strokes whenever you see them.
Once you’re satisfied with the appearance of the second umber layer, allow it to dry completely for up to three weeks.
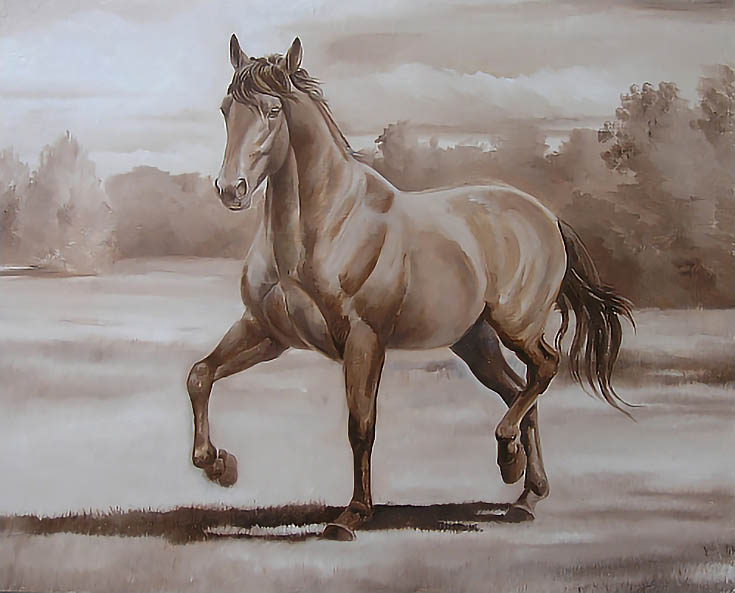
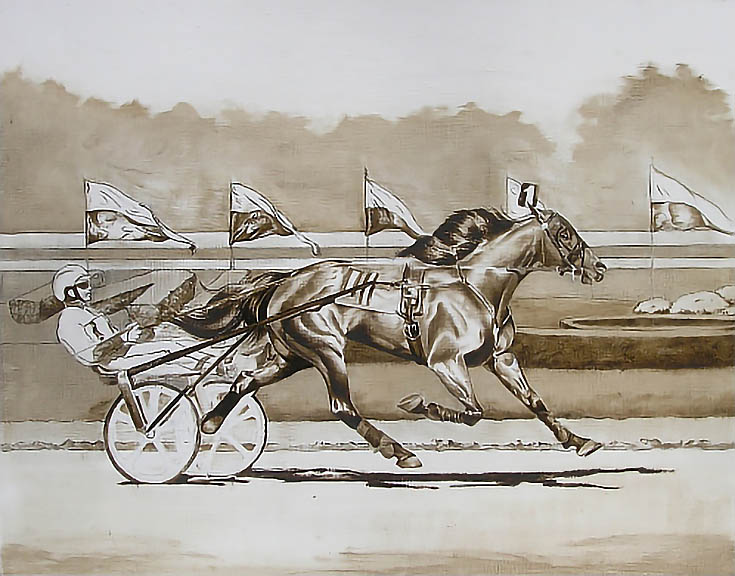
Now, I should mention that although the demonstration piece I’m working on above is a small, tightly focused composition, the Flemish method works just as well for larger paintings. For example, here is the finished umber layer for a 16×20 portrait that includes a fully landscaped background.
One of the reasons I like using the Flemish painting method is that I can work out my values without needing to also make color decisions at the same time. Landscape greens can be very difficult to get right, so this is an extremely important tool in my landscape painting toolbox.
This next portrait is even larger (22×28) and more complex. Again, using the Flemish method allowed me to fine tune the values and details early in the painting process.
If you are painting strictly by the Flemish method, your umber layer should be nearly as detailed as the finished painting. It will, in fact, look like a sepia tone version of the finished painting.
I don’t typically develop that level of detail for every painting, but every bit of detail you paint in layer will mean less work in following layers. The samples above show three different levels of detail, and all are acceptable.
Stay tuned for my next article on the Flemish Method, where I’ll be demonstrating the “dead” layer!
This post may contain affiliate links.
