A short while back I wrote an article for EmptyEasel describing how to blend colored pencils with rubbing alcohol—but, as you might expect, that’s not the only way to get a blended, painterly look in your drawings. Other standard studio solvents work just as well, and have their own special effects.
Today I’ll be demonstrating how to use turpentine to blend and smooth your colored pencils drawings. Odorless paint thinner and rubber cement thinner are also suitable, so feel free to pick whichever one you have at hand and follow along.
You’ll also need a brush, preferrably with stiff, short bristles, but almost any brush will do. Just make sure it’s one you don’t care too much about.
NOTE: Always use solvents in a well-ventilated area. Respiratory protection may also be advisable. If you start to feel light-headed or if headaches develop, stop use immediately. Treat odorless paint thinners the same way you treat other solvents. Just because you can’t smell it doesn’t mean it isn’t dangerous.
Before you start
Most solvents have the potential to create an oil-like stain on your drawing surface. If you’re working next to a bare section of paper, use the solvent carefully. Always test the solvent first on a scrap of the same kind of paper to see whether or not the solvent will stain the paper. If it does, see whether or not you can work over the stain or incorporate it into your artwork.
You’ll get the best blending results if you blend heavy layers of color with generous amounts of solvent. It’s also best to start with heavy paper, mat board, or a rigid support that will tolerate solvent. You can, of course, use solvent sparingly on lighter weight papers, but be aware that it could cause some buckling.
The following three examples are all on white mat board. Take a look:
1. Blending two similar colors with turpentine
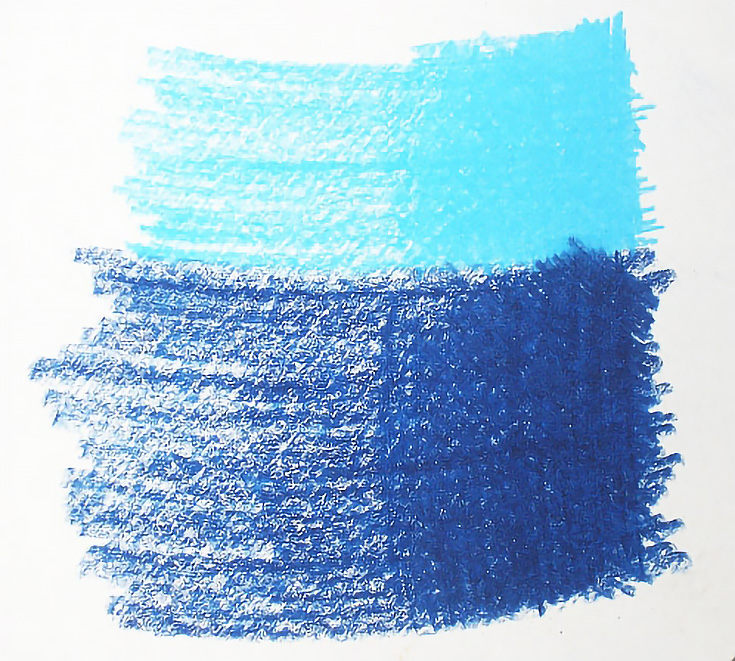
In the illustration below I layered two colors side by side. At the left of the illustration is the first layer. On the right, I added additional layers, hatching and cross hatching color to get solid coverage. The first layer was applied with medium or medium-heavy pressure, and subsequent layers were applied with heavy pressure.
Next, I poured a small amount of turpentine into a small glass jar that could be closed and sealed between uses. I used an empty peanut butter jar because the jar’s shape makes it very stable and the size is ideal for storing small quantities of solvent.
NOTE: If you decide to store solvent in any container other than it’s original container, it’s always a good idea to clearly label the new container so there’s no chance for mistakes.
To apply the solvent, I used a small bristle brush. I prefer to use worn-down brushes because the shorter bristles allow me to apply more pressure, but you can use any size or type of brush you prefer.
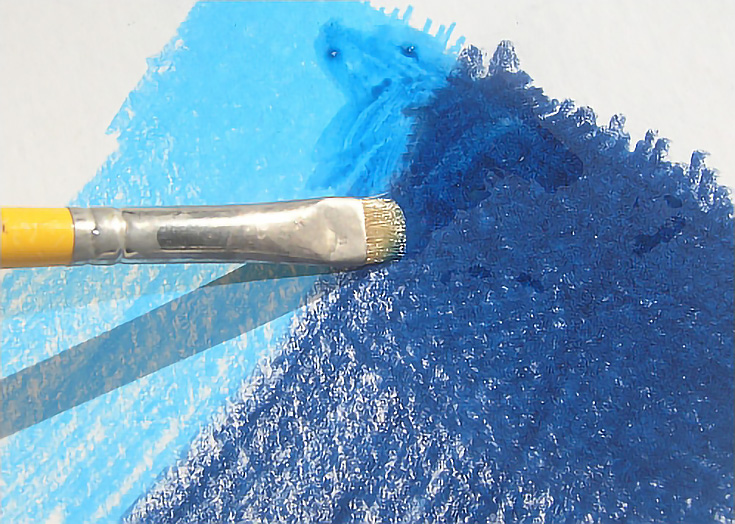
Here’s a photo as I started adding turpentine to my colored pencil:
Those dark smears right above the brush are actually liquefied blue pigment, because the solvent totally breaks down the wax binder, allowing the pigment to float free. Up until the solvent evaporates completely, the pigment can be blended almost like watercolor paint. The more pressure you use, the more the colors will blend.
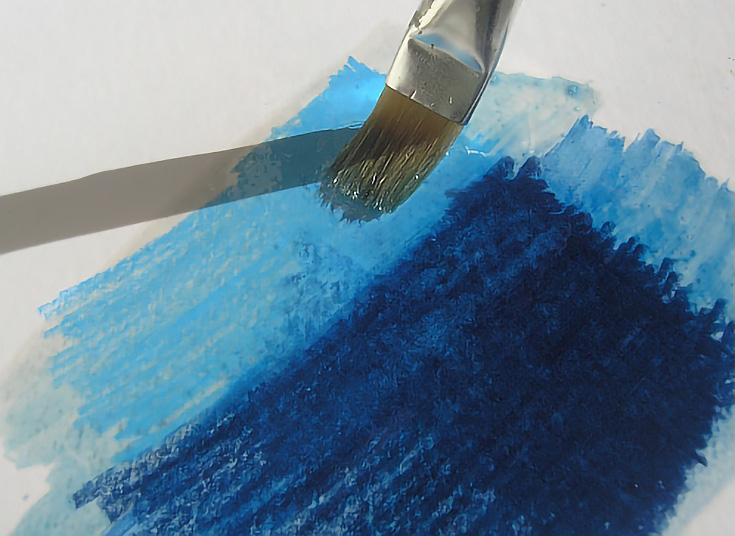
I worked back and forth between the colors in this illustration, pulling liquefied pigment from one color to the other and back again. Then I switched to a larger brush and stroked the solvent lengthwise, blending light blue from one end to the other, then blending dark blue from one end to the other.
Just like watercolor paint, it’s a good idea to blend lighter colors first and rinse your brush between colors if you don’t want colors to mix.
Finally, I also pulled pigment onto the paper to create a wash of each color. This can be very effective if you want to create passages of soft, atmospheric color.
Another way to add watery, transparent color is to make a “painting palette” by putting heavy layers of color on a small piece of board, then stroking the color with solvent and brushing it directly onto your drawing. Do so with caution, however, becuase the solvent will also begin to liquefy any color you already have on the paper.
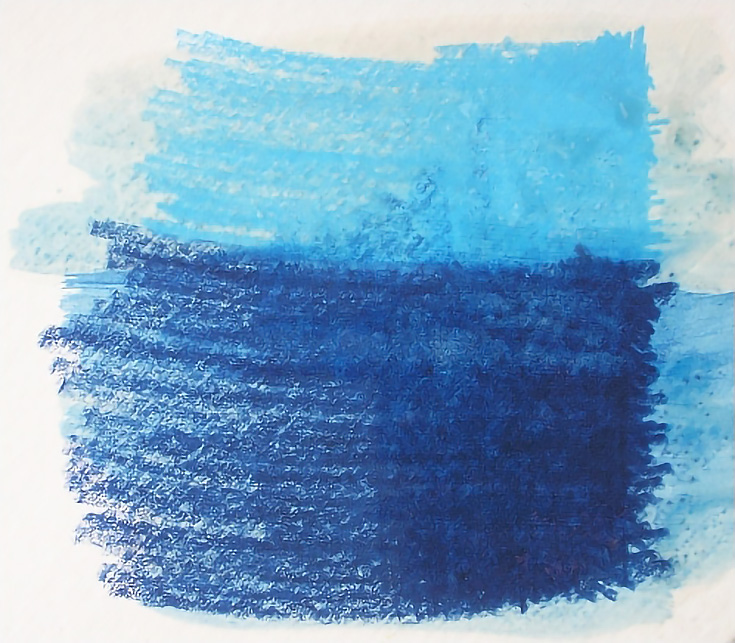
Here’s the same sample after it dried. Note the oily solvent stain that occurred on the bare paper. This kind of staining will be more noticeable with light colors than with dark, since darker pigments will disguise the solvent stain with its own pigment.
Notice also how much more completely the solvent blended color on the right side than on the left. The reason for this is because there was only one layer of color applied with medium or medium-heavy pressure on the left side. For the smoothest blending, you should always have multiple heavy layers of colored pencil on the paper before adding the solvent.
2. Blending two dissimilar colors with solvent
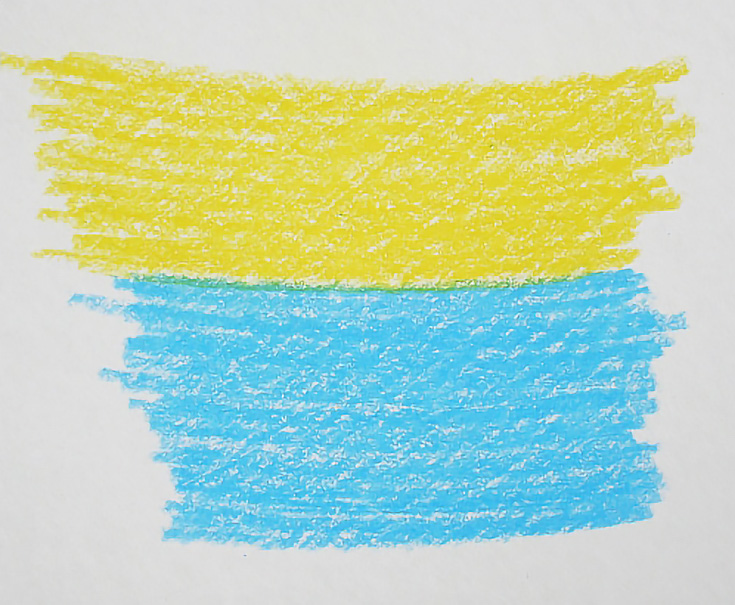
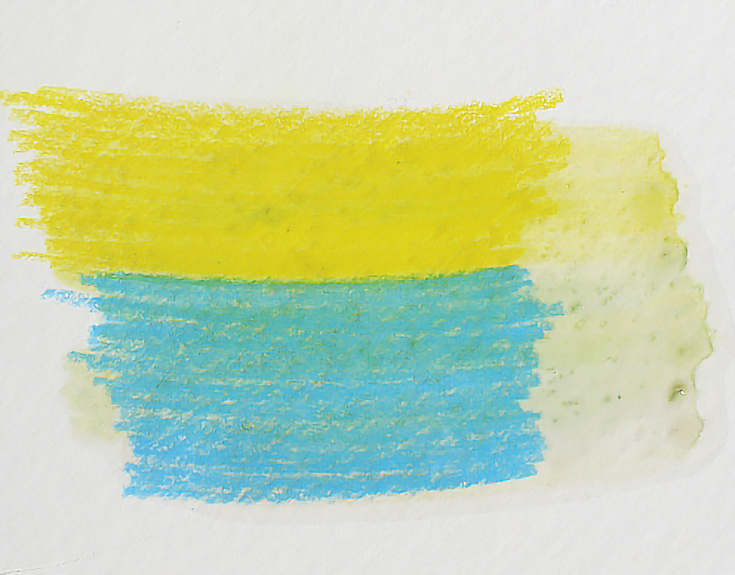
For this next illustration, I used two very different colors. Each color was applied with heavy pressure and multiple layers.
I used the large bristle brush to brush solvent lengthwise, beginning with the lightest color first. As with the previous sample, I pulled a wash off the right side, but I also worked from the yellow directly into the blue, creating a subtle green between them.
This method of blending two different colors to get a third color is one of the things I like best about using solvent on colored pencil drawings.
3. Using solvent on mixed layers of color
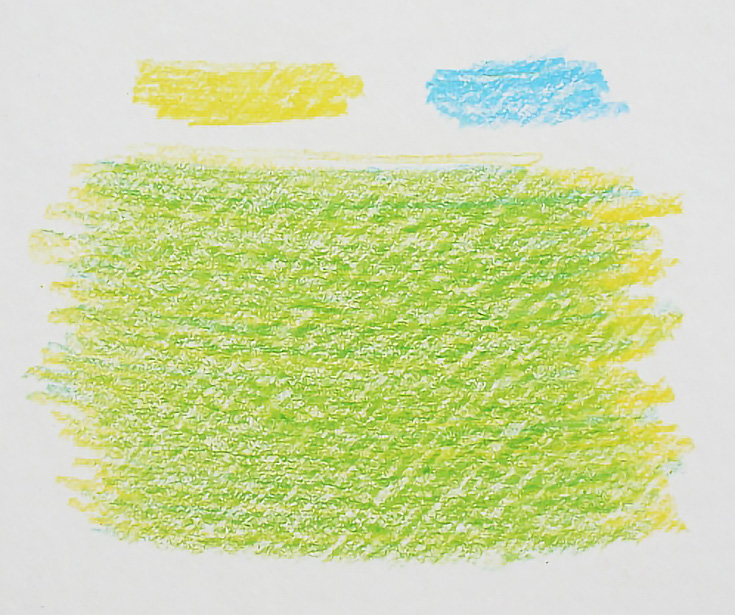
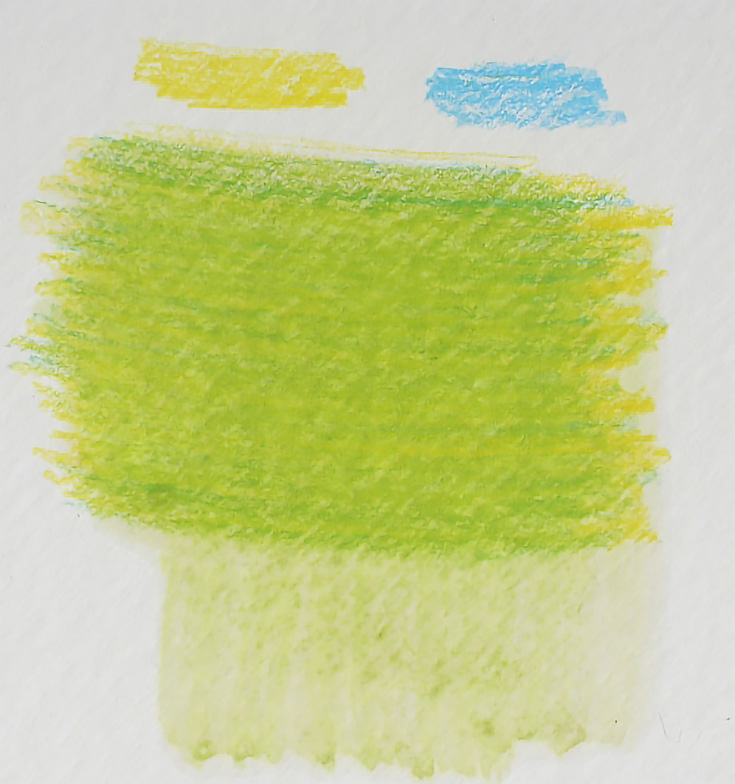
For the third sample, I layered the yellow and blue to create a blended green even before adding the solvent on top.
Then, as before, I applied solvent with a large bristle brush. Since I wanted the two colors to blend more completely, I stroked lengthwise once, then stroked across the sample the other direction.
I used medium pressure, so didn’t get a complete blend, but you can see the difference between the blended and unblended samples. Of course, the wash at the bottom of the sample is also green.
Keep in mind, you can always blend the same area more than once. Just let it dry completely before using the solvent again. You can also go back over the area with additional color. I’ve created some very nice painterly backgrounds by blending my first layers of color with solvent, then adding more color, then blending again.
To sum up, solvents are a very useful tool for colored pencil work, especially when you need to create smooth, perfect layers of color. Just be sure to use them in well-ventilated areas and always test your paper first to make sure it can handle it.
Give it a try, and good luck!
This post may contain affiliate links.
