If you’re an artist working in dry media (such as colored pencils, pastels, etc) you already know that spills and stains can be a nightmare to deal with.
Coffee, tea, juices, and many soft drinks will easily stain paper and do damage to finished drawings in the blink of an eye. And, unless you can find a way to work the stain color into your drawing, a work-in-progress that gets spilled on may be a lost cause from the beginning.
Previously I’ve written about a first response methods for dealing with stains. That’s the best case scenario—where you catch a spill right as it happens. My second article focused on using bleach to remove tougher stains. It works quite well if you’re using watercolor paper, and OK if you’re using regular drawing paper.
But both of those situations involved paper that had not yet been drawn on. . . what if you’ve spilled something on a work-in-progress, or on a finished drawing? That’s our topic for today.
Removing stains from works-in-progress artwork
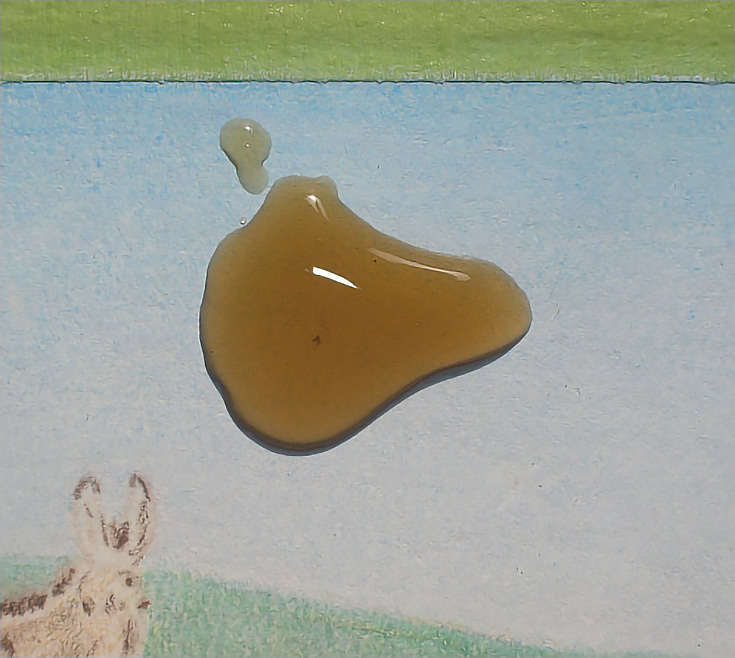
First, here’s some good news for colored pencil artists—the binding agent holding the pigment in your pencils is usually wax or vegetable oil. These agents resist moisture, so anything spilled or dripped on colored pencil work is unlikely to reach the paper if the color is applied heavily enough. Essentially, it acts as a protective barrier. So if this happens to you. . .
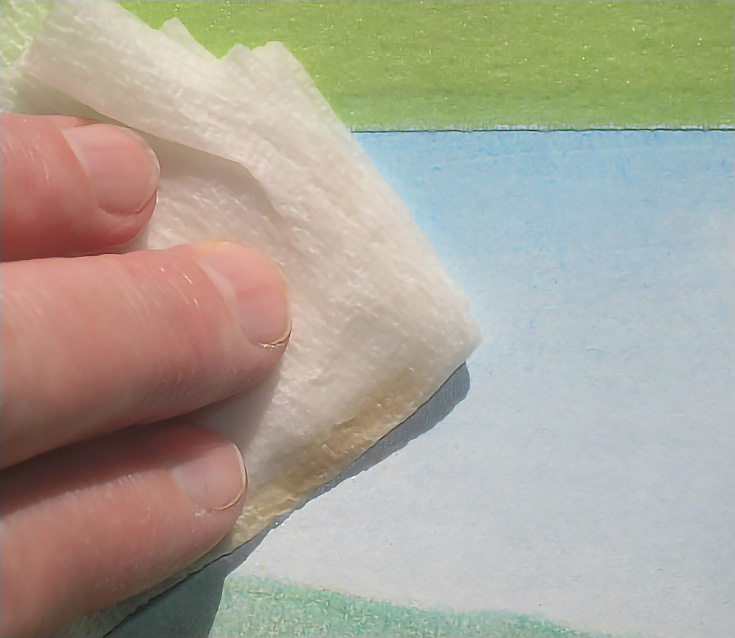
. . . blot the stain with paper towel moistened with clean water. I like to fold a section of paper towel into a small enough square to hold easily. The edges and corners are great for working in smaller areas and the multiple layers quickly absorb moisture.
Don’t soak the paper towel with water before you blot. Just dampen it a little so it will quickly absorb the spill. You don’t want to leave any moisture on the drawing.
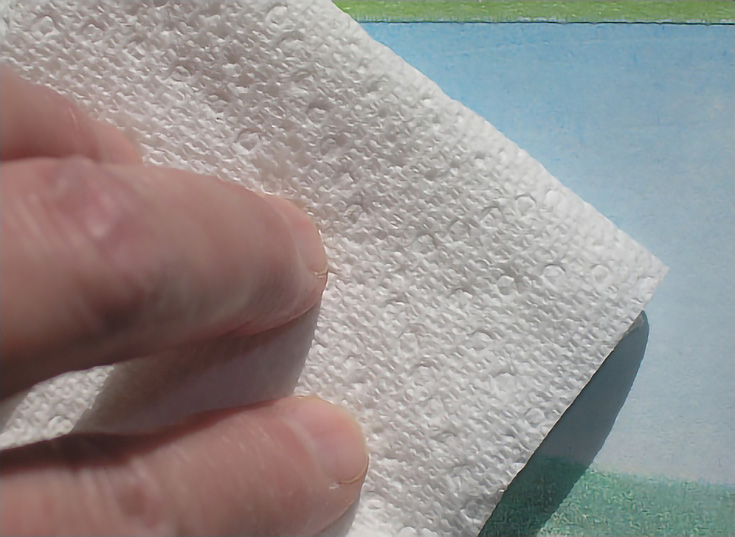
Next, blot the area with dry paper towel. I fold this piece, too, but you don’t have to. Press the dry paper towel against the drawing with light or medium pressure two or three times. Turn the paper towel each time so you’re using a fresh section.
If you acted quickly enough and have enough colored pencil on the paper, you should end up with something like the illustration below. The stain is completely gone and the paper is undamaged.
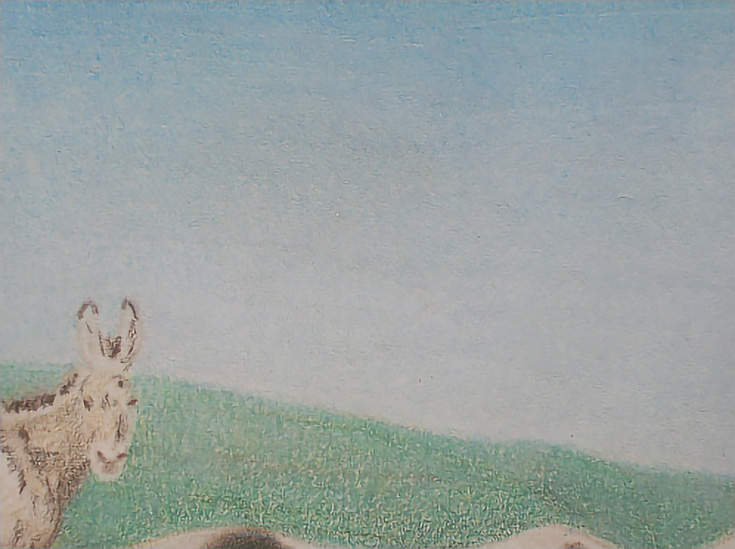
Best of all, you don’t need particularly heavy applications of color to get results like this. This drawing was only about half done, so there wasn’t much wax or pigment on the paper. Even so, the wax kept the spilled liquid from reaching the paper and producing a stain.
The secret is really just to act quickly. Your first reaction after spilling on a work-in-progress (or on a finished drawing) should be to blot moist, then blot dry.
Can’t remove a stain? Incorporate it in your drawing.
If you’re fairly experimental, you can always look for ways to incorporate the stain into your artwork. Even if you’re not, finding a way to use drips, drabs, and drops is a good second option for saving the drawing. It might take some way-outside-the-box thinking, but give it time and see what you come up with.
Here’s a stain that happened on a partially finished drawing.
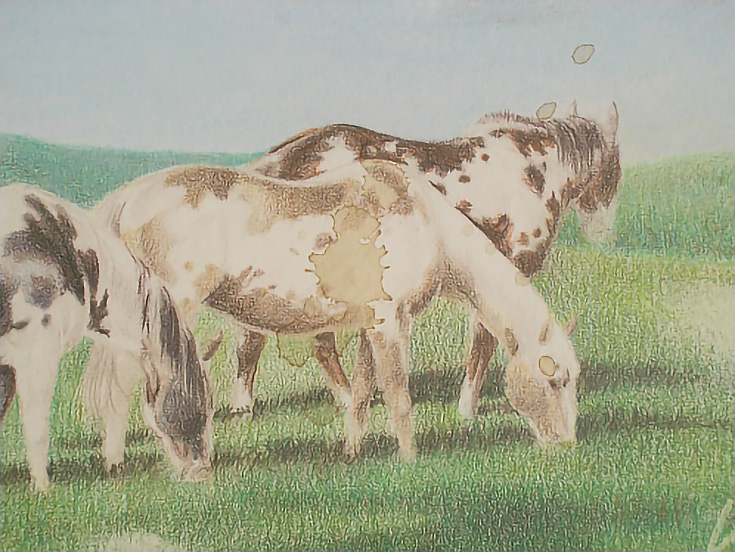
I removed as much of the stain as possible with the method described above, but the spill was on bare paper as well as on colored pencil. As you can see, the stain resisted my efforts to remove it completely.
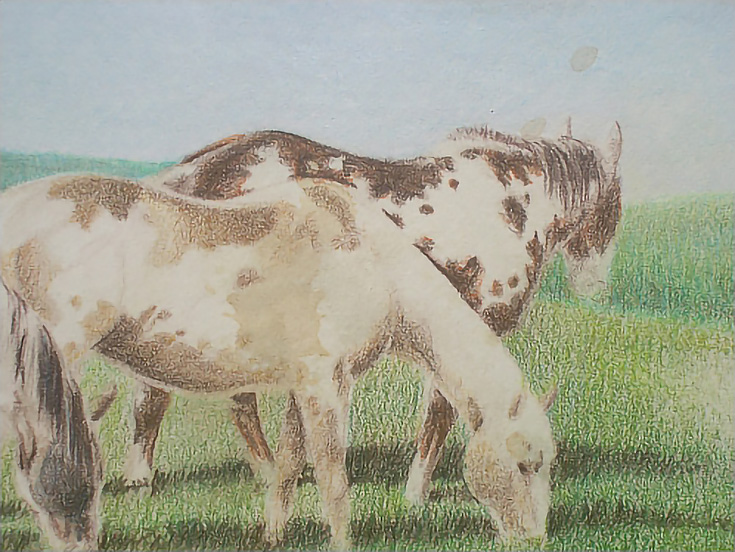
So, once the paper was dry, I began working the stain into my drawing. I used Prismacolor Premier Light Umber, Bronze, and Dark Umber to add color to the horse, changing it from a paint horse to a solid-colored horse.
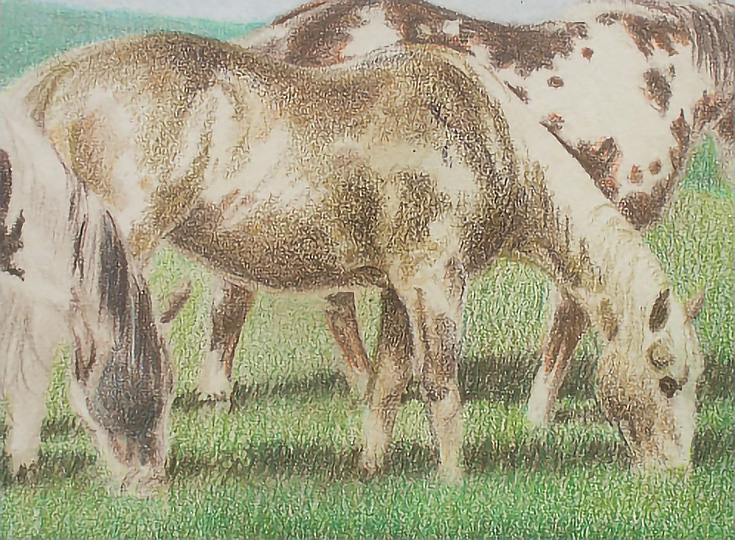
After two or three layers of each color, the stained area became virtually indistinguishable from the rest of the horse.
Last resort? Crop your artwork to remove the stain.
If all else fails, you can crop the drawing to eliminate the stained part. Or, maybe you can get two or three small compositions out of the larger drawing.
I’ve written before about the benefits to cropping drawings, and some of the same principals apply when using cropping to get rid of stains.
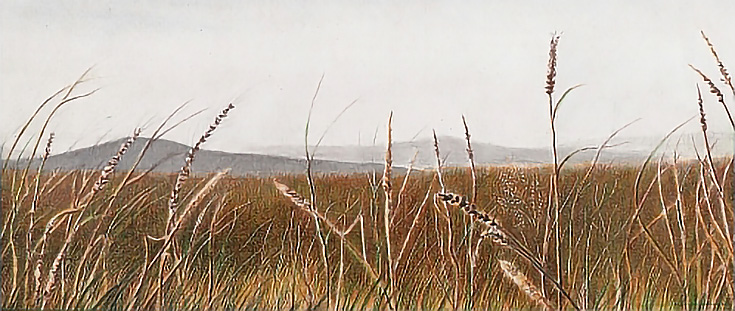
For example, let’s imagine I spill grape juice on the finished drawing below. Let’s imagine the stain is in the upper portion of the sky. I moist blot it, then dry blot it. I act quickly and am able to remove a lot of the stain, but there’s still a shadow of stain in the clouds. The color of the stain doesn’t match the gray of the skies, so it can’t be worked into the clouds and sky. What do I do?
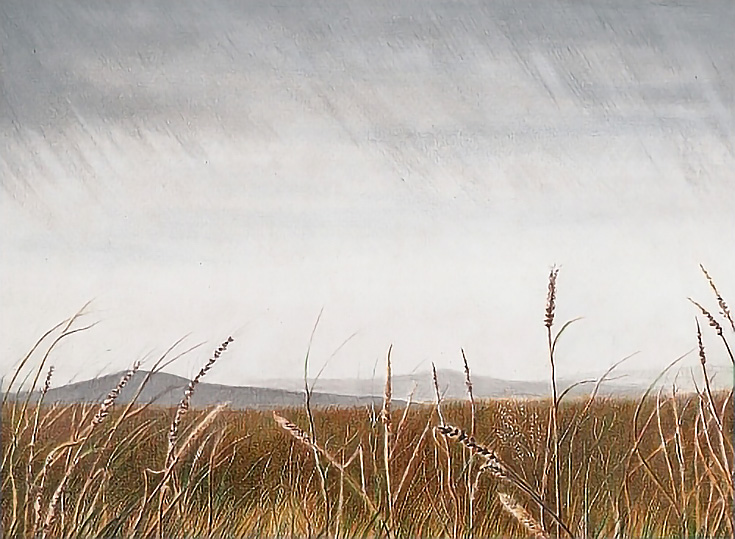
In the illustration below, I simply cropped the upper portion of the sky. The resulting drawing is stain-free. I may have lost the big sky feel I was trying to convey in the original drawing, but I still have a sellable composition.
Prevention is by far the best course of action when it comes to stains and colored pencil drawing, but as we all know, accidents do happen.
Luckily, with the tips in this article (and in my previous posts on stain removal) you’ll find that all but the worst stains can be lightened or removed entirely. Do the best you can, then move forward and keep on drawing!
This post may contain affiliate links.