In the days before computers, one of the tools that illustrators used was a brush-on fluid which dried solid and “masked” off any areas where it was applied, protecting that part of the paper even when painted over directly. Later, the masking fluid could be rubbed off, exposing clean, white paper underneath.
Today, masking fluid is used most often in special disciplines such as air brushing, so I’d never considered using it for is colored pencil work. But after learning about it in the Craftsy course Drawing With Colored Pencils (which, by the way, is 50% off through next week), I immediately wanted to try it.
I decided to experiment with a large (16×20), vignette-style drawing showing the head, neck, and shoulders of a horse. The horse’s mane is long and flowing and is fanned out from the neck, so it’s perfect for using masking fluid to protect some of those very detailed areas.
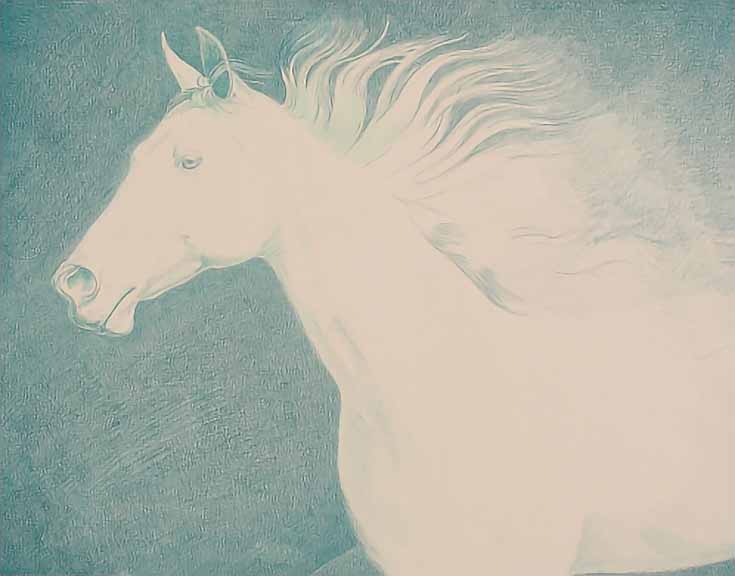
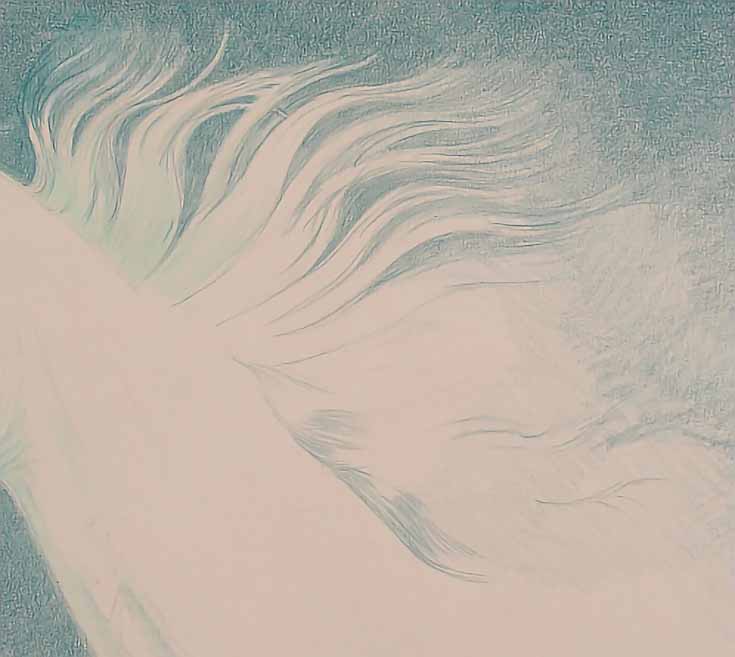
As you can see, drawing the background through all those hairs and hair groups would be time consuming if I had to do it just by hand. With masking fluid, I can save time and protect my details. (This next image shows a close up of the area I’m working in.)
Here’s how it all works. . .
Applying masking fluid
Masking fluid comes in a liquid form, and can be applied with any of a number of tools. A brush would ordinarily be the first choice, but masking fluid will ruin a brush in a single use, so if you do use a brush, use a cheap one that you can throw away.
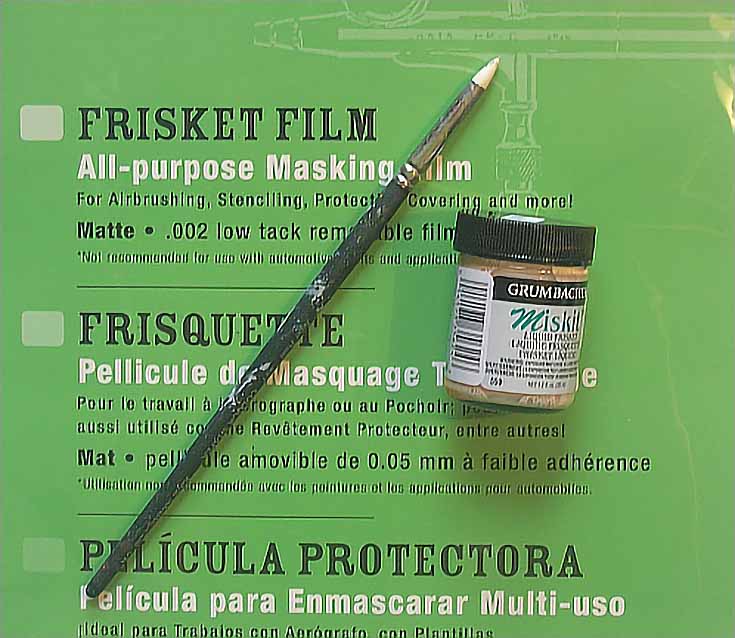
A rubber shaper also works to apply masking fluid. Used by sculptors and some painters for detail work, these are brush-like tools that have a shaped rubber tip instead of bristles. They come in many sizes and shapes, and are ideal for use with masking fluid because the tip is rubber. To clean it, simply let the masking fluid dry, then rub it off.
A rubber shaper is shown below, along with a bottle of masking fluid, AND a package of masking film (similar to masking fluid, but in paper form).
Whatever application tool you choose, follow the directions on the masking fluid bottle. Test the masking fluid on scrap paper or on an area of the drawing where it won’t show, just to make sure it will work with your paper of choice. (It probably will, but it’s always better to do a test first.)
Apply the masking fluid to your drawing before you apply color. Simply “paint” it onto the paper wherever you want to preserve the color of the paper. Let the fluid dry completely—and be patient! It may take up to half an hour for masking fluid to dry.
Drawing over and around the masking fluid
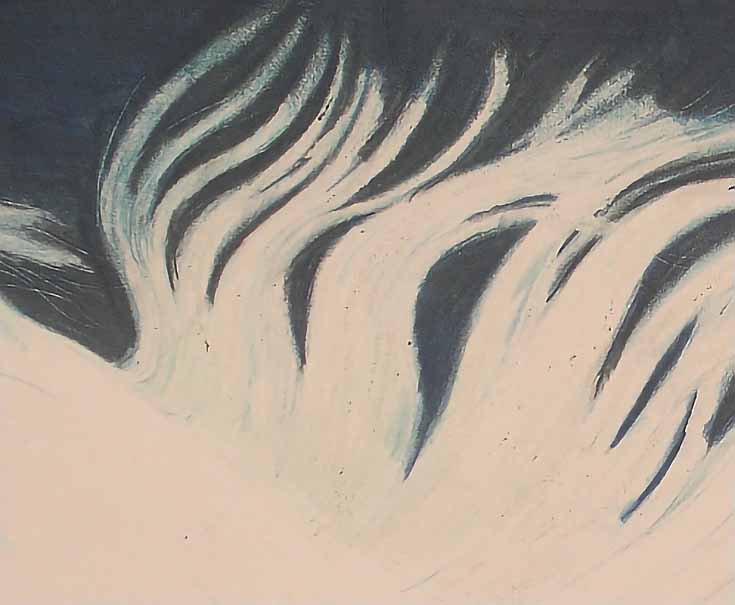
In the illustration below, I applied masking fluid to the section of mane I want to preserve. Most of the area has received little or no color so far, but I also put masking fluid over some areas that had a layer or two of color, as well as a couple of places where the color was quite heavy, because I wanted to see how the fluid would react to the various amounts of color.
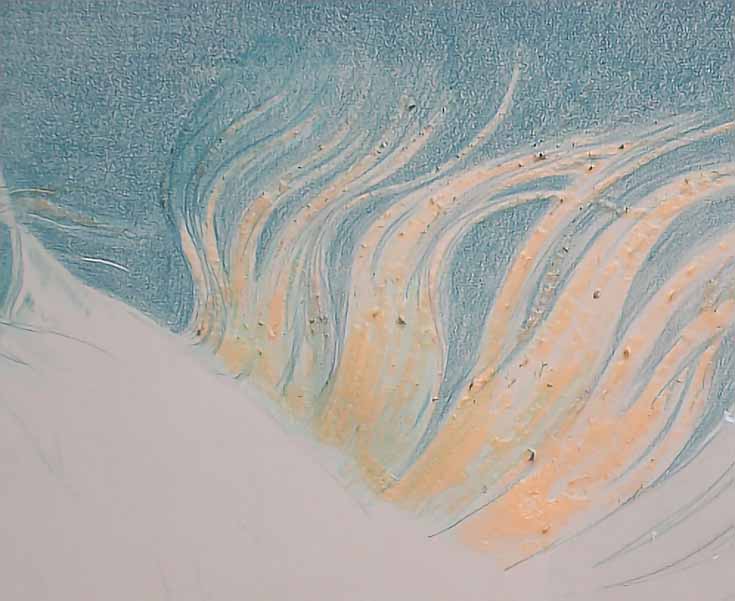
What I learned is that you won’t be able to go over the same area very many times before starting to lift masking fluid. The specks you see in the illustration above are crumbs of masking fluid that had already dried and were dislodged when I added more masking fluid over them.
Depending on how heavily you applied the fluid, it might not dry flat, so it may not be easy to work over it with colored pencil. But you can always apply color up to it easily and quickly. Put down as many layers as necessary. I found it best to apply color along the contours of the masking to keep from damaging the edges, but you can work against it, as well, if you work carefully.
Removing masking fluid
When you’re ready to remove the masking fluid, you’ll want to use a “pickup” which you can buy at the same place you purchased your masking fluid. Stroke the pickup across the masking fluid and it will come right off the paper.
If you don’t have a pickup, a soft eraser will work too. Or, if you prefer, you can use dried masking fluid as a pickup. Simply rub the dried masking fluid lightly with a fingertip. As it lifts from the paper, roll it into a ball. Dry masking fluid will stick to itself, forming a ball that grows larger the more you use it. You can then save that “ball pickup” by storing it in a small, clean container for later use.
After removing all the masking, lightly brush the paper with a fingertip to make sure you got it all. Finally, brush the paper lightly to remove all crumbs. Now the area is ready for more colored pencil work.
A few words of caution
Masking fluid should not be left on a drawing for more than 24 hours. The longer you leave it in place, the more difficult it will be to remove. It was a little over 24 hours for my drawing, and sure enough, a residue remained on the paper after I removed the dry masking. To avoid this problem, mask only the area you plan to work on next.
Also, I discovered that no matter how light the pressure I used to apply color, the movement of the pencil over the dried masking fluid disturbed the layer of masking fluid. It was very easy to remove the dried masking fluid by accident if I wasn’t careful.
Despite this, would I use masking fluid again? Yes. It worked very well to help me draw around the horse’s mane in this illustration, although the final design isn’t as life-like as I’d prefer. It did make drawing the background enough easier that I will continue to experiment with it.
Give it a try for yourself—there’s a lot you can do with it, and I know I’ve just scratched the surface!
Credit where credit’s due
Today’s tutorial was inspired by the online drawing course Drawing With Colored Pencils by Lisa Dinhofer, which can be found online at Craftsy, along with hundreds of other classes.
Lisa’s class includes six lessons demonstrating colored pencil basics such as color application, washes, masking fluid and other tools. It’s an excellent refresher course for artists who already know their way around colored pencils as well as a great introductory series for those who are just getting started.
Special thanks to Craftsy for sponsoring today’s article and offering Drawing With Colored Pencils at a 50% discount throughout the next week to EmptyEasel readers. Follow the link to learn more!
This post may contain affiliate links.