As I worked through my latest Craftsy class, Drawing Facial Features (which you can enter to win until next Saturday) I was once again impressed by the wonderful teacher and high-quality instruction that is offered by Craftsy.
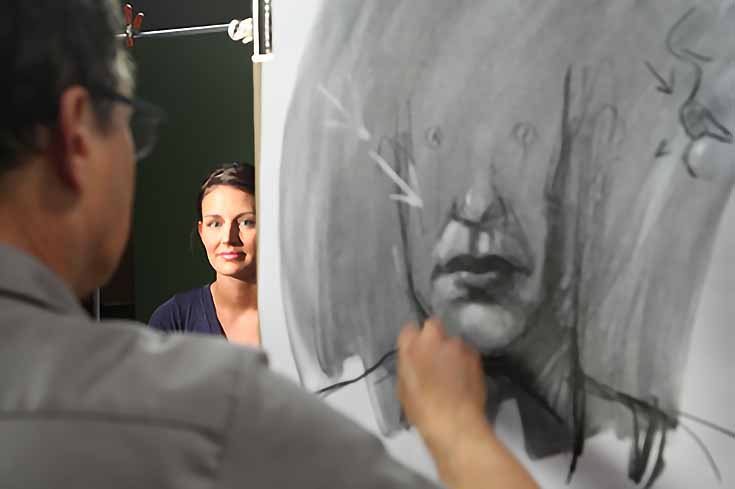
The instructor for this course is Gary Faigin, founder of the Gage Academy of Art and author of The Artist’s Complete Guide to Facial Expressions (which, incidentally, was used as a reference in the Disney film Shrek ). Gary does a great job of explaining the intricacies of drawing a portrait, as well as understanding the physical structures that lie beneath our facial features, and is very skilled at demonstrating as he goes.
This class has eight lessons, each one typically around 20-35 minutes long, which cover a great deal of information for anyone wishing to hone their portrait skills with anatomical knowledge.
Here’s a breakdown of each of the 8 lessons in this course:
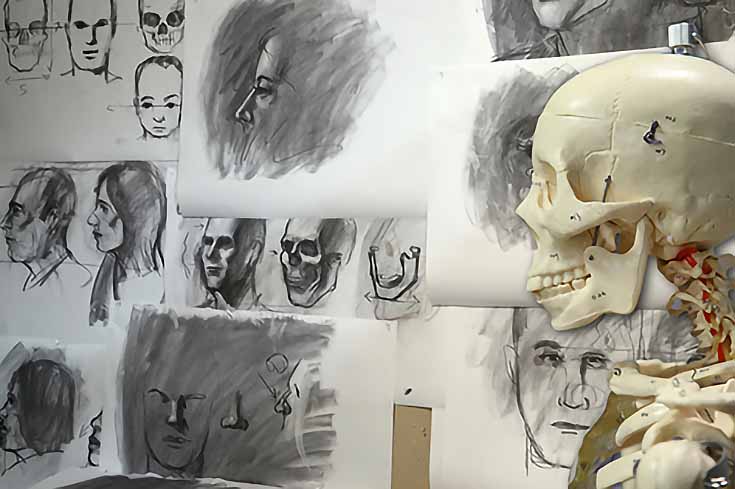
Lesson 1. Gary explains that recreating the structure of the skull is key to achieving proper placement of individual features and proportions, and getting a good likeness of the individual you’re drawing. This lesson shows us how to see the whole head instead of just a face and how to recognize the facial patterns that visually identify a person.
This first lesson also covers materials and techniques.
Lessons 2 and 3. In these lessons you will learn how to draw the upper and lower halves of the skull using both a skull and a live model at the same time. This approach helps you clearly see the underlying structure of the skull, and how to use that while drawing a portrait.
Gary goes over the placement of each facial feature as it relates to the skull and shows how to simplify drawing the skull. He also covers eyebrow ridges and eye sockets details in these lessons.
Lesson 3. The nose, cheekbones, jaw and chin are covered. I found this lesson to be very detailed, and enjoyed watching Gary’s drawing progress. What’s nice about Craftsy classes are the ability to review and take as much time as you need to complete each lesson. There’s a lot being covered, but you can pause the video lesson or finish and go back as much as you’d like!
Lesson 4. Gary demonstrated the nuances that gender, age and ancestry play in the structure of a skull. This lesson was helpful in understanding the differences in a child’s skull and an adult skull, which can be problematic for beginners. It also helped to explain the classic differences between a man and woman’s skull, and how ethnicities change the skull and influences features.
Throughout this lesson, Gary emphasized how unique and individual each person is, and the importance of noticing those differences when doing a portrait in order to create a good likeness.
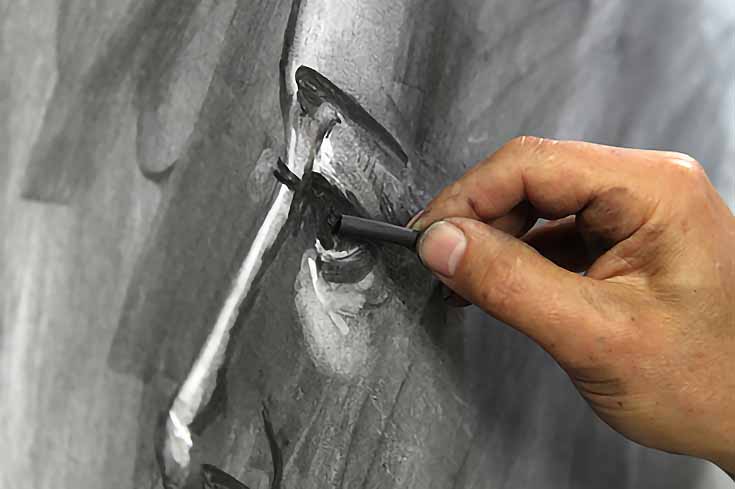
Lessons 5 and 6. With an understanding of the skull and eye placement from previous lessons, Gary now breaks down the components of the eye, as well as size and placement within the eye socket. Again, underlying structure comes first, followed by how to “clothe” the eyeball with skin using eyelids and details.
Gary also shows how the details and structure of the eye are applied to a portrait, by drawing a three-quarter view and a profile view of a model.
Lessons 7 and 8. In these final lessons, the nose and mouth are covered. Gary details the structure of the nose, but simplifies it by basing its structure on a four sided prism. He also explains how shading gives it projection, and how length and proportion are important for getting a likeness.
Moving on to the mouth you will learn the basic shapes of the lips and again, the structure beneath. As with each feature, Gary discusses the light and shadow shapes of the mouth. When you understand that lips are a cylinder, it makes them easier to draw them from a side angle, or draw a smile.
Smiles are very difficult to draw well, but this lesson does a wonderful job showing what happens structurally when someone smiles, and how to re-create that on paper. You will also learn why you should never draw individual teeth, and Gary finishes up by demonstrating both a three-quarter view and a front view of the mouth and the nose.
Here are a few of the sketches I completed during this class.
Overall, this course from Craftsy shows how much time and effort they put into finding great teachers who give quality instruction. I would highly recommend Drawing Facial Features to anyone interested in improving their portrait skills, whether you’re a beginner or you’ve been an artist for years!
Special thanks to Craftsy for sponsoring this post and offering a free class for one lucky reader. The drawing ends in a week, so for full contest rules and additional class information, make sure to click here.
This post may contain affiliate links.


