One way that I like to add interesting or unusual visual texture to my colored pencil art is with “found” texture. This can be any type of texture you encounter in day-to-day life—whether dramatic or subtle, organic or inorganic. All you need to do is transfer the pattern to your paper, and it’s yours!
Today, I’m going to show you three ways that I capture found texture—but first, you should know there are two basic methods for transferring texture. . .
With a direct transfer, you lay your paper on the textured surface then shade color over the paper with enough pressure to hit the high parts of the texture. This method works on most types of texture, from fine-grained to coarse.
With an indirect transfer, the difference is that you impress the texture into the paper, move it elsewhere, and THEN layer color onto your paper.
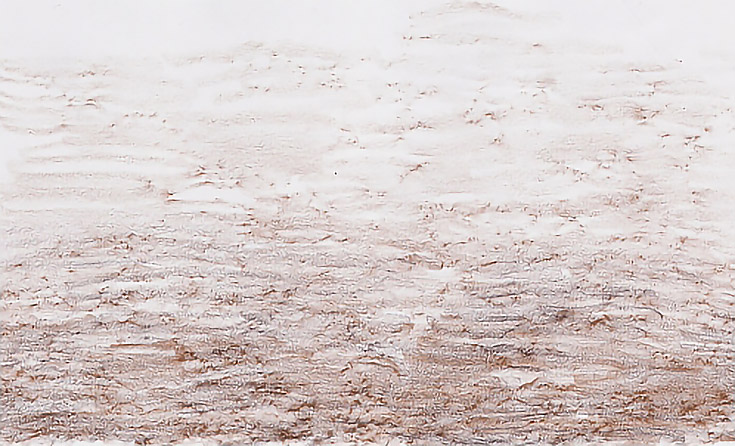
All right, so to give you a one idea of what found texture can look like, here’s a wood-grain texture that I transferred to paper using the direct method:
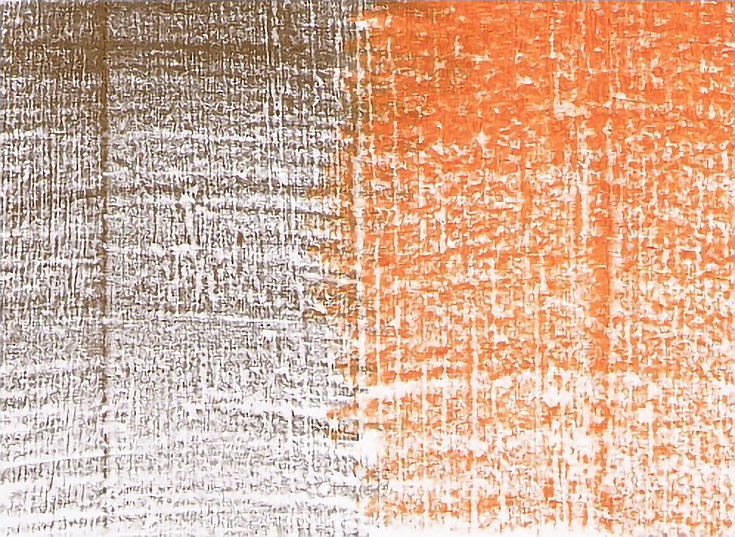
You can see how heavy pressure (which I used at the top) created a different texture than light pressure (which I used at the bottom). As you might expect, using light pressure tends to bring out just the highest points of the texture that you’re working from.
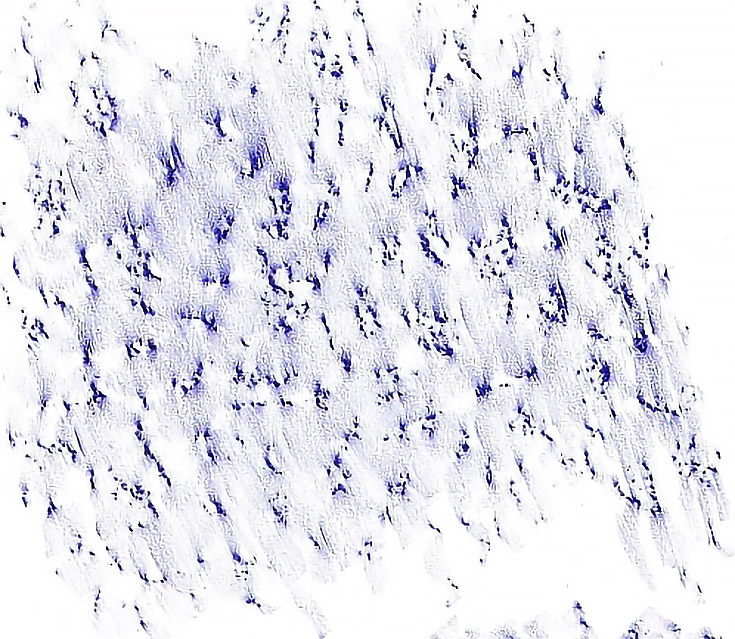
Case in point, in the found texture below I used light pressure only, with the side of a blunted pencil, to capture the texture of a stone:
Since found texture changes dramatically, you will almost always need to adjust your techniques in order to accurately capture each texture’s look and feel.
Here are a few things I’ve learned along the way. . .
1. How to capture fine texture with the direct method
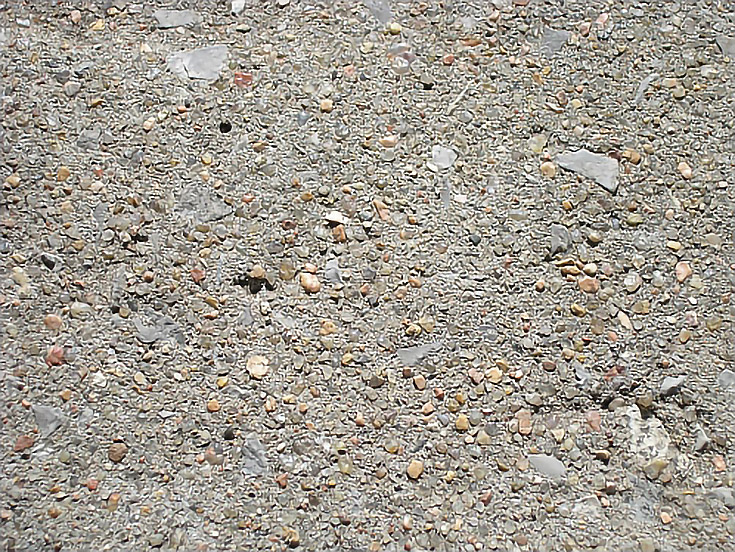
The photo below shows some fairly fine-grained concrete. Overall, the surface is level, but there is definitely enough texture to add visual interest to colored pencil drawings.
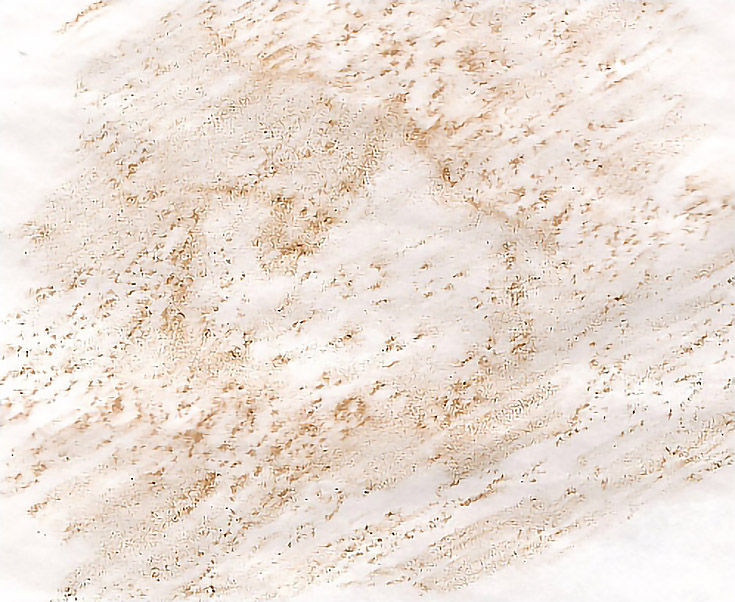
For demonstration purposes, I worked from left to right and started a new section each time I added another layer of colored pencil. This will let you see each step. The illustration below shows the progression of texture as I worked my way across this section of concrete.

I began by applying Dark Umber all the way across the paper using a blunted pencil and light pressure. To produce a layer of color with no visible strokes, I overlapped the strokes. The next color (Light Umber) was applied with the side of a blunt pencil and light pressure and vertical strokes.
I then applied Pumpkin Orange with the side of the pencil using a little more pressure and vertical strokes. Finally, on the far right, I added another layer of Dark Umber. This time, I used the tip of the pencil and medium pressure (about normal handwriting pressure).
I didn’t move the paper at all, so each new layer of color hit all the same areas in the stone. Those marks naturally became darker and more emphasized with each stroke and each layer of color.
2. How to capture coarse texture with direct transfer
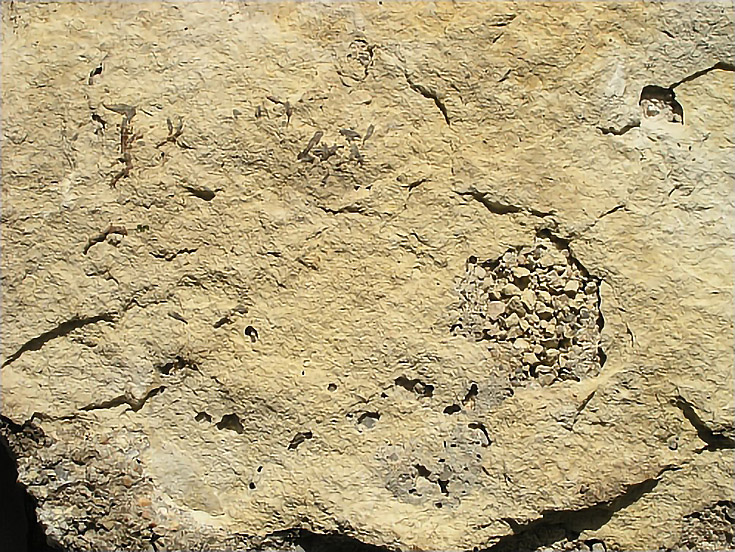
Following is another sample of stony texture—and two things are quickly obvious. The surface itself is undulating, AND, the texture itself is much more dramatic.
This texture was a bit harder to capture.
I used the same colors and type of paper as before, but the resulting work was featureless and disappointing. Those great details just didn’t show up, and the undulating nature of the stone didn’t have a significant impact on the drawing.
So I changed my technique.
The first thing I did was start using short, slightly arching horizontal strokes instead of long sweeping strokes. I started with Dark Umber at light pressure and used the side of the pencil, then followed it up with a layer of Light Umber applied in the same fashion. Lastly, I used Dark Umber and medium pressure. All the strokes were short and overlapping end to end.
The second thing I did which helped was that I moved the paper with each layer. This changed the pattern of texture that was transferred, and added visual interest to the resulting drawing. I used the same type of paper for both demonstrations: 24-pound ink-jet paper.
For this next illustration, however, I used tracing paper. I also used a sharp pencil and more deliberate, diagonal strokes with the tip of the pencil, using light to medium pressure everywhere except the center of interest.
For the center of interest, I used the tip of the pencil and light pressure to lay in open strokes. I also outlined one of the more distinct features of the stone by rubbing my pencil around the edges to map the shape.
If you find yourself up against multi-layered, coarse surfaces like I was, thinner paper and varied strokes may help you get those interesting textures.
3. How to capture coarse texture with indirect transfer
For the illustrations below, I used the indirect method. I pressed my paper over the rock to impress texture into the paper, which I then developed by shading with Light Umber. Using light pressure and just the side of the pencil, I was able to work over the top of the impressed texture without filling it in.
This illustration shows the front of the paper, where the texture is impressed into the paper. The overall effect is subtle and even.
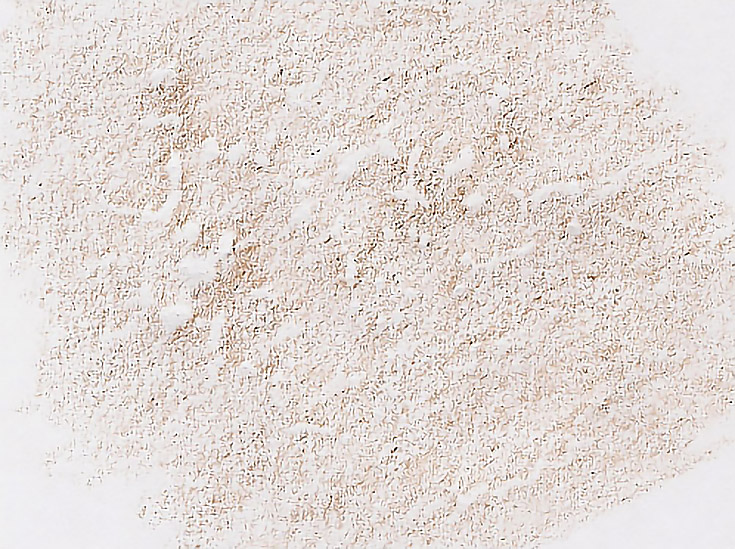
Of course, with impressed texture like this, you can choose which side to draw on.
The final illustration below was done on the back of the illustration above. This time, the texture is raised. Instead of the “valleys” on the front of the paper, the back has “hills” of texture.
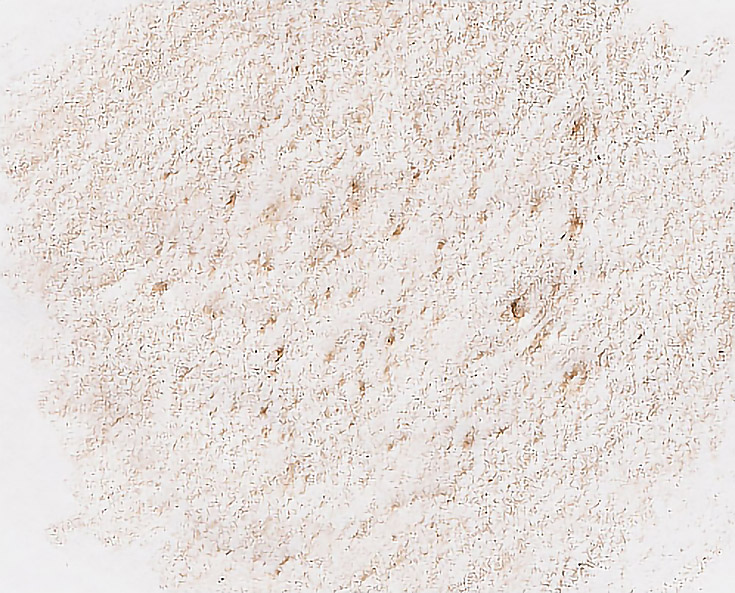
Shading color over this “reversed” texture produced different results even when I used the same color, pressure, and strokes.
So why use texture?
You can enhance many types of drawings with found texture, and it doesn’t have to be hard to find. Any surface against which you can place a sheet of paper and transfer texture is a potential drawing tool for the adventurous artist.
Just make sure that the surface from which you’re transferring texture is clean. If it’s not, you may want to consider placing a sheet of onion skin or tracing paper between your good art paper and the surface. (This can also “mute” or “soften” the transferred texture, which may be desirable at times.)
Don’t try something for the first time on an important piece of art (test it out on some laser inkjet paper first just to see how it works) but do have fun and experiment. You never know what textures might work until you try them!
This post may contain affiliate links.