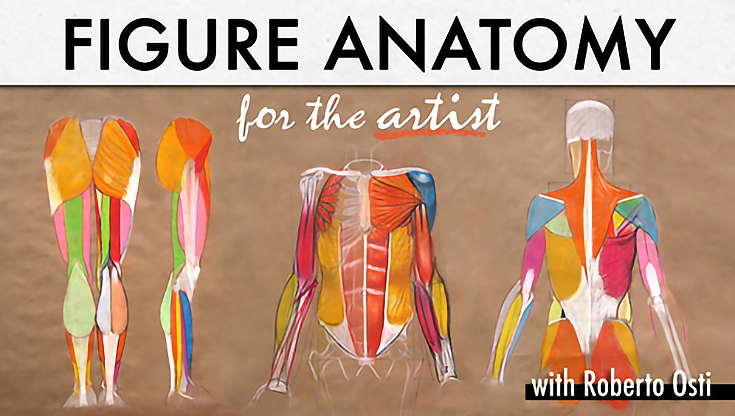
When painting people, one of the best pieces of advice I heard in class was to “paint what’s under the clothes” first, meaning to focus on the body’s structure before adding details. It was the echo of this advice that led me to Roberto Osti’s Figure Anatomy for the Artist class on Craftsy.
(You can enter to win this class, by the way. . . but more on that later.)
Life drawing is one great way to get practice drawing the human figure; however, I was also interested in the mechanisms of how the body moves and works.
The video lessons in Roberto’s course provided me with many useful tools for drawing the human figure, including breaking the body into basic proportions and forms, identifying the nature of the skeleton and muscles, and understanding the relationship between the structure of the different parts of the body and how they function.
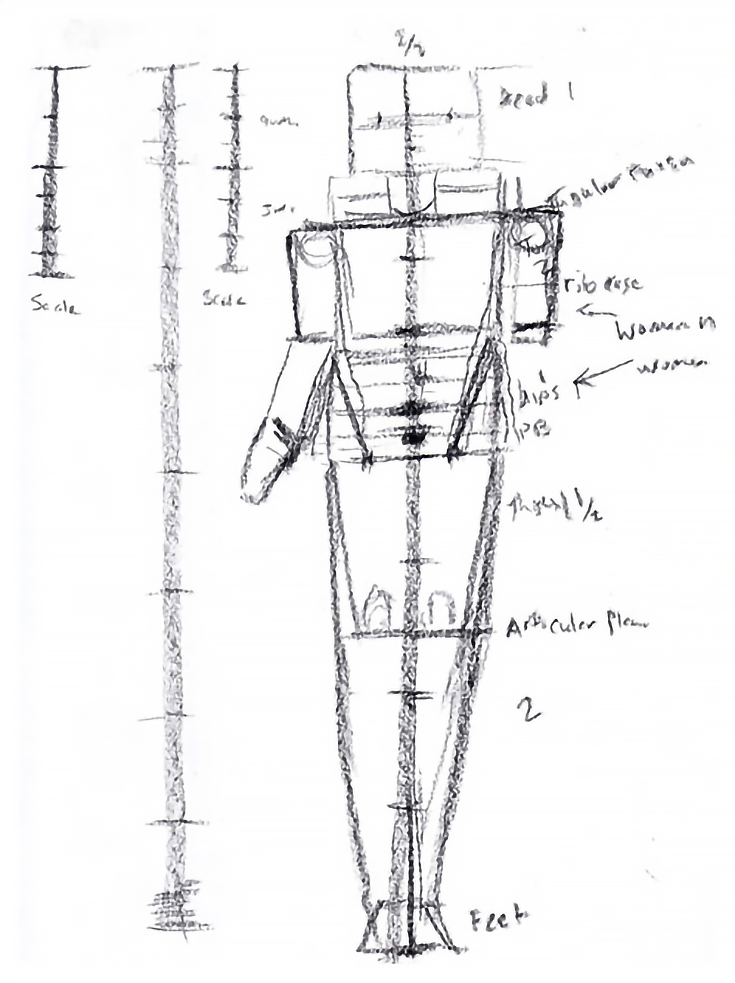
In the first session, I learned to visually break the body into proportional segments and boxes, following a pattern that can be used when drawing any figure:
Rather than eyeballing the proportions and shapes of a figure, I now have a reliable method for making sure I am actually drawing a form that it is true to the natural proportions of the human body.
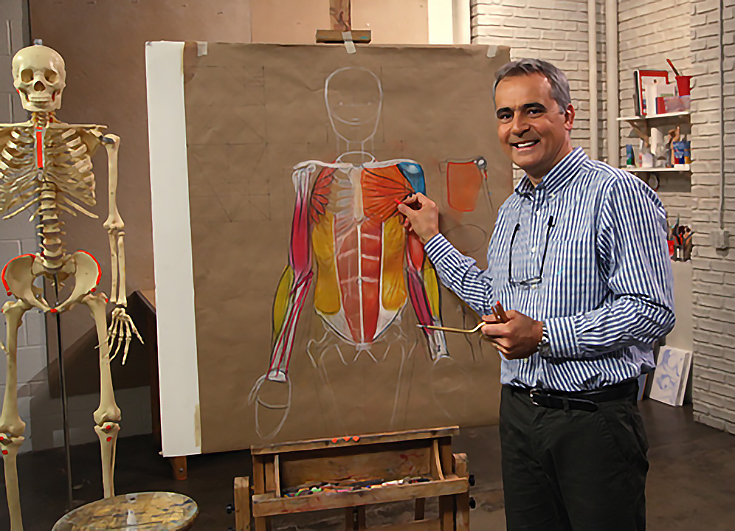
In later sessions, I learned to fill in the skeletal form and add muscles. Roberto has an extensive knowledge of the bones and muscles, and was great about pointing out the overall structure of the body as he drew—this made it easier to keep the “big picture” in mind as I worked, rather than get bogged down in the anatomical details of the body.
I found it helpful that he noted not only the names and functions of the bones and muscles, but also how they connect and work together. Learning the relationship between the different parts of the body gave me a better understanding of how to draw the bones and muscles accurately so that they work together as a whole.
I also enjoyed that he occasionally mentioned the origin of some of the names of the bones and muscles, as it lent a bit of history to the drawing lessons.
One of my favorite sections of the course focused on the hands and feet. I enjoyed being able to break the hands into basic shapes, and make them realistic with just a few quick, well-placed lines. One of the unique tips I learned was to follow a “ski-slope” pattern with the length of the fingers, zig-zagging back and forth to see that they matched the general proportion of finger length on the human hand.
The instructor even drew directly on his own hands to demonstrate some of the tendons and proportions—you can’t ask for a more realistic demonstration than that!
The course description says it is for intermediate level students; it was definitely briskly-paced, with a lot of information in each session. The materials available for download were especially useful, as I felt at times I needed something to refer to, especially when I needed to draw on my own for more practice.
The diagrams were particularly helpful in identifying some of the frequently-mentioned body parts. Having the diagrams available for reference made it much easier to follow along as the instructor was speaking and drawing.
The quality of the video was excellent, very crisp and sharp, and works best with a high-speed connection (if you’re in an area with slower speeds, you can turn off HD to make streaming the lessons easier). Once you’ve enrolled in the class, you can go back anytime and view the individual lessons as often as needed, in case you want to review a skill, or feel that you missed something from a previous lesson.
In addition to the lessons and downloadable reference materials, Roberto’s anatomy drawing course offers opportunities to ask questions in a chat format, and you can also post your own works in progress in the “projects” forum, in which you can receive feedback on your progress. I didn’t take advantage of these, but was confident that if I needed assistance the instructor would have been available to offer support.
I did have to make a few timing adjustments as I watched the videos—I often needed to stop the lessons soon after they began so that I could draw the basic shapes I would need to draw along with the instructor. I also prefer a little more specific instruction when it comes to materials (how to set up for a session, along with what materials to use and when to use them). That being said, the convenience of being able to pause and replay the lessons made the material easy to understand.
Overall, I felt the course had a great deal to offer, and that Roberto was highly knowledgeable and clear about his subject. I’ll probably be revisiting the lessons a few more times for additional practice (I do better with a little repetition), and I look forward to applying the techniques I learned to future drawings I make of human forms. I also feel more knowledgeable about the human body in general, and can now look at the people I see around me and identify the unique characteristics of their physical forms—a skill which will give me more confidence when sketching people from life.
Now, as I mentioned, if you’d like to enter for a chance to win this class for free, definitely head over and sign up. There’s no obligation to purchase anything, it’s just a free giveaway that Craftsy created for EmptyEasel readers. :)
And, for more information about the course and what’s included, feel free to visit the official class page—it has a ton more details, images, and so on. If you decide to try it out make sure to let us know what you think!
This article was sponsored by Craftsy. For additional articles and tutorials, please visit their fine art blog.
This post may contain affiliate links.


