One of the neatest innovations in the world of colored pencils has been the development water-soluble colored pencils. They look and handle like a traditional colored pencil, yet they dissolve and blend in water.
About water-soluble colored pencils
Water soluble colored pencils are made like traditional colored pencils. Pigment is processed with a binder that allows it to be rolled into a core, then encased in a protective sleeve, usually made of wood. They can be sharpened and used like traditional colored pencils to produce a variety of effects.
But unlike traditional colored pencils, which use a wax- or oil-based binder, water soluble colored pencils use gum Arabic, which dissolves in water.
Many manufacturers of wax- and oil-based colored pencils also manufacture water soluble pencils. In many cases, both types of pencils can be purchased in the same range of colors. Artist, student, and beginner grades are also available with most brands. If you have a favorite traditional pencil, the best way to get your feet (or fingers) wet with water soluble pencils is to try the same brand and line in the water soluble version.
As with traditional pencils, there are several ways to get color onto the paper:
Options for applying color
1. Apply color as you would with a traditional colored pencil, then brush clean water over the color to dissolve and blend. Use a soft watercolor brush to blend without disarranging the color or use a bristle brush to move color around.
Notice how applying water also lifts color in the darkest area, where pigment was most heavily applied. The more you stroke wet over wet or the heavier pressure you use, the more color will be moved around.

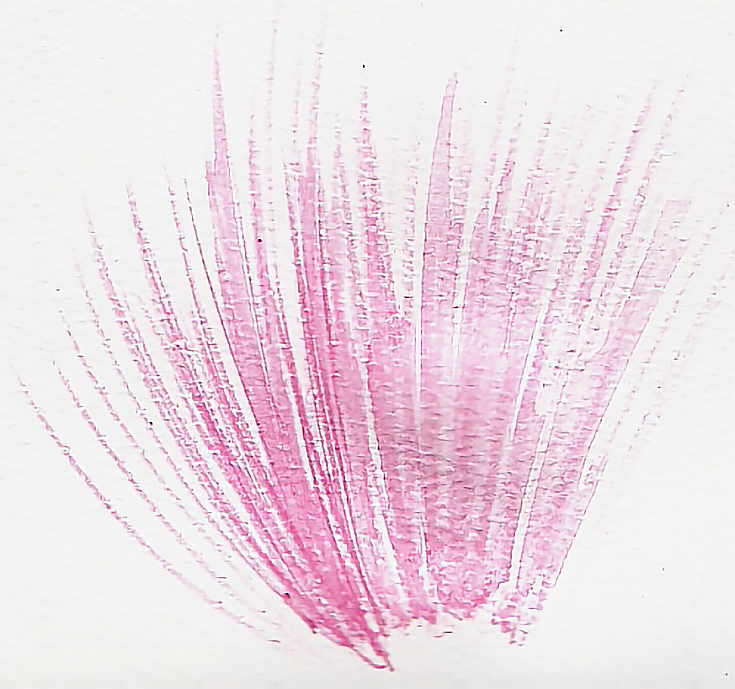
2. Sharpen the pencil and dip the exposed pigment into water, then use the pencil like a traditional pencil on wet or dry paper. Use this technique in very small areas or for textures such as grass or hair. You will have to dip the pencil frequently and the lead will soften until drawing a sharp line is impossible. When this happens, let the pencil dry, then sharpen it as you would a traditional pencil.
In this illustration, the lines on the left were made with a freshly sharpened, lightly wetted pencil. The lines on the right were made with the same pencil with a lot of water on the lead and after the lead had softened. Also, the lines on the left were drawn on dry paper and the lines on the right on wet paper.
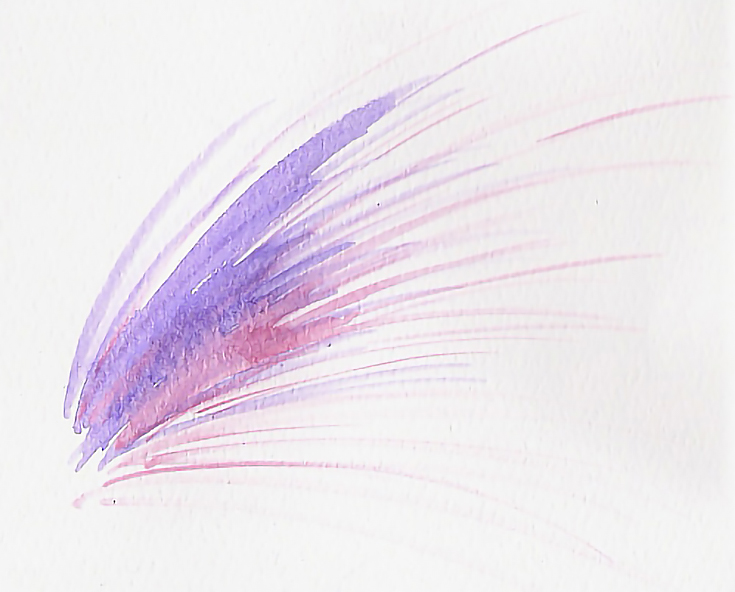
3. Dip a brush into clean water, stroke the brush against the pencil, and brush color onto dry paper. This method produces a variety of effects from tight detail to broken color.
In this sample, I used two colors with a small, round, sable brush. The more water in the brush, the broader the stroke. The finer lines were made with a nearly dry brush.
Also notice that in the places where two colors were applied wet into wet, they blended completely. Dipping the brush in water and picking up color from the palette produces similar results.
4. Wash clear water over the part of the drawing you want to work on, then pick up color from the palette or off the pencil and stroke it into the dampened paper with a brush. This method is ideal for broad washes or graduated color.
For an even color layer, apply single strokes as close as possible without overlapping. Variations in color and value can be achieved by layering strokes, such as was done in the sample below. Add color until the paper begins to dry, then let the paper dry completely before adding more color.
Use the largest brush available for each area. A single stroke with a large brush is more efficient than multiple strokes of smaller brushes, especially if you want even color.
Once the paper is dry, you can dampen the paper again and wash more color into the area to create deeper color or blended color. Be careful not to lift previous color layers.
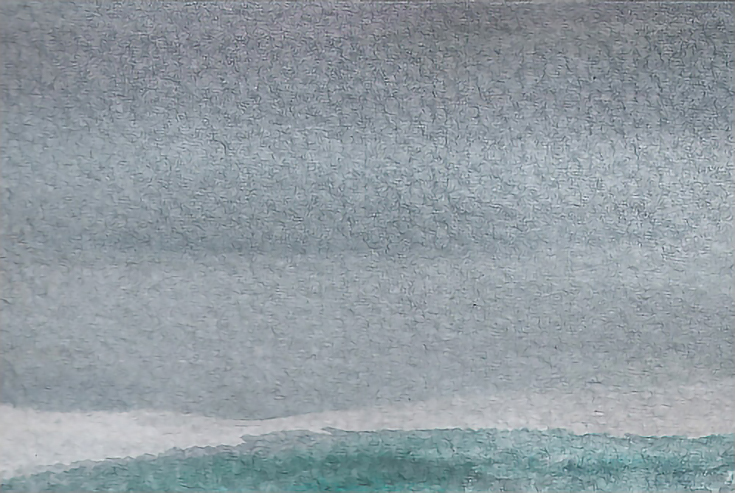
5. You can also dampen the brush and brush wet color over dry color to get sharp edges such as the edge between the dark gray and light gray in the illustration above.
The vertical shapes in the image below were made with a wet brush loaded with yellow and touched to dry paper using the edge of a 3/4th inch sable flat. I used very light pressure, barely touching the brush to the paper.
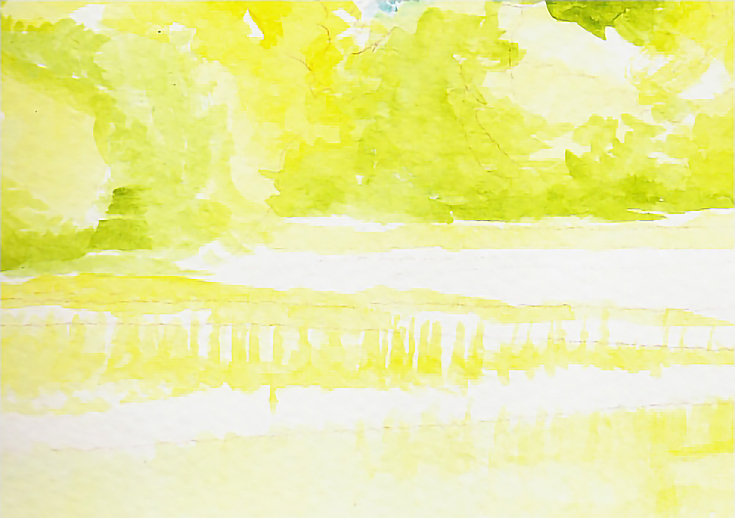
The illustration below is also wet color applied over dry with a damp brush. In this case, I applied green over yellow to add variation and form to a block of flat yellow.
Wet and dry color can be used interchangeably. It’s most efficient to lay down wet color first, then dry, but that’s not the only way.
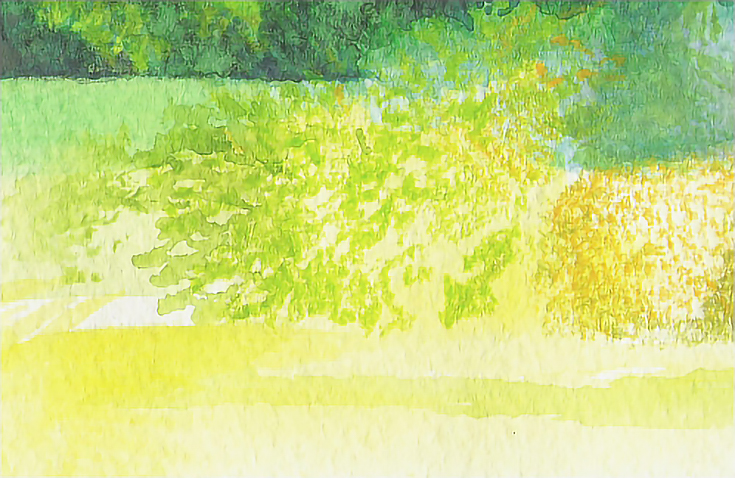
In the following illustration, I used heavy pressure and a squiggly stroke to add olive green, dark green, and grass green into the shadows. In the grass, I added grass green and dark green with short vertical strokes. I used water soluble pencils for this dry work, but traditional pencils could also be used. The type you use will depend on whether or not you want to blend with water.
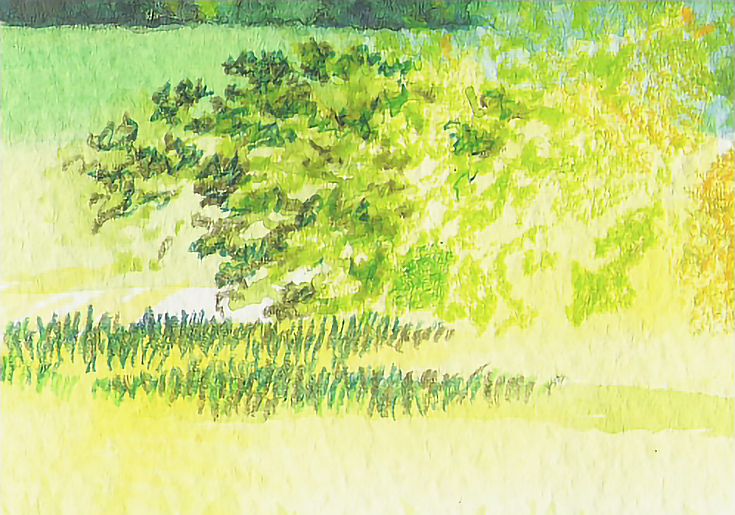
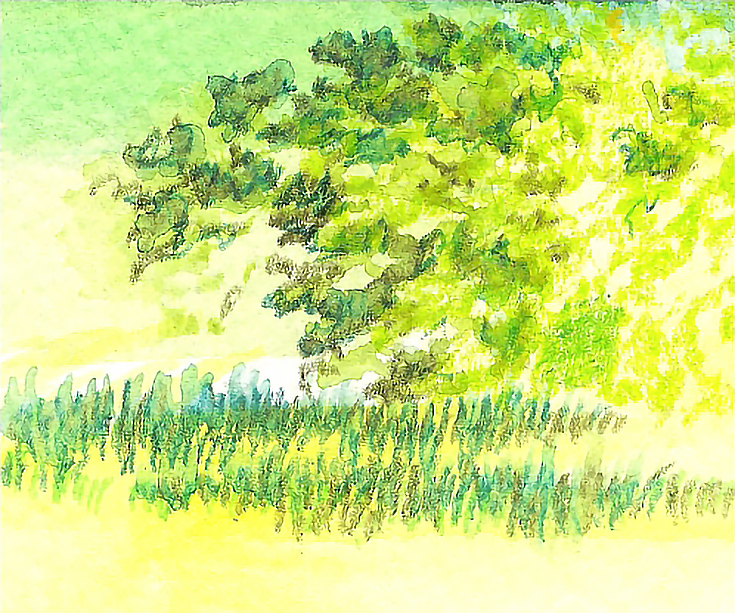
Below is the same image after blending the dry work with wet brush. In the bush, I tapped the tip of a small, sable round against the color I wanted to blend. In the grass, I used the same brush, but stroked upward through the vertical strokes.
Now it’s your turn
If you’re familiar with traditional watercolors, begin by experimenting with water soluble pencils using the watercolor techniques you already know.
If you’re familiar with traditional colored pencils, begin by using the same methods with water soluble pencils. Lay down some color, then add water and see what happens.
And if you’re new to both colored pencils and water color, try some of the methods I’ve described above, and see what you like best.
Whatever your background, don’t be afraid to make mistakes because making mistakes is the best way to learn. If you’re looking for a walk-through, check out How to Start a Drawing with Water Soluble Colored Pencils and watch for future demonstrations as well.
Have fun!
This post may contain affiliate links.