If you’re anything like me, you probably have a pile of colored pencils too short to be sharpened any further somewhere in your studio.
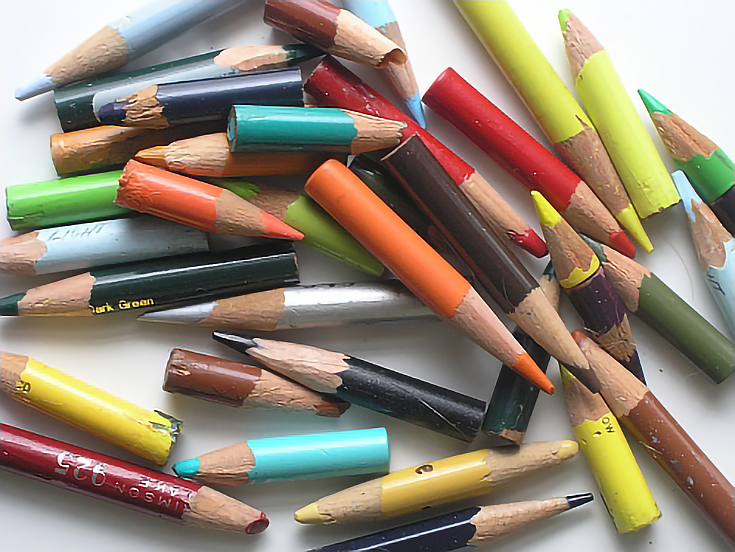
Pencils are expensive and you just can’t bear to throw away the leftovers. . . but what can you do with them?
Like many artists, I’m reluctant to throw away anything that might be useful, and that definitely includes pencil stubs! So I’ve found ways to extend their useful life.
Pencil extenders
A pencil extender is a small device that holds pencil stubs and makes them easier to get a grip on. Extenders are made out of metal, wood, and plastic, and some are even made out of bamboo. They come in a rainbow of colors, dozens of styles, and at prices to fit into every budget. Any of them will allow you to work with pencil stubs and get more life out of every colored pencil.
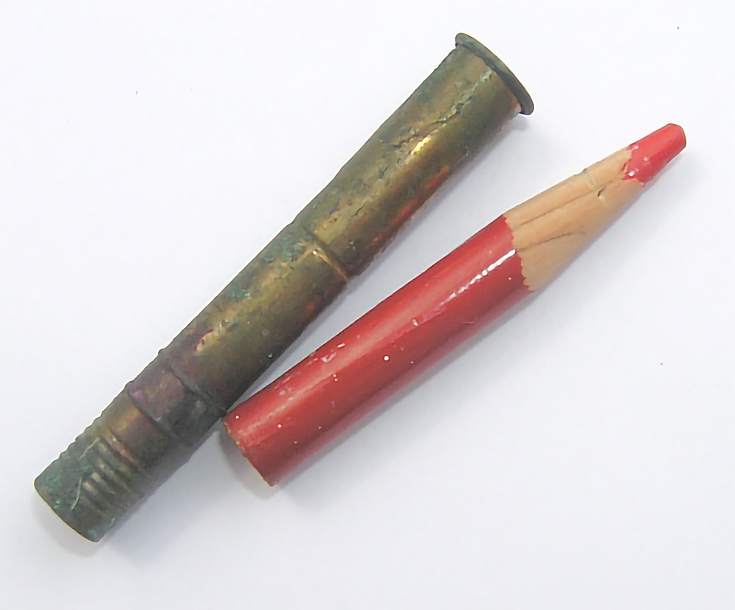
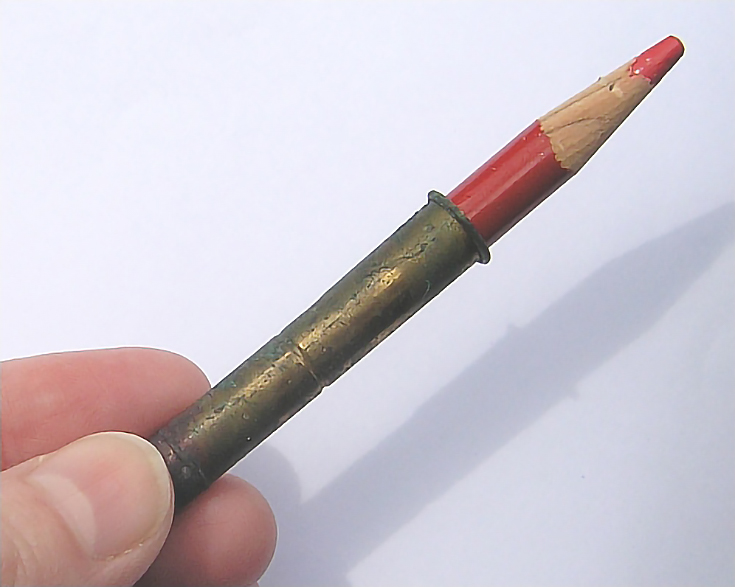
This is the old copper pencil extender I use. It’s about 2-1/4” long. The pencil slides into the open end.
One problem with pencil extenders is that most of them won’t allow your pencil stub to fit into a traditional pencil sharpener. Even so, having a few extenders in your art box is a good thing.
Hand sharpening
Whether or not you use pencil extenders, you can get extra life out of pencil stubs by sharpening them by hand. It’s not as difficult as it sounds, and hand sharpening comes with some interesting bonus benefits.
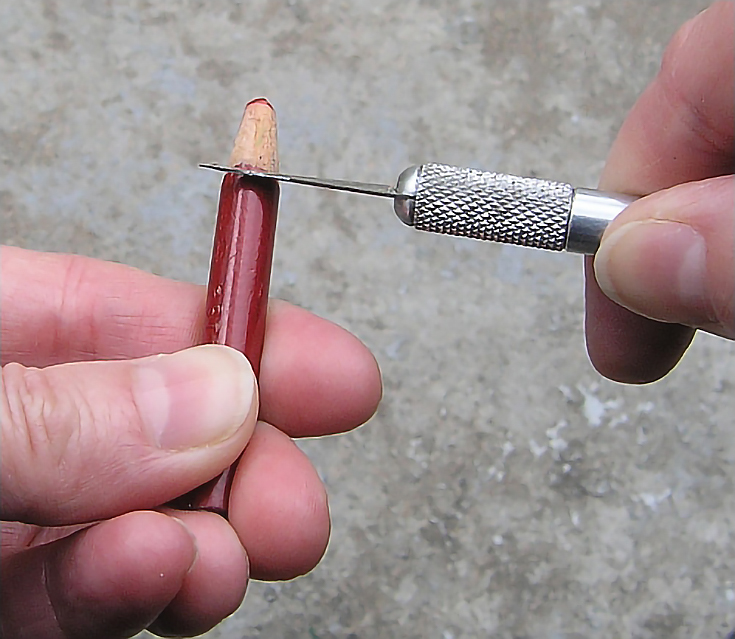
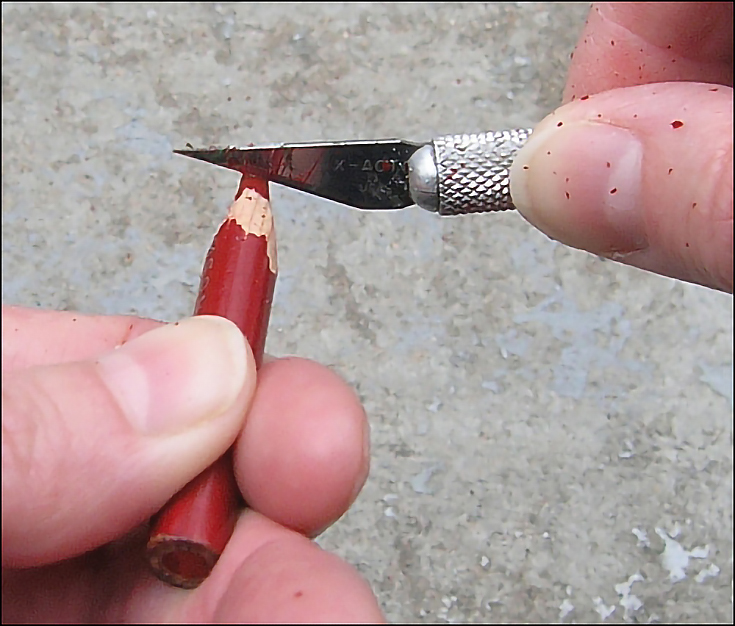
When hand sharpening, use a knife with a finely sharpened blade, like an X-acto knife, or a high quality Swiss army knife. Choose a smaller blade with a solid and sturdy handle.
WARNING: Exercise extreme caution when hands sharpening. The best knife for this process is a very sharp knife. That means the risk of cutting yourself is also elevated.
Hold the pencil stub by the unsharpened end and with the exposed pigment core facing away from you. Stroke along the wood casing of the pencil. Always stroke away from yourself.
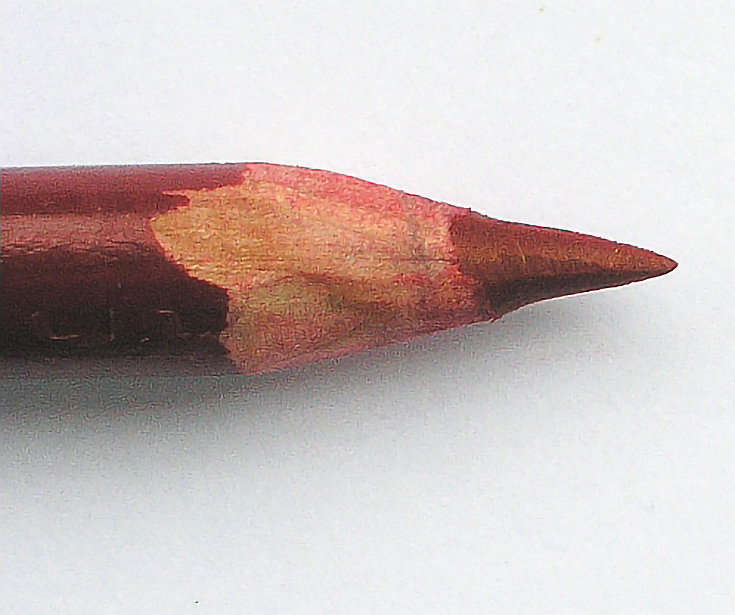
Turn the pencil between strokes and work around the pencil two or three times or until you’ve exposed as much of the pigment core as you need.
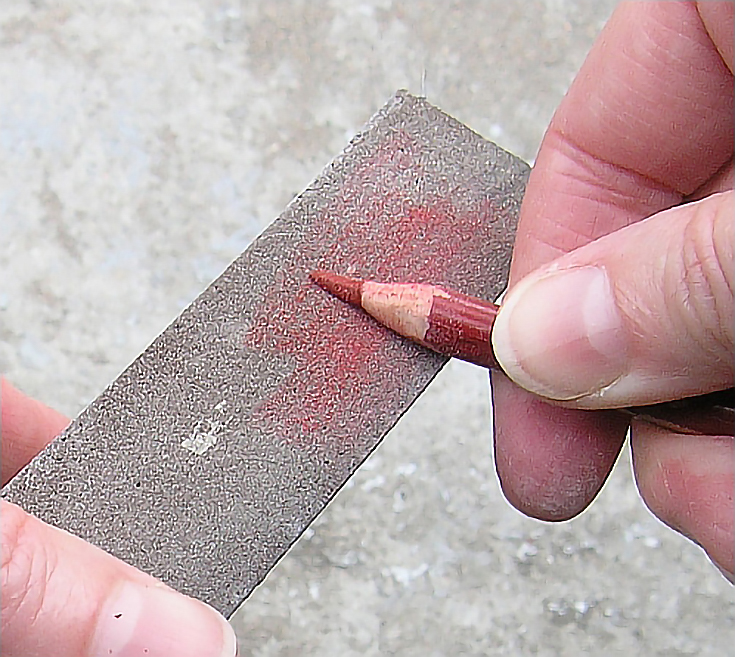
If you need a needle-sharp point on the pencil, use a sanded sharpening board to file down the exposed pigment core to the desired sharpness. Specially made sanding boards are available for this purpose, but other sanding tools also work.
In the illustration below, I’m using a sanding block. Sanding blocks are available in a variety of grades. Some have a different grade of coarseness on each side. They’re easy to hold and use and are reasonably priced.
Emory boards are also very useful in sharpening colored pencils. They’re much easier to include in a portable art toolbox and are even less expensive than sanding blocks.
Pencil stub gluing
While pencil extenders and hand sharpening are excellent methods, the MOST useful technique for extending colored pencil stubs is in gluing those stubs to new, unsharpened pencils. There are several reasons I prefer this method:
1. I can use 100% of most pencils by sharpening the used pencil all the way down to the new pencil.
2. If I use pencils of the same color, I know the color of a pencil that is so short the identifying marks are gone.
3. Glued pencils can still be sharpened with any standard sharpener.
The process is very simple. All you need is a pencil stub, a new unsharpened pencil (preferably of the same color as the stub) and a good glue. Super glues and wood glues are the best, but experiment to find the one that works best for you.
Here’s how to glue your pencils together:
First, match your pencil stubs to new, unsharpened pencils. Ideally, match the stubs with identical colors. Glue a Dark Green pencil stub to a new Dark Green pencil so you can easily identify the color of the stub.
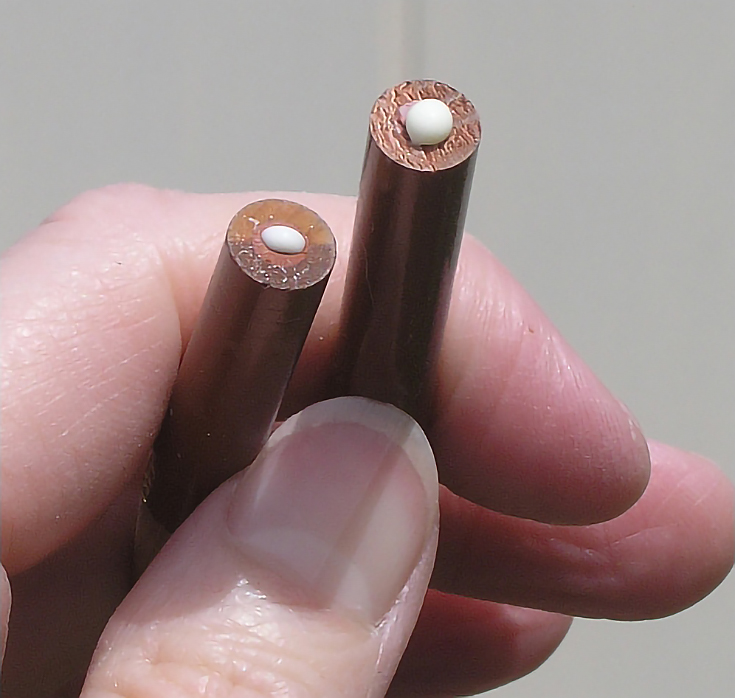
Next, apply a bead of glue to the unsharpened end of the stub. Also apply a bead of glue to the end of the new pencil (make sure nothing is on the end to which you put the glue).
In this photo the stub is on the left, and the full-length new pencil is on the right.
NOTE: I’m using a white wood glue for these pencils because it photographs better. I recommend a super-type glue for the best results.
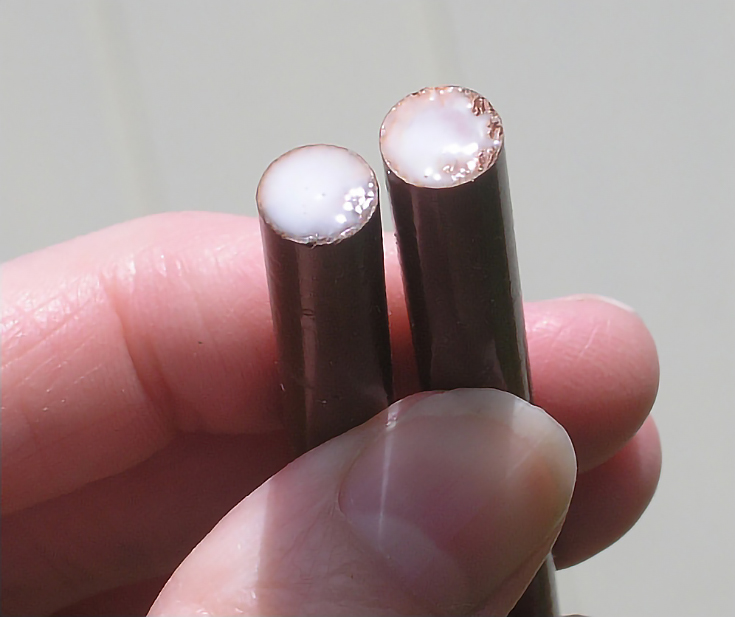
Once the glue is applied, press the ends together once, and turn them lightly against one another to spread the glue evenly, as shown here.
After spreading the glue, press the glued ends together again. Twist them so that they are aligned correctly. You want the glue to be evenly spread between them, but you also want the best possible alignment, so the new, “extended” pencil is straight.
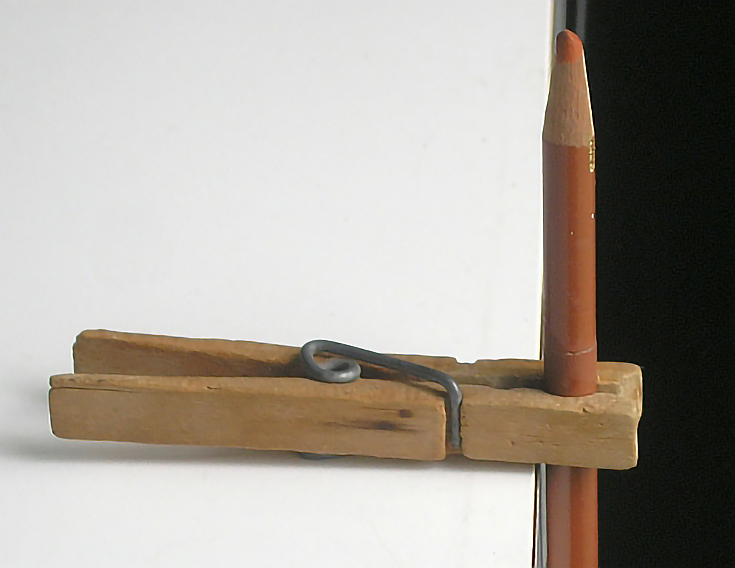
Clip the glued pencil into a gripping device of some kind so they stand upright. My favorite gripping device is an old fashion clothespin because they’re low cost, easy to use, and don’t leave marks on the pencil. Make sure your pencil is absolutely vertical, or it may dry out of line.
Allow the pencil to dry for at least twelve hours. Twenty-four hours is optimum. When it’s dried, you’ve got a brand new, extra-long pencil, and no wasted stub!
Additional pencil gluing tips:
1. Make sure pencils are in perfect alignment before gluing them together. Sand first if necessary.
2. Keep in mind that fluid glues have a tendency to seep or ooze out of the joint. You can dry pencils horizontally, but you must be careful not to glue the pencil to whatever you lay it on.
3. Test glued pencils before using them on important artwork. Every once in a while a joint may fail, especially under heavy pressure.
So now you know how to save that pile of pencil stubs. . . it’s a fairly easy process, and best of all, you’ve probably got all the tools you need to get started right now. Try it out, and have fun!
This post may contain affiliate links.
