Today I’ll be demonstrating the complementary underpainting method for drawing a landscape, beginning with the underpainting itself. (Refer to my previous article on the color theory behind underpaintings, and how they can enhance your final drawing, if you haven’t read it already.)
Before I start, I should mention that the first and EASIEST way to create a complementary underpainting for a green landscape painting is to select one red color (which is green’s complement) and use it underneath all of the greens in your painting. Use multiple layers and variations in pressure and stroke to create values.
You can also create beautiful and functional underpaintings using TWO colors of red. Take one warm red and one cool red, and use them throughout your underpainting, to achieve all the variations of color and value necessary to give your final landscape some increased visual interest.
A third method is to generally use the best—or most “complementary”—red underneath each different shade and value of green in your landscape. This means using a bluish-red underneath a yellowish green, for example. For today’s demonstration, I will use this method.
HELPFUL TIP #1: I rarely under paint the sky in a landscape painting. Unless the sky is stormy and incredibly saturated with color, it’s usually the area of lightest value and purest color in a landscape, so adding an underpainting for the sky will not benefit you.
HELPFUL TIP #2: Don’t go too dark with the underpainting. Every layer of color in your underpainting will darken the final values in your landscape. If you find out that you haven’t gone dark enough in the underpainting, it’s ALWAYS easier to layer more of the complementary color into that area to darken it later, than it is to try to lighten the underpainting after it’s too dark. Lifting color is not impossible, but it can be time consuming and has the additional risk of damaging the paper.
Step 1: Draw the basic shapes
The first color I used is Verithin Poppy Red. I chose this color because it’s a good middle-of-the-road red and is a good under color for most greens.
I’m using Verithin pencils because they have a hard lead, hold a point much longer than the softer Prismacolor Premiers, and are easier to erase. They produce enough saturation to create values without filling in the paper tooth.
In the trees, I used the tip of the pencil to make circular or “squiggly” strokes to mimic the look of foliage. The background trees are almost entirely this type of stroke. The light valued areas are a single layer of squigglies, while darker value areas range from two layers of color to five or six.
I used circular and squiggly strokes in the large, central tree, particularly on the shadowed side. But I also used the side of the pencil and light pressure to lay down broad, thin color in the middle tones and in all but the lightest areas. Shadows are multiple layers and medium heavy pressure (normal handwriting pressure) combining hatching and cross hatching with circular strokes.
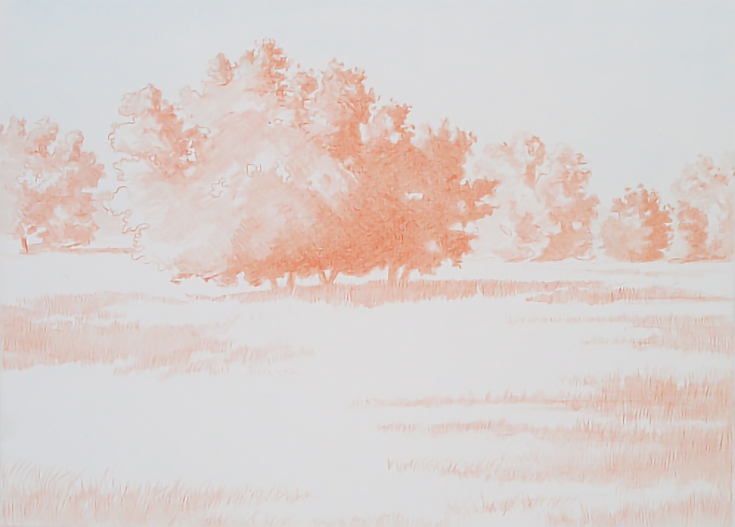
Shadowed areas in the grass were drawn with horizontal or vertical strokes applied with the side of the pencil. The more distant shadows and the shadows that are softer used a long, sweeping horizontal stroke applied with whisper soft pressure.
Bolder shadows (under the central tree and in the foreground) were drawn with shorter, vertical strokes. I also used the side of the pencil in these areas, but with a bit more pressure and two or three overlapping layers.
I used the point of the pencil and directional strokes to add grass in the foreground and middle ground and to add detached bits of foliage around the shadowed edges of the central tree to finish the Poppy Red layer.
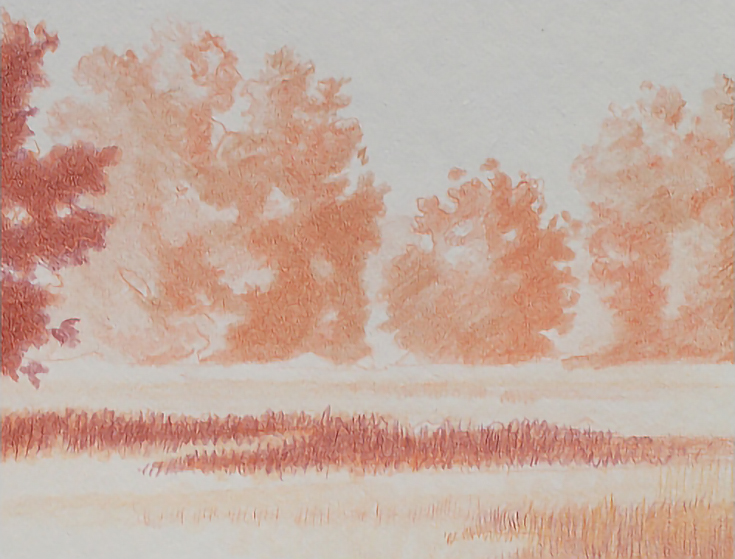
Step 2: Add darker values and additional colors
For a strictly complementary underpainting, you will want to add a red with hints of blue to underpaint brighter, yellower grass areas, and a red with a hint of yellow underneath areas of darker, bluer greens.
However, keep in mind that objects in the foreground appear brighter and more sharply defined than objects in the background. Colors and values are muted in the background. Since complementary colors applied one over another mute the final color, using a strictly complementary underpainting will create muted tones in all areas of the finished painting—which may not be desirable.
To avoid this, I would suggest using the most complementary color for underpainting any sections that are in the background of the landscape. For example, this means a blue-red will go underneath a yellow-green.
In the foreground, however, use a color that provides both a complement and contains a common trait with the final color. For example, use an orange-red to underpaint a yellow-green. The underpainting color and the final color both contain yellow. The result will be a color with all the vibrancy and luminance a foreground color should have.
For this particular underpainting, I’m following that rule, and using the most direct possible complements in everything behind the central tree. Verithin Terra Cotta is an earth tone red with enough orange to provide contrast to Poppy Red without adding much additional darkness. It is also a direct complement to the finished color, so will tone that color down. The result will be to push the area into the distance.
I used the side of the pencil and light pressure to apply a thin glaze over the background trees. I then used the point of the pencil and medium pressure to add one or two more layers to the shadows. I overlapped shadow and highlight in some areas to create a middle tone.
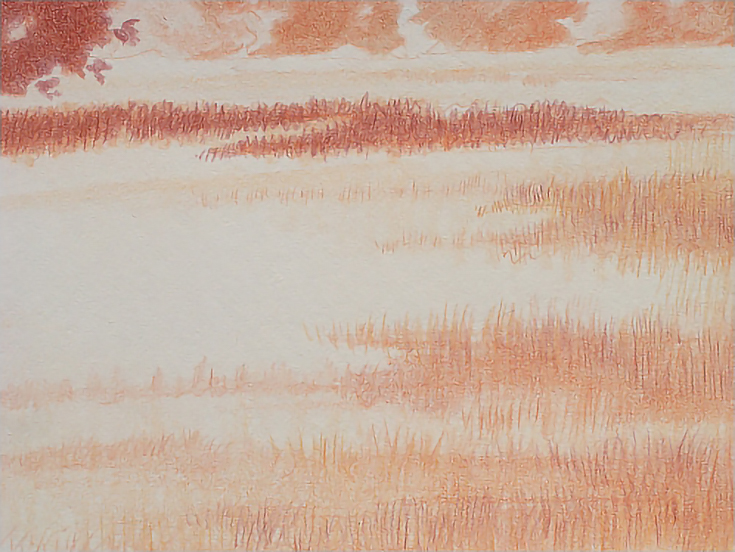
The grassy areas were glazed with Verithin Orange. Orange is a complement to green. But the final green will be a yellow green, so the yellow factor in Orange will keep it from toning down the green as much as a direct complement would.
In the foreground, I applied color with the side of the pencil and light pressure in short, closely spaced vertical strokes, then used the point to add directional lines to create the look of grass.
In the grassy area beyond the central tree, I applied color with the side of the pencil in long, horizontal strokes. I also glazed horizontal strokes with the side of the pencil over some of the darker areas in front of the central tree.
For the central tree and its cast shadow, I used Tuscan Red, which has a blue tint and is a much bolder color than either Terra Cotta or Orange. Using a combination of circular and directional strokes with both the side and point of the pencil, I darkened shadows and built up contrast to make the tree the focal point. I applied up to five layers in the darkest areas with pressure ranging from medium to medium heavy. In the middle tones, I added a single glaze with light pressure.
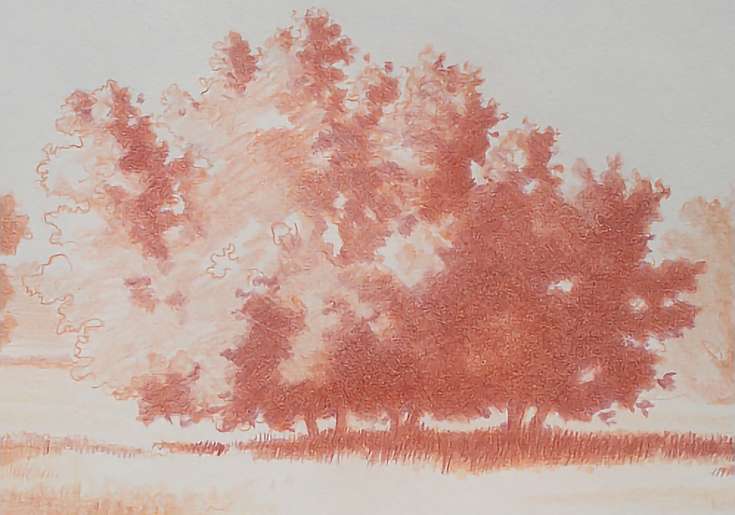
Step 3: Adjust colors wherever necessary
To finish the underpainting, I made adjustments with each of the colors, working all areas at once to create the most realistic vision of the landscape.
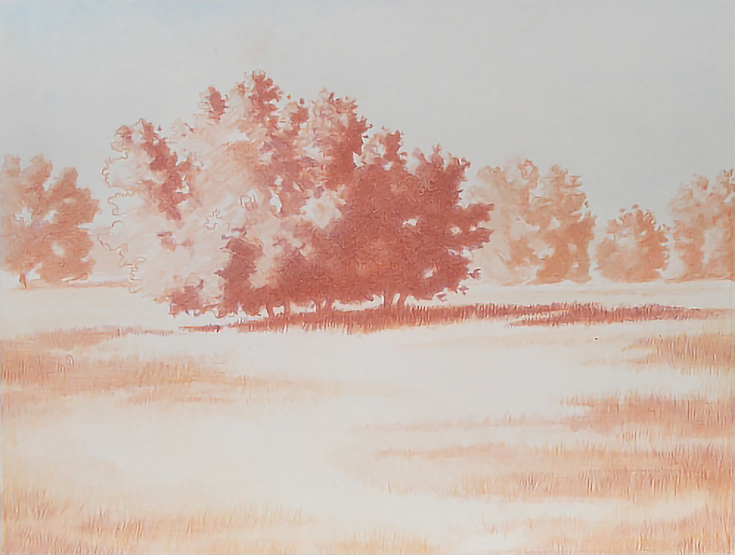
The final result is an underpainting that accurately captures the composition and look of the landscape, in complementary hues. The vibrance of the final colors will be enhanced in the foreground, and muted slightly in the background. The light source is well established, and all the values and shapes are in place.
In short, this underpainting is ready for color!
Stay tuned for my next tutorial, which will show the results of all this hard work. . .
This post may contain affiliate links.