For those of you who are new to colored pencils or thinking about trying them, today I’d like to go over a few of the more commonly used colored pencil techniques and how they can be used:
Burnishing
When burnishing, you use a heavy pressure to physically blend layers of colored pencil and fill in white areas of paper.
If you use this pressure to apply one color over another color, the effect is to blend the colors. A lighter color is generally burnished over a darker color to change the color temperature or value of the previous colors. Burnishing with a dark color over a lighter color can also be effective, but you run the risk of overpowering or covering up the lighter color completely.
You can also use a colorless blender (which is a pencil made without pigment) to burnish without changing color or value.
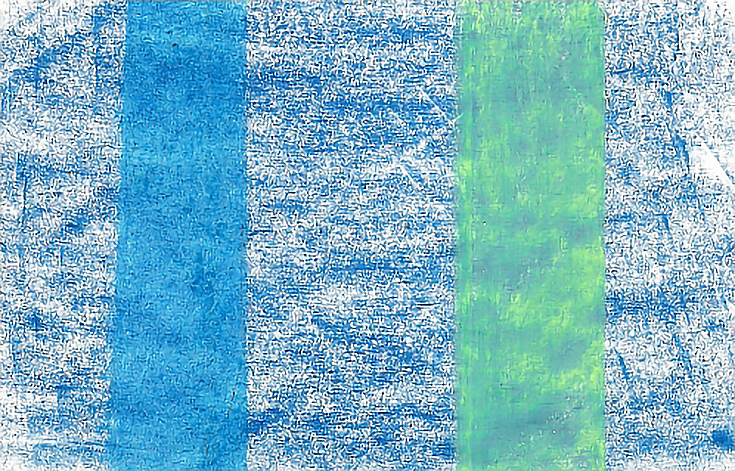
In the illustration above, I shaded the entire paper with the side of a blue pencil using medium pressure. This left plenty of white showing through. I then used a colorless blender to create the blue band on the left, and a yellow pencil and heavy pressure to create the green band on the right.
Impress/Impression
When you indent or alter the surface of your paper by using a sharp tool, you are impressing the paper, or creating an impression.
Impressing can be used to create lines and patterns at any time during the drawing process. Whatever color is applied afterward will not affect the area that was impressed.
A variety of special tools are available for making impressions. You can also use any other object with a point, or even your fingernails. My favorite impressing tool is a Zebra .06 ballpoint pen with a spent cartridge. I have also used the handles of small paint brushes, the curved ends of paper clips, and larger ball point pens applied over tracing paper.
You can also create impressed patterns with colored pencils themselves. When you do this, the impressed line or design will be whatever color you used, instead of being whatever color the paper may be.
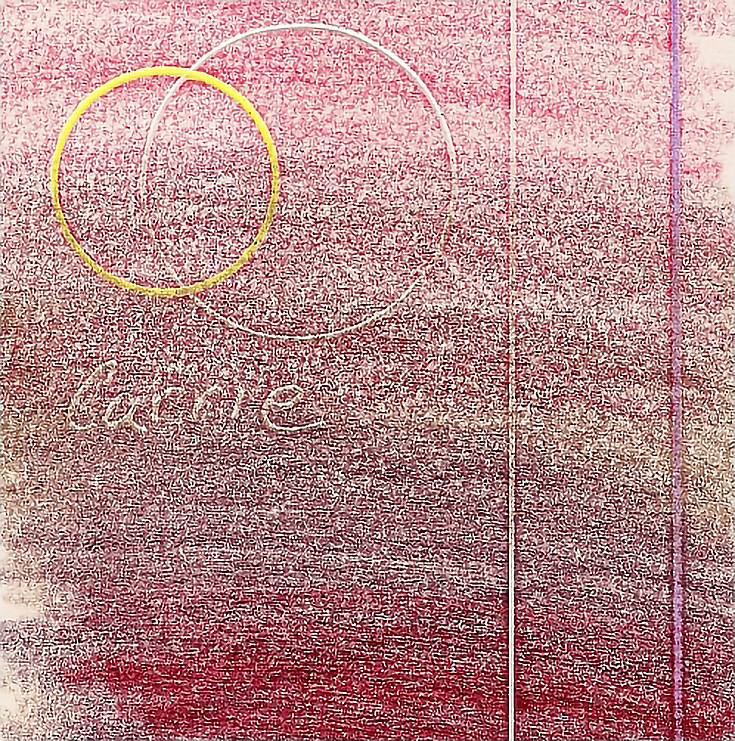
In this illustration, I shaded a band of brown using light to medium pressure. Then I impressed the large circle, the line closest to it, and my name with my Zebra pen. The purple line was impressed with a purple, hard lead pencil and the yellow circle with a yellow, hard lead pencil.
I used medium to medium-heavy pressure with each, then layered color over them. The color and quality of the impressed lines varies depending on whether or not they were impressed on blank paper or over a layer of color. (Half of both circles was impressed over blank paper, while the other half was impressed over the layer of brown, so you can see the differences.)
Pressure
Pressure is the amount of force used to apply color. The lighter the pressure, the less color will be left on the paper. Median pressure is normally handwriting pressure. Pressure is usually measured on a numerical scale.
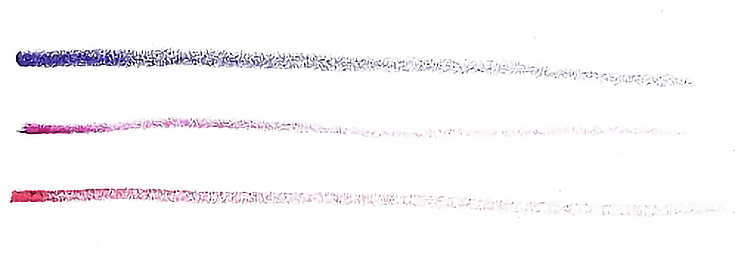
In this illustration, the right side shows the lightest pressure. I barely touched pencil to paper and applied almost no downward force. This represents a pressure value of 1 and is sometimes referred to as “whisper soft.”
The darkest value represents a pressure value of 10. The pencil is held in an upright position relative to the paper. I hold it close to the blunted end of the pencil and use a lot of force in applying color. There is little or no finesse with this type of color application.
A sharp point can be used with heavy pressure, but tips tend to break, raising the possibility of gouging or otherwise damaging the paper.
Heavy pressure is usually used late in the process, but entire paintings can be created with heavy pressure to emphasize deep, saturated, usually bright colors.
Wax Bloom
The cloudiness caused when the wax binder rises to the surface of the artwork is known as wax bloom.
Wax bloom occurs most frequently when color is applied heavily. It is most apparent in dark colors, but is present with all colors. It can appear overnight or over the course of several days.
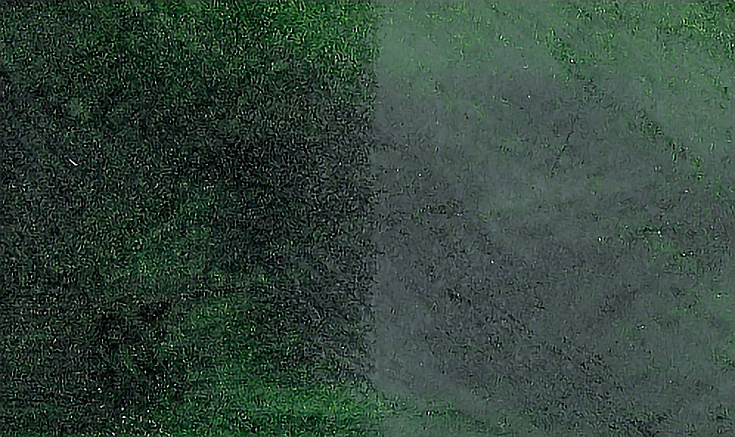
Here, the lighter portion on the right shows wax bloom. I removed the wax bloom on the left side by lightly rubbing the paper.
Remove wax bloom by lightly rubbing the artwork with a paper towel, a clean cloth, or a facial tissue (make sure to use the no-lotion type). Use very little pressure and one or two strokes to avoid shifting color, especially in heavily layered areas.
If the wax bloom occurs after artwork is finished, wipe the artwork as described above, then spray it lightly (one or two applications only) with retouch varnish. You can also use retouch varnish immediately upon finishing an artwork to prevent wax bloom.
NOTE: If you use oil-based colored pencils (which use vegetable oil as a pigment binder) you will not have to worry about wax bloom.
Temperature
Temperature refers to the visual warmth or coolness of a color. Reds and yellows are warm colors. Blues and greens are cool colors.
Color temperature can be used to evoke moods in paintings and drawings. Use cooler colors to create calm images, and yellows, oranges and reds for capturing scenes that are more active.
Tooth
Tooth is simply another name for the texture of the drawing surface.
The more coarse the tooth, the rougher the texture. The finer the tooth, the smoother the paper. Most good drawing papers are in the mid-range and vary from a Bristol (with not much tooth) to papers with a moderately coarse tooth, such as Canson Mi-Tientes.
Specialty papers are available that have no tooth (like Yupo), as well as papers with a lot of tooth (sanded pastel and art papers).
Surfaces such as mat board, suede board, canvas, and wood also have varying levels of tooth. Some of them can be mechanically altered by sanding or gessoing to produce finer tooth.
Value
In art, value is the lightness or darkness of a color.
Value can be created by varying the amount of pressure used to apply color. Lighter pressure produces color that is lighter in value. Heavier pressure produces color that is darker in value.
Value can also be created by choosing colors with lighter or darker values. Lavender is a lighter value color than violet, for example.
The left side of this scale shows 0 value (no color). The right side is the darkest value possible with this color. In this illustration, gradations in value were created by increasing the amount of pressure used to apply the color.
Hopefully today’s list of terms and illustrations were helpful, but remember, if you’re just starting out, mastering these techniques WILL take some time. The practice is worth it, though. . . Good luck!
This post may contain affiliate links.


