As much as I love working with colored pencil, the medium can be unforgiving. When I was first learning the craft, any serious mistake meant the end of a painting—just tear it up, throw it away, and start over. (A lot of images ended up in the circular file under my desk back then.)
Fortunately, over the years I’ve discovered a number of techniques for repairing mistakes, and today I’m going to share one of them.
The project
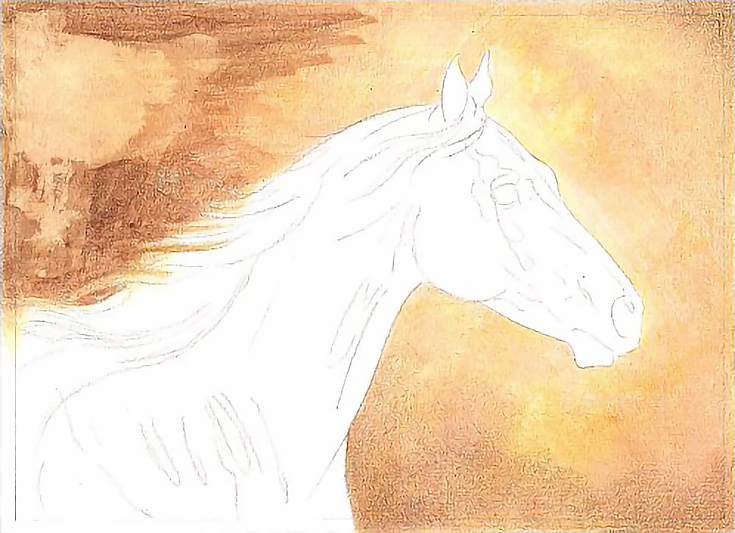
I was working on a classic vignette style head, neck and shoulders image of a Standardbred horse. The emphasis for this portrait-style painting is the horse, so I needed an interesting background that complemented the horse without distracting from it.
I also wanted something quick and easy, so I opted for water-soluble colored pencils. I created a wash with water every few layers, building color and saturation. I was almost finished with the background when the painting went from this:

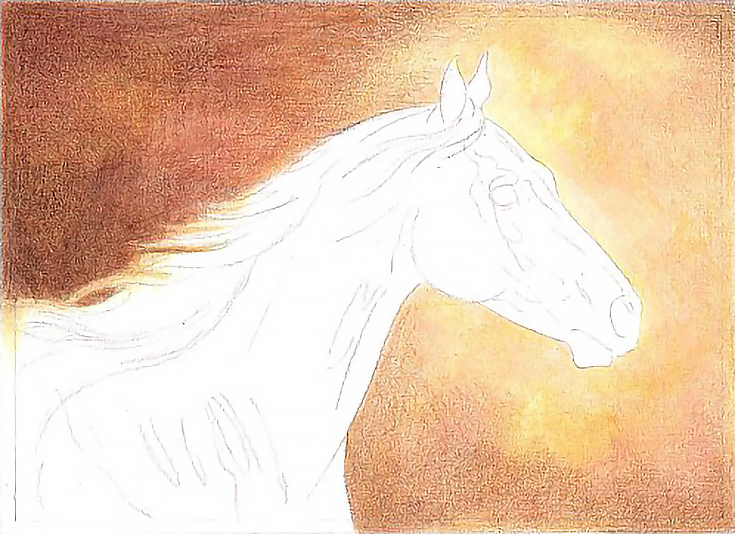
To this:
I had been trying to get a smooth gradation of color by pooling water on the paper and moving it around with the brush, but the result was a gaping hole.
Now I had a decision to make: scrap the painting and start over, or try to fix it. So I asked myself two basic, but very important questions.
1. Can I do anything to fix the problem?
2. Can anything I try possibly ruin the painting even more?
With this painting, the answers were “yes” and “no.” There was more to gain than there was to lose, especially since the damage was localized.
Making repairs
After the painting was dry I began repairs by applying the same colors I’d used to create the background in the first place (Dark Chrome Yellow, Van Dyke Brown, Light Flesh, and Burnt Ochre).
I applied those colors in the same order that I had used them before, but only where the hole was. Basically I redid JUST that section. Multiple layers of each color were used with pressures between 3 and 7 on the pressure scale with the goal of replacing the color that had been washed away.
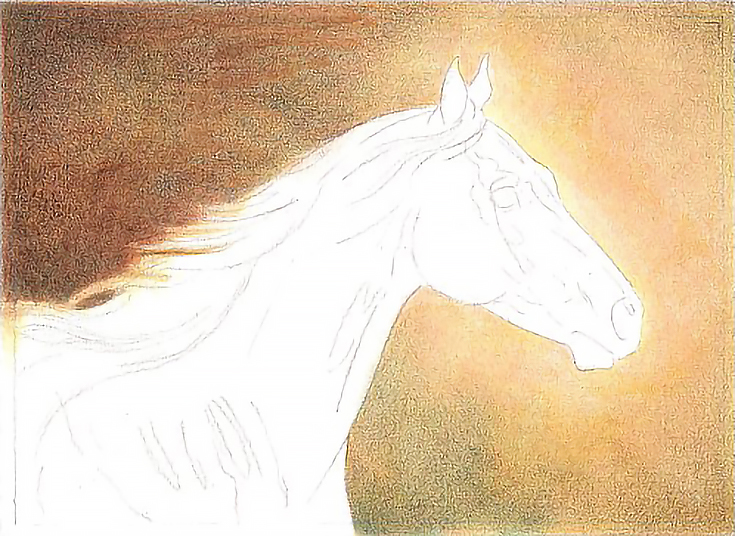
I was quite surprised to have the hole nearly disappear with only Dark Chrome Yellow and Van Dyke Brown. By the time I finished with all four colors, the hole was pretty well concealed and the ragged edges at the center were blurred.
I could still tell where the hole was, but could anyone else?

It wasn’t as good as new, but it gave me hope! However, it was clear that I would have to go darker with the background than I had originally intended to finish covering the mistake, so I delved into some new colors.
The first color was Indian Red, which I applied in several layers with varied strokes over the damaged area. I also added it to the other corners, building color and reducing the contrast between the damaged corner and the other corners, which darkened and reddened the overall look of the background.
Once that was complete, another application of Van Dyke Brown was applied followed by Grass Green.
With each color, I attempted to create a color layer that was as smooth and as even as possible so I kept my pencils sharp, used tight, short strokes and hatched and cross-hatched strokes.
I then switched to Verithin pencils to polish the background, hoping to do so without leaving excessive wax buildup.
I began with Dark Brown and continued with Indigo Blue, but that didn’t accomplish what I was hoping so I tried blending with my finger. Then I used a paper towel folded several times to move the color around the paper. One complete, I decided to consider the background finished. . . at least for the time being.
Here is the end result:
It’s not as light and airy as I was originally going for, but it’s still a nice background which complements the color of the horse. Ultimately even though the background was not restored to its original, pre-damaged state, it is very satisfactory and the painting was saved.
NOTE: The pencils used in this process are Faber Castell’s Aquarelle pencils. I enjoy the ability to create washes with them, but for dry work, they are a bit more challenging than Prismacolors. The lead is harder and dryer than Prismacolors so it was necessary to use heavier pressure even for lighter applications. Most of the time, I was using a pressure of 6 to 8 on the ten-step pressure scale.
On the plus side, there is no wax buildup so layering additional colors, even switching to a harder lead pencil (like Verithin), was not difficult.
This post may contain affiliate links.