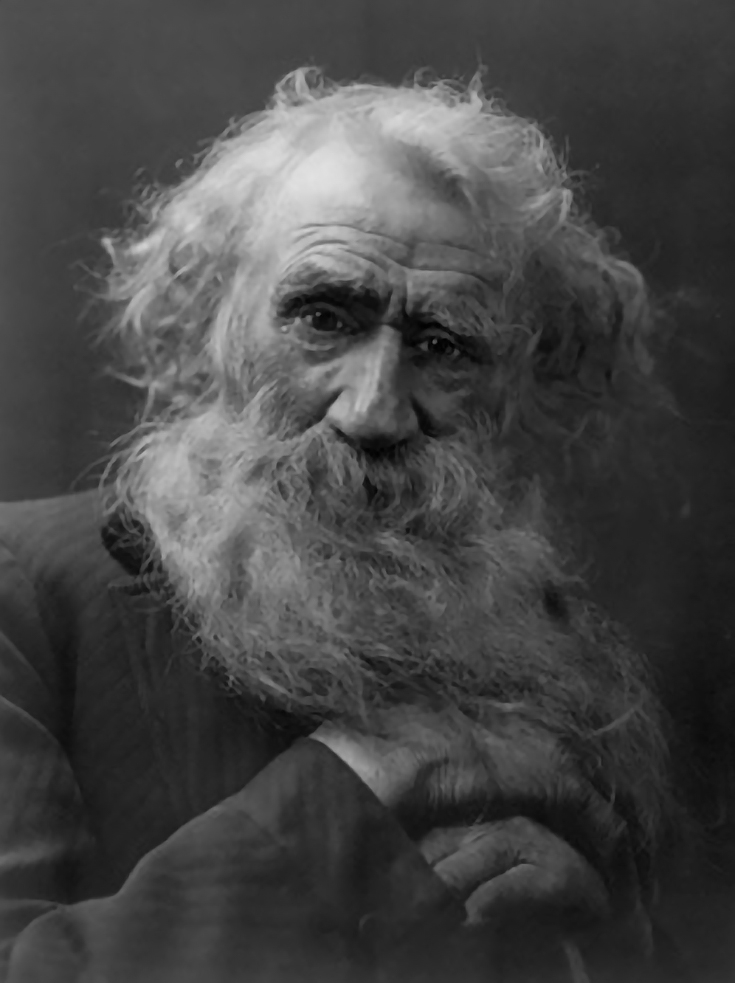
In this tutorial I’m going to show you the quickest and easiest way to create a nice moody black and white portrait with charcoal.
I’ll be using a source image from http://www.historicalstockphotos.com which has some really nice (and free to use!) black and white photos.
Here are my tools of the trade
– Battery powered eraser (optional)
– Tortillon (a paper stick used for smudging—make your own tortillons here)
– Charcoal pencil (or you could use a charcoal stick)
– Kneadable eraser.
If you’ve got those or something similar, you can follow right along.
Now let’s get started!
First, apply some charcoal dust to the center of the paper. I just scrape a stick of charcoal over sandpaper, which puts charcoal dust on the page.
Now, take a paper towel and gently rub the charcoal dust into the paper. In small circles, start from the middle of the page and work outwards, almost in a spiral shape. By the time you reach the edges of the page you should be running out of charcoal dust and fading out.
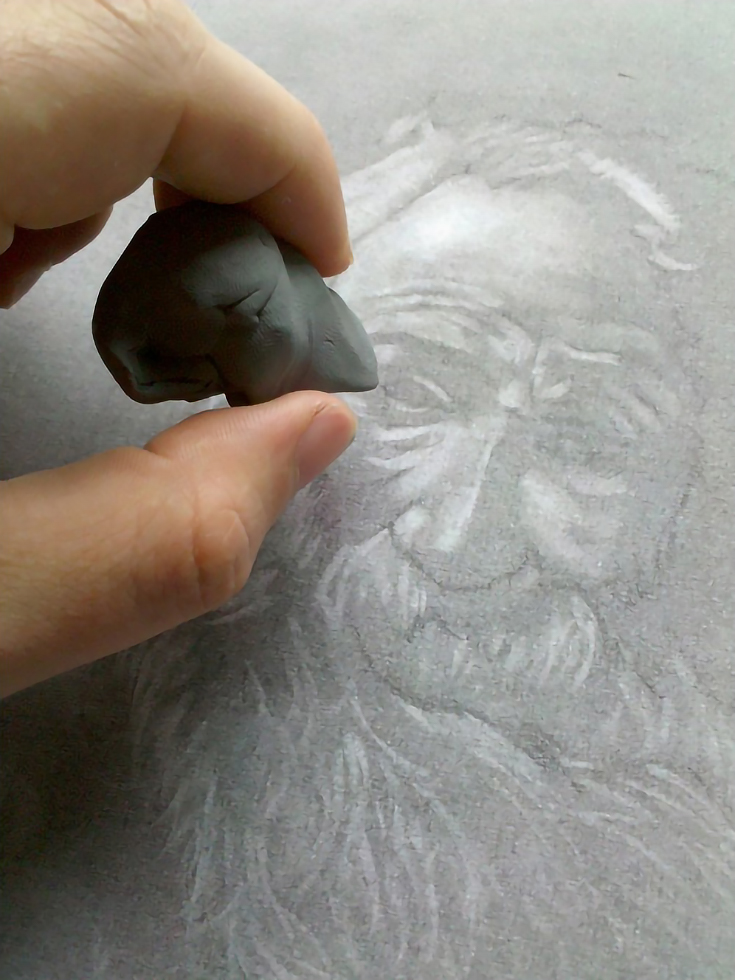
Now it’s time to sketch. Make sure you do the sketch in very light pencil. Don’t put too much work into the sketch, as you’ll soon be covering it with charcoal.
At this point, some people start with the darks, but I prefer the lights. I take my kneadable eraser (sometimes called a putty eraser) and begin removing charcoal dust to reveal the highlights of my sketch. Start with the brightest, whitest areas and then move on to the light grays.

Once the highlights are visible, I go for the darker tones. These are the sections that are darker than mid-tone, but not quite dark black. For this I use the side of the pencil and put in some charcoal marks.
Then, using my finger, I blend the new charcoal which effectively adds another layer and further darkens that section. Many people say not to use your greasy finger to smudge charcoal but I ignore those people. If you’re concerned about grease on the paper you can always rub with paper towel instead.
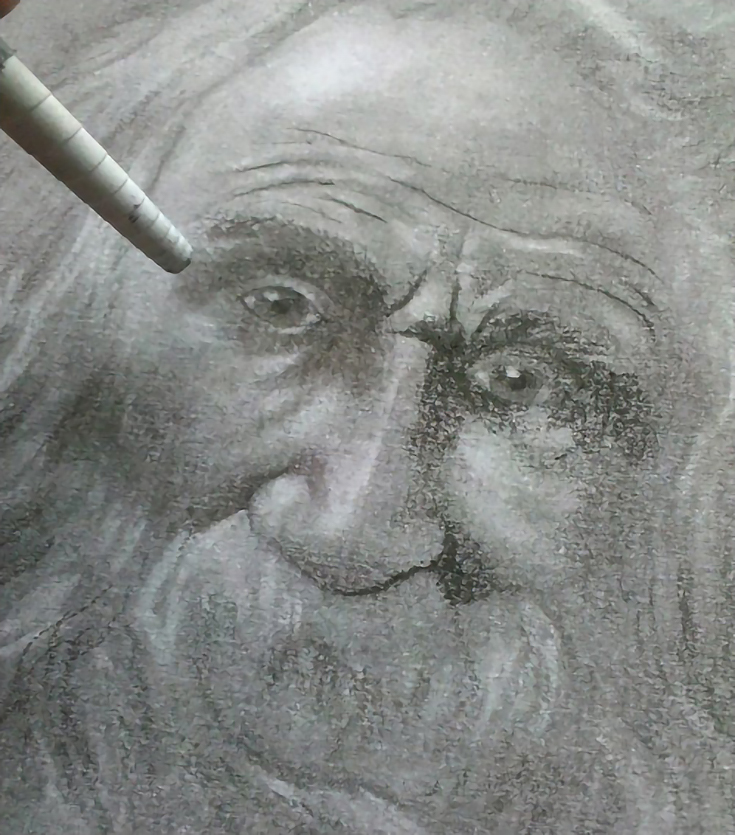
So now that we have the highlights and mid-tones, it’s time to add the darkest parts. This mainly involves scribbling charcoal, slightly darker this time, in the required places, but here I use the tortillon to smudge the black.
Why not my finger? Because now I’m having to work a bit more carefully on the eyeball and around the eye. The tortillon lets me be more exact and use the charcoal on the tortillon to create details.
It is important to remember the tortillon retains some of the charcoal you’re rubbing, so be careful when applying it to lighter areas. You might contaminate them!
Once my darks are dark enough for me, I’m done! I’ve purposely paid attention to the face and not put much detail in the hair, beard or hands, I’m only interested in the face in this particular portrait. I used the battery powered eraser to get sharp highlights on the bridge of the nose, in the eyes, and on the forehead wrinkles.
Does my portrait look exactly like the source photo? No, and I don’t want it to. This is my representation of the original photo. Remember, you don’t need to make an exact copy of the source, that’s what photocopies are for!
To learn more about Ronnie or to read his blog, visit RonnieTucker.co.uk.
This post may contain affiliate links.