In today’s portrait drawing tutorial, I will continue to build upon my previous lessons from the past few months (I recommend reading through part 1, part 2, part 3, and part 4 if you haven’t already).
Now, let’s get started:
21. Defining the cheekbones curve
The cheekbones curve is an important contour of the face. It bends downward from one cheekbone to the other, with its lowest point at the base of the nose, creating a virtual border between the front part of the cheekbones and the upper jaw.
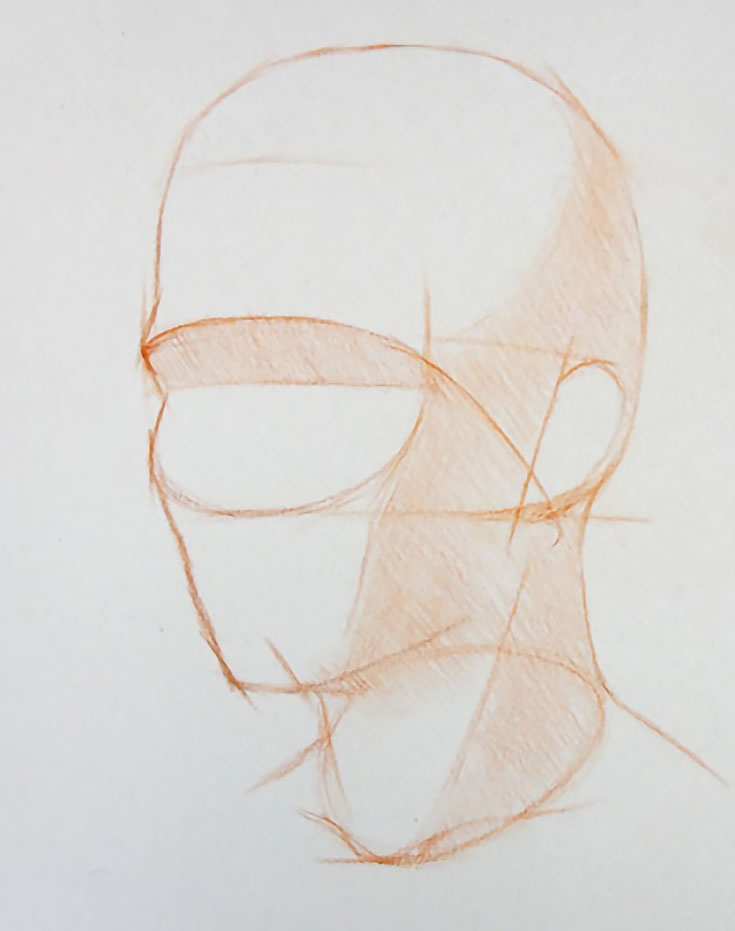
Some artists prefer to simply visualize this line in their mind, rather than actually draw it, but since we are focusing on proper construction of the head, I’ll include it, since this line helps to “build” a geometrically correct and well-proportioned portrait.
22. Blocking in shadows below the cheekbones
As mentioned before, the cheekbones curve separates two distinct planes of the face. The top surface of cheekbones faces the source of light and therefore will appear lighter than the surface below.
To indicate this difference in tonal values, use very light pencil strokes to shade in the darker area right below the cheekbones curve.
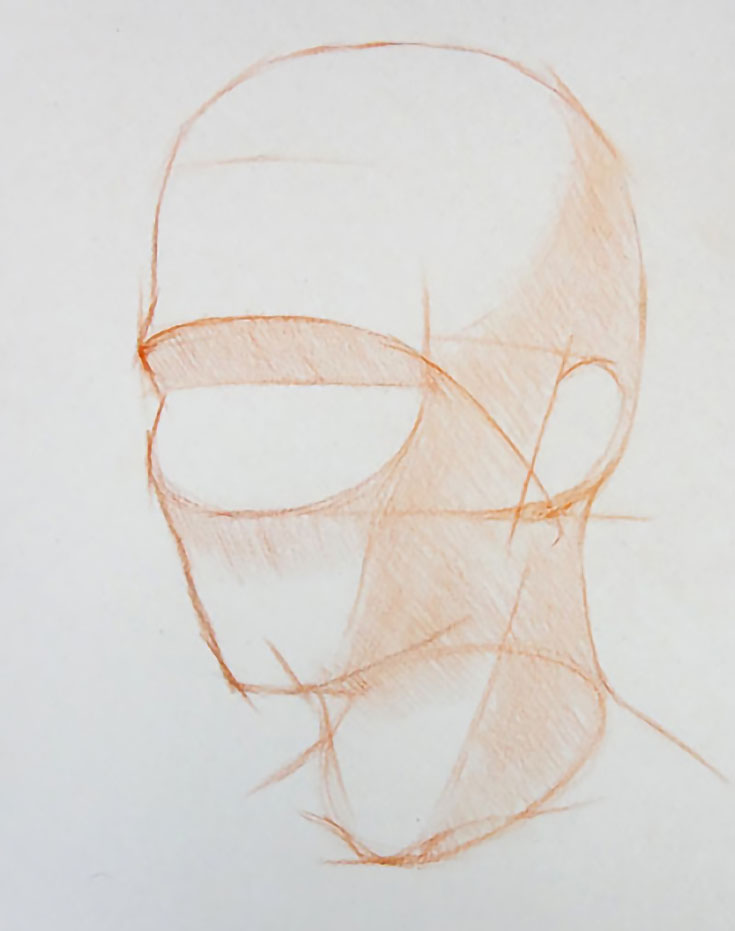
For now, there is no need to worry about exact tonal value of this shadow. We just want to show that the two planes on both sides of the cheekbones curve have different values. We can fine-tune it later on.
23. Drawing the central line of the face
The central line that goes from the very top of the forehead to the bottom of the chin is one of the most important landmarks of every human face. It serves as the axis of symmetry and is used to balance all facial features by ensuring that they are equal distances from that line.
Because the nose is located in front of this line, we should break the line or mark it very thinly around the nose area, so it will not interfere with lines of the nose later.
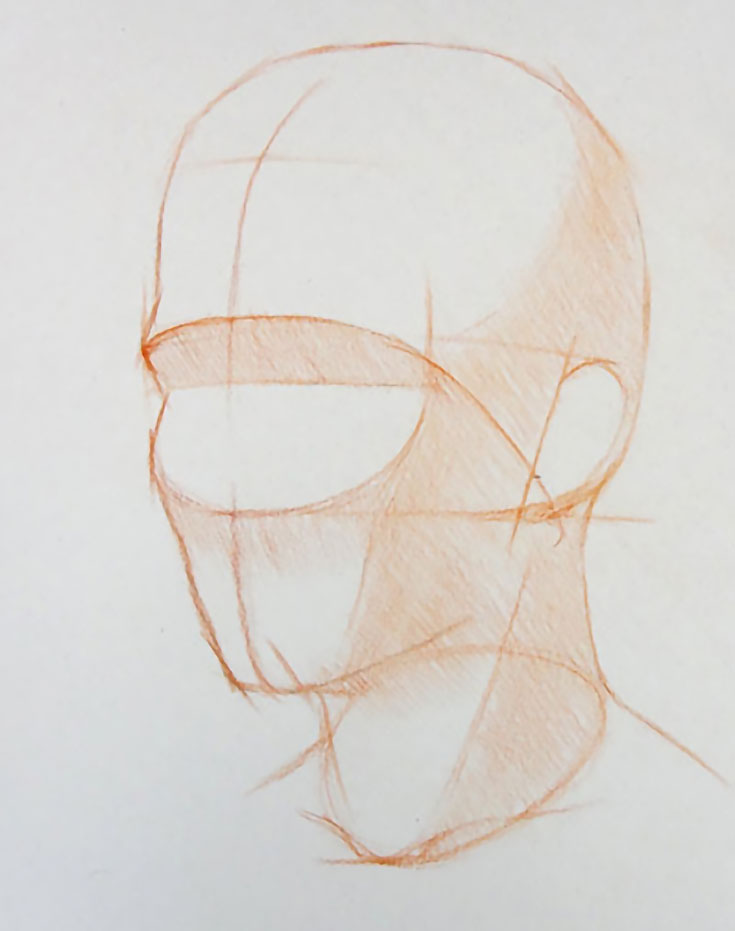
Many drawing books and tutorials suggest drawing the central line of the face much earlier in the portrait-drawing process. The reason why I do it now is because it is much easier, especially for beginners, to mark this line with precision when the overall structure of the head is already in place.
I also want to point out again that the sequence of steps used is a personal preference, and some artists do not draw these virtual lines at all, keeping them in mind instead.
24. Marking the angles and widths of the eyebrows
With a central line in place, we can start drawing smaller facial features, while still making sure that all of them are symmetrical in relation to that line.
I’ve begun by drawing the angle and shape of the eyebrows as they come towards the central line. Eyebrows are specific to each person, so make sure to observe them on your model first. Some may angle up or down more, or be thicker or thinner.

25. Placing the upper eyelids and bridge of the nose
With part of the eyebrows in place we can now mark the curvature of the bridge of the nose. This line is a helpful landmark, because it usually coincides with the placement of the upper eyelids. However, make sure to check your model’s features and adjust the drawing if needed.
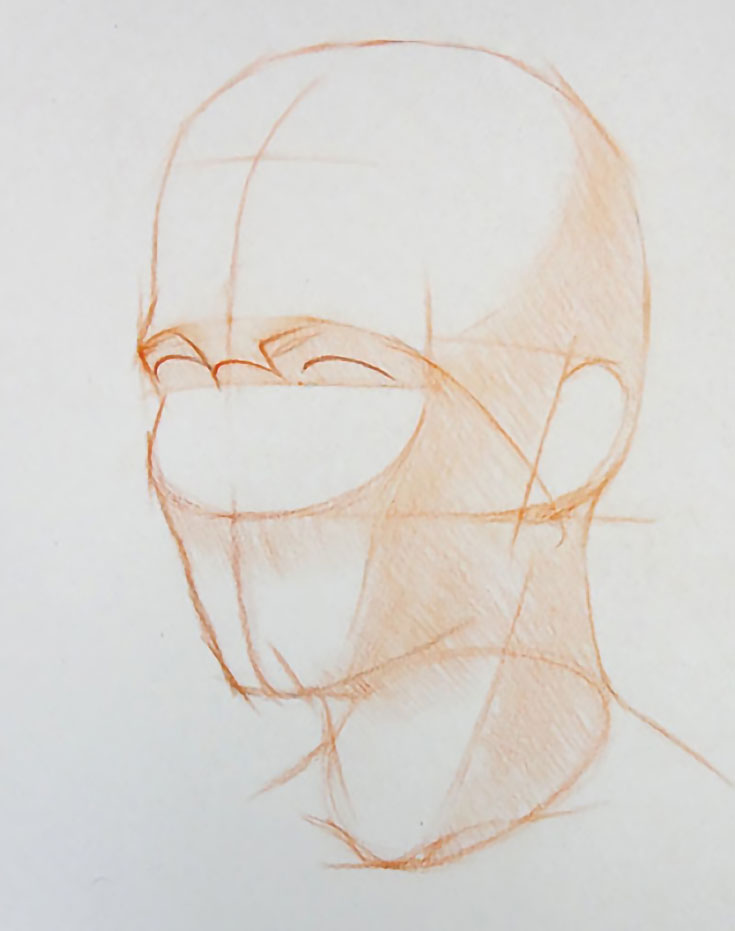
Symmetrical features like eyelids should be drawn in pairs, to make sure they are located on the same virtual horizontal line and have similar curvature. By placing them around the central line, and checking them against each other as you draw, you’ll be able to avoid the mistake of drawing one eyelid higher or lower than the other.
Part 6 of this series is now available on EmptyEasel. . . click the link to continue this tutorial!
Portrait drawing expert Vladimir London is a published author and founder of the Drawing Academy, an online class for learning traditional drawing techniques from home—make sure to click through for full tutorials, drawing tips, and more!
This post may contain affiliate links.