If you’ve got a mixed media painting that is nearly done but not quite—you know it just needs a little something to complete it—here are a few playful touches you can add to your painting to bring it to completion and make it shine!
1. Make it POP with pastels
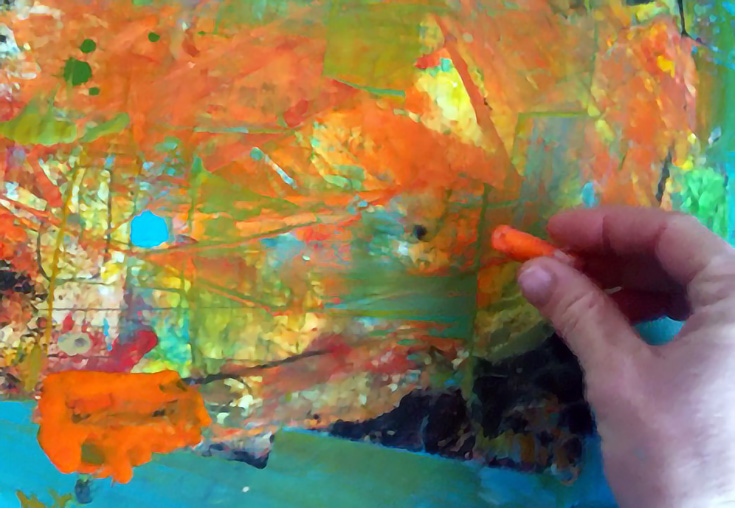
Take a look at your painting and notice if there are any areas of color you’d like to emphasize. You can quickly add color to those spots with an extra touch of pastel and liven up your whole painting!
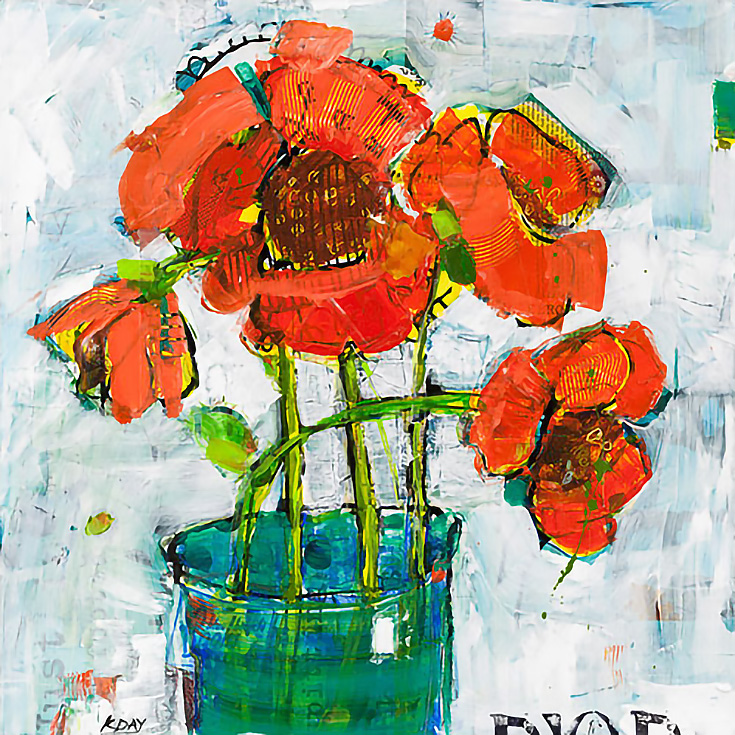
For example, I like to put a single spot of pastel on one flower petal, bike part, or bird wing. I also use chalk pastels because they are workable.
Just a little POP of pastel here and there really brightens things up!
Pastels work especially well on papers you may have collaged onto your painting, or on areas of your canvas that aren’t too heavy with paint. (Be careful not to overdo it, though, since too many spots of pastel can be distracting.)
Each time you add a dash of pastel to your mixed media painting, step back and take a look to see the overall effect. Could the painting use another burst of color, or was that enough? Have fun with it!
NOTE: It’s important to “fix” the pastel so it doesn’t smear. Do this by taking a small brush and dabbing it carefully with a little gel gloss. Don’t spray it with fixative—that can dull the color!
2. Add some shine with metallic markers
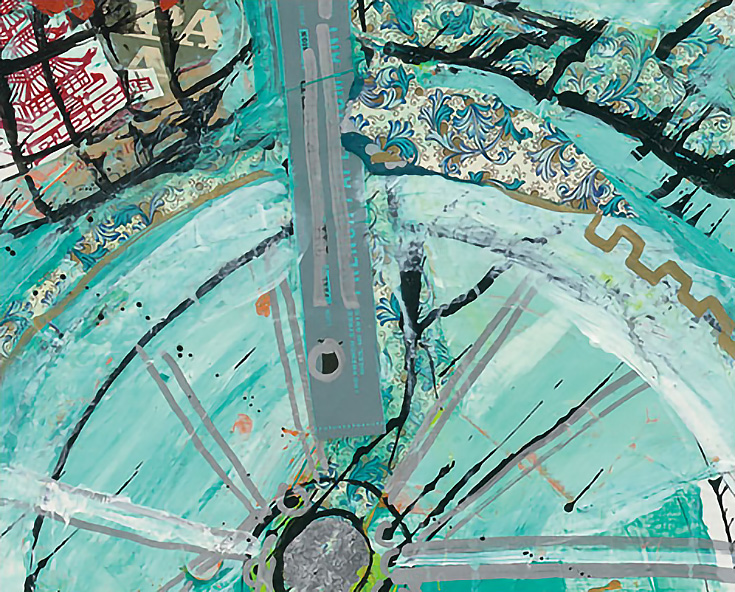
Metallic markers are a must for nearly all of my paintings in their “finishing touches” stage. Before using metallic markers, however, be sure your painting is completely dry or you’ll ruin the nib of the marker. Then, to get the marker going, you may have to shake it up really well or bounce the tip on some scrap paper until it starts to flow.
Like you did with the pastels above, add some shine to key spots of your painting in order to bring out areas you want to emphasize.
Here are just a few things you can do with metallic markers:
• Trace a few key lines, like the spoke of a bike or a fence rail
• Put small polka dots here and there
• Shake a marker above your painting for a spray of sparkle
• Add a couple of squares to the edge of your painting for a graphic effect
• Write a cursive word that you love, or the line of a poem
In short, markers aren’t just for kids anymore! :)
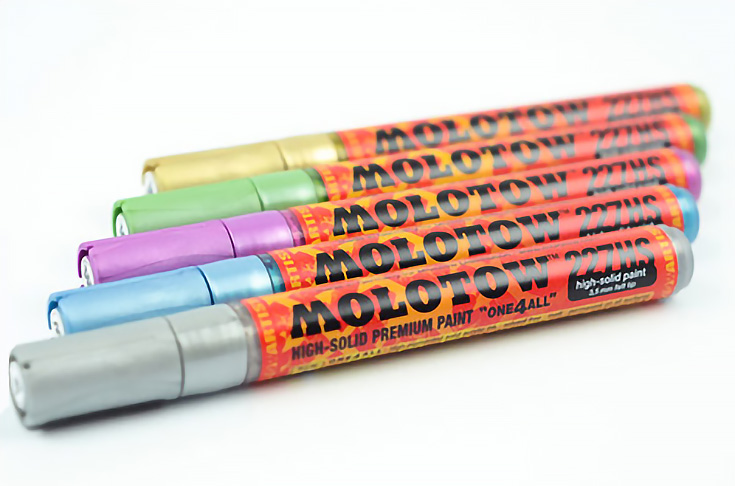
Besides metallic markers, you can find all sorts of paint markers that are fun to use. If you live near an art store and have the opportunity to try them out in person, it’s definitely worth the trip! My current favorite brand is Molotow, because they seem to flow the best of all the markers I’ve tried.
That said, many large art stores have entire departments devoted just to markers, so there are a lot to choose from. (And I encourage you to try as many as you can!)
TIP: Be sure you use a fixative after applying paint markers to your painting.
3. Use stamps for extra interest
Another one of my favorite ways to finish a painting is with rubber stamps.
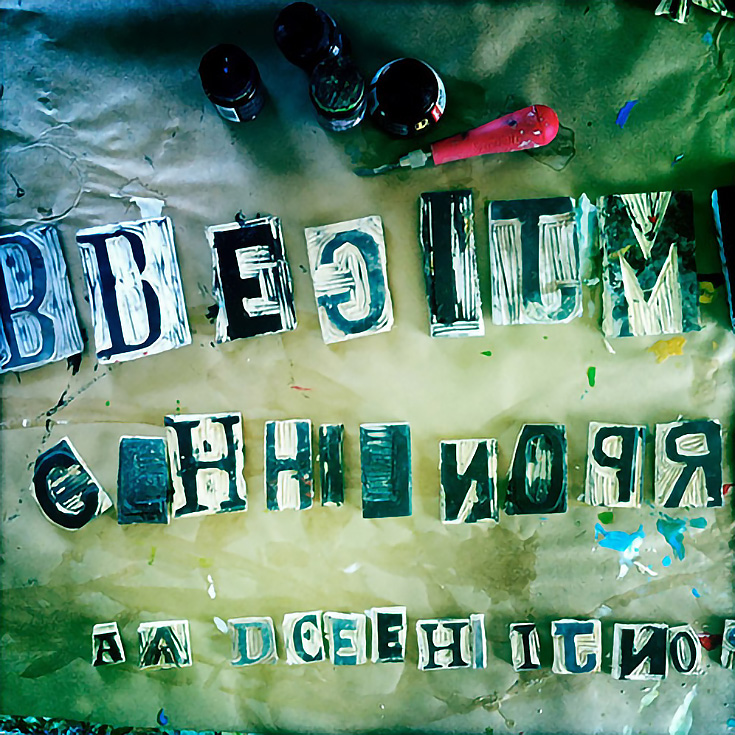
You can carve your own stamps out of a rubber blocks OR you can buy pre-made stamps in the shape of butterflies, flowers, letters of the alphabet, etc, at craft stores and scrap-booking stores. Here are a few of my own handmade rubber stamps:
I especially love alphabet stamps. If you paint a rose, sometimes it’s super sweet to just stamp the word “bloom” in the corner. Or any word that speaks to you. You can also stamp a symbol that has meaning to you, like a heart or star.
I often use large, handmade alphabet stamps and stamp only part of them in the corner of a painting that needs a little balance.
If you’d like to learn how to make your own rubber stamps, click here for my video on how to easily—and cheaply—carve your own.
TIP: Make sure you buy archival rubber ink pads, so your work has longevity. I like Ranger Archival Ink Pads because they are good quality and the ink doesn’t run. Plus, they have tons of colors to play with!
4. Collage it with patterned paper
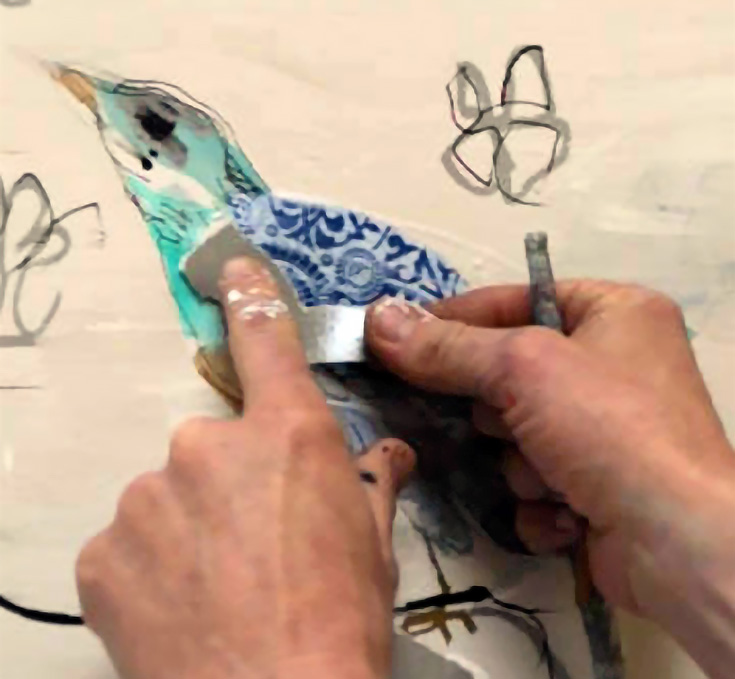
Sometimes a painting that “needs a little something” will come together perfectly with the addition of one beautiful piece of paper in just the right spot.
In this case, a little pop of patterned paper gives the eye a place to rest.
Search through your collage papers to find a piece that catches your eye. Then tear or cut a piece the size you need, and move it around your painting to see what effect it has in different spots.
If you find a place where it adds to your painting, go ahead and glue it down. It might be worth stepping away from your painting for a moment (or more) and then coming back later and taking another look to see if your painting could use anything else.
NOTE: I like to use Golden Soft Gel to glue beautiful papers into my paintings. For an example of how to do this, see my other tutorial on EmptyEasel as well.
It’s amazing how much detail a lovely patterned paper can add to a painting.
5. Finish it to a professional standard
When you feel you are truly done with your painting, here are a couple of extra touches I recommend to give it a professional finish:
Paint your edges – Paint the edges of your canvas to give it a completed feel. Use a color that brings it all together and enhances the quality of the painting—typically it’ll be some version of your main color.
Add a UV coating – When your painting is completely dry, give it a smooth coat of Golden UV Polymer coating. This not only gives it a sheen that really enhances your colors, it also puts a little UV coating on it. You can choose gloss, semi-gloss, or matte, depending on your taste. I like gloss.
Lastly, put a wire on it – Screw a couple of eye-bolts inside the edges of the back of your canvas and thread a wire through them so it’s ready to hang. You can buy these hanging kits at any hardware store.
VOILÁ, you’re finished!
For more posts by the author, or to view her art, please visit kelliedayart.com.
This post may contain affiliate links.
