This week, I’m taking a break from my normal colored pencil demonstrations to answer a few questions. These are the questions that I always asked when I was learning to use colored pencils, and I often hear them asked by other new artists, too.
I’ve been doing colored pencil many years, now, so I thought I’d share my answers with the hope of helping others:
1. Should I fill every single paper hole in a drawing?
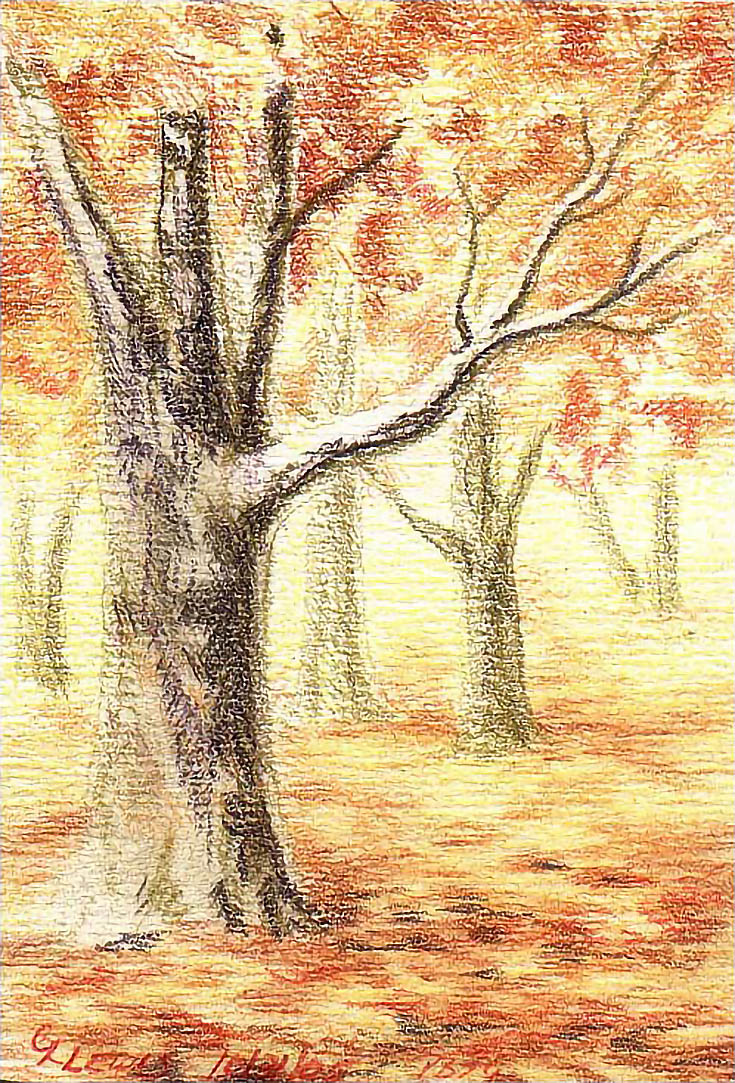
First, let’s start with a brief definition. When discussing colored pencil, a “paper hole” is a place where the color hasn’t covered the paper, so the paper shows through. This drawing shows a lot of paper color, so it has a lot of paper holes.
In the early days, when artists were beginning to use colored pencils for fine art, it was common to see drawings that had a misty, almost ethereal look. Colors were muted. There usually wasn’t a high degree of detail and even if there was, it wasn’t as richly saturated as an oil painting or acrylic painting. It was easy to spot a colored pencil drawing.
Over the years, pencil quality improved, the variety of available pencils grew, and more artists were drawn (pun intended) to try them. The more artists who took up colored pencil, the wider the variety of drawings they produced.
And, the wider the variety of styles.
Eventually, artists learned how to develop drawings to the level of oil or acrylic paintings. Highly saturated and richly colored drawings have become more and more common, and today, some artists are capable of producing colored pencil work that is indistinguishable from oil paintings.
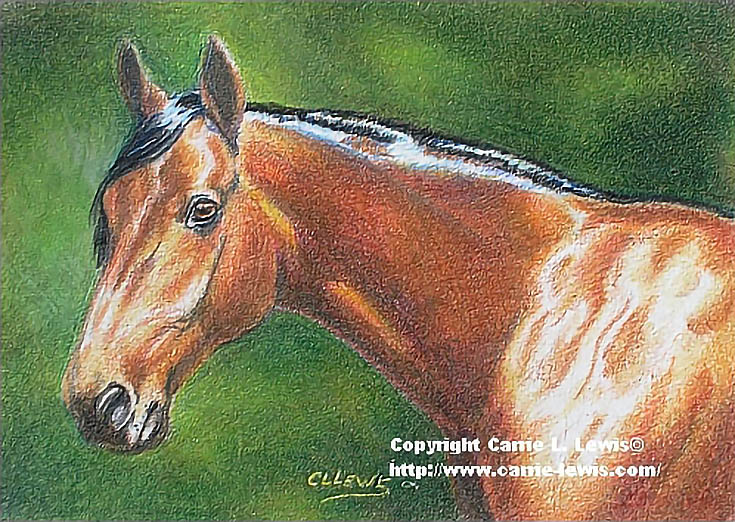
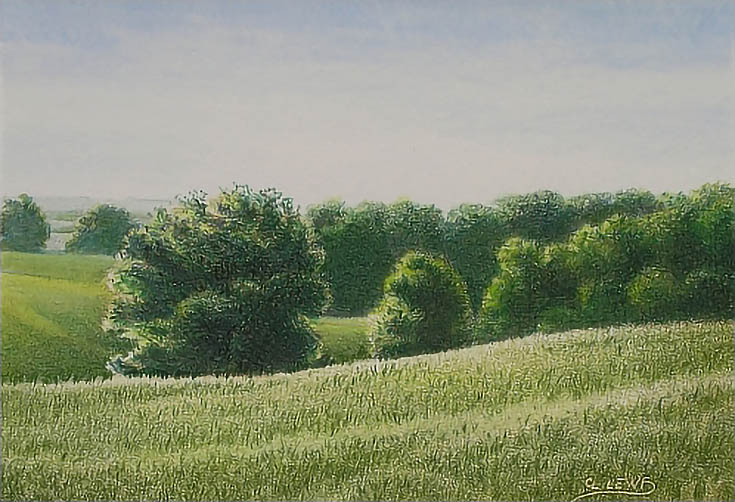
This drawing, for example, has fewer paper holes for an entirely different look.
So, no. You don’t have to fill in every single paper hole in your drawings. There are subjects that do quite well with that kind of ethereal treatment. And, some artists are quite expert at drawing in that style. If that’s you, more power to you.
2. I don’t like paper holes. How do I fill them in?
I touched on a few methods for filling in paper holes in the previous answer. Let me expand on some of them and add a few more, beginning from the paper up.
One of the best ways to avoid paper holes when using colored pencil is to use smooth paper. Hot pressed papers are usually smoother than cold pressed papers. Many of them have next to no texture at all, which make them ideal for creating colored pencil art with very few paper holes—if any.
The downside to those papers is that sometimes they are difficult to use because they don’t have enough texture to hold multiple layers of color. If you want to make colored pencil drawings with no paper holes and you want to try these types of papers, try a small drawing first. If it works, great. If it doesn’t, you haven’t expended a large amount of time an effort on a doomed drawing.
Another way to fill in paper holes is to do an underdrawing first and/or use a hard lead colored pencil like Prismacolor Verithin. The leads of these pencils are narrower so they fit into the texture of a paper better, giving you a smoother color layer. They also hold a point longer and they go on lighter than their thick lead counterparts.
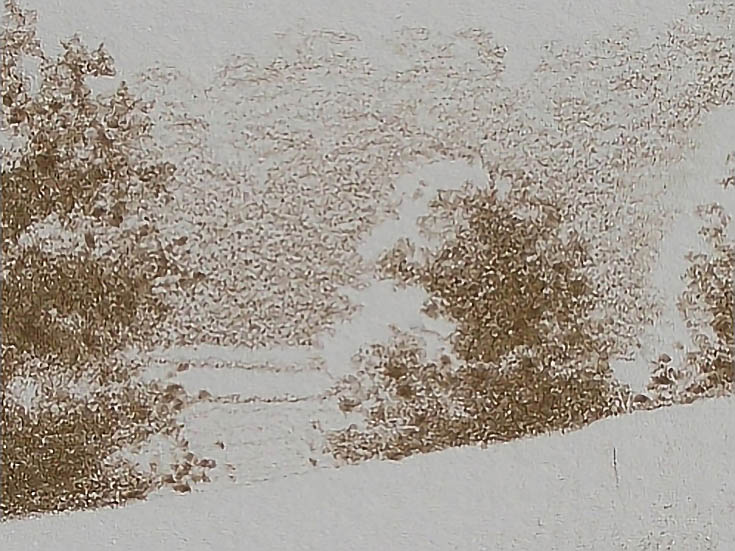
The illustration below shows an underdrawing in earth tones with Prismacolor Premiers, but you can use other colors and other pencils, as well.
(Read more about drawing a landscape with an umber underdrawing.)
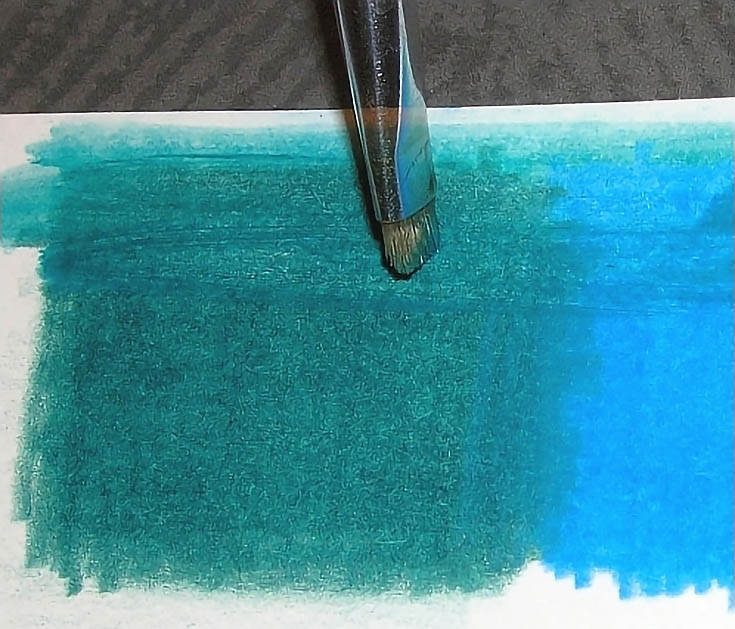
You can also use watercolor or water soluble colored pencil in the early stages of work. A layer or two of water soluble color goes a long way to fill in paper holes and allows you to concentrate on the detailing and fine tuning when you’re finishing a drawing.
(Here’s a full article on using water-soluble colored pencils to begin a drawing.)
Using a lot of layers and heavier-than-normal pressure—especially in the later stages—is another great way to fill in paper holes. The heavier pressure you use, the more you “grind” color into the paper and that helps fill in paper holes.
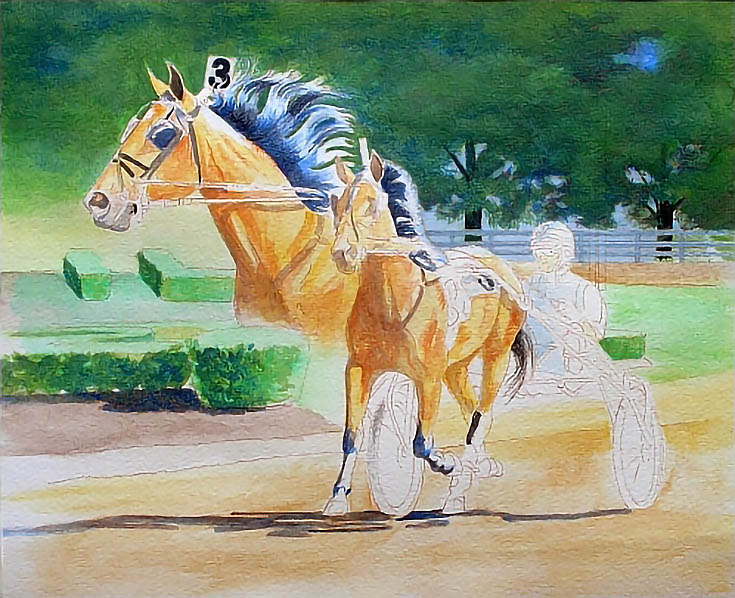
This drawing was completed with a combination of multiple layers and fairly heavy pressure over an underdrawing:
Begin with light pressure and increase pressure as you add more layers for the best results.
Burnishing your drawing in its final stages is yet another way to get smoother drawings with fewer paper holes. When you burnish, take either a colored pencil or a colorless blender, and press down with the heaviest pressure you can safely use for the paper on which you’re drawing.
Burnishing blends your lower layers together, and presses the color more completely into the paper’s texture. Used by itself or in combination with any of the methods described above, it’s probably the best way to eliminate paper holes.
You can also eliminate paper holes by blending drawings with rubbing alcohol, or using even stronger solvents like turpentine and rubber cement thinner, oftentimes with the use of a brush to create a watercolor-like effect.
Used near the end of the drawing process, these solvents liquefy the wax binder and allow the pigments to “flow together” almost like watercolor. Just be careful not to blend too much or—as with watercolor—you’ll end up with mud!
3. What is wax bloom and how can I get rid of it?
There are two types of colored pencils. Wax-based and oil-based. Wax-based colored pencils are made with a wax binder to hold the pigment together. Oil-based pencils are made with an oil binder.
With either type of pencil, some of the binder goes onto the paper along with the color. That’s what keeps the color where you put it when you draw. When you use wax-based pencils, however, the wax eventually rises to the surface. That’s wax bloom.
On lighter colors or if you’ve used lighter pressure, you probably won’t notice wax bloom. If, however, you use a lot of layers or heavier pressure, you’ll definitely see the wax bloom, especially in the darker colors.
Getting rid of it is easy. Wipe your drawing with a clean cloth, facial tissue (without lotion), or paper towel. Use light pressure so you don’t disturb the color. The wax bloom will come right off, leaving your drawing as colorful and crisp as the day you finished it.
If you spray the drawing with retouch varnish or something similar, that will keep the wax bloom from returning. Just be sure to test the retouch varnish on a scrap piece of paper or scrap drawing to make sure it doesn’t alter the colors.
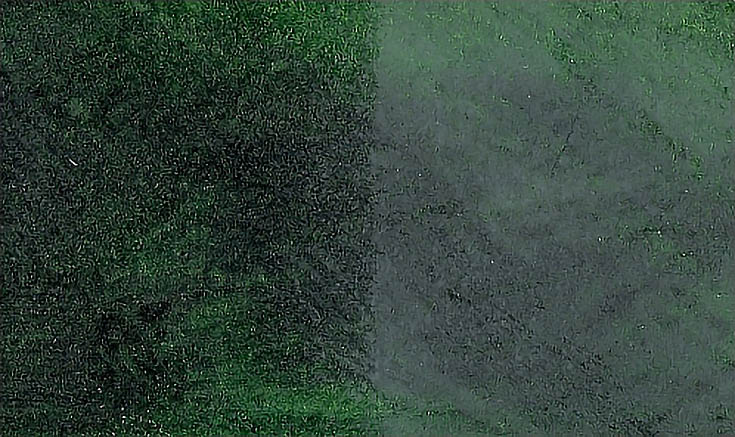
In the following illustration, the grayish half of the drawing shows significant wax bloom. The darker side is the original color of the drawing after the wax bloom has been removed.
Preventing wax bloom from returning is a little more tricky. A layer or two of retouch varnish applied lightly when you finish a drawing is often all it takes, but sometimes it isn’t enough, especially if you used heavy pressure in finishing your drawing.
My usual method is to use retouch varnish, but I’ve had wax bloom reappear even with that, so your results may vary. If you want to completely avoid wax bloom all the time every time, try oil-based colored pencils. No wax, no wax bloom!
Good luck, and happy drawing!
This post may contain affiliate links.
