Wine bottles are one of my favorite still life subjects to paint, primarily because they come in a variety of colors and have a beautiful shape that pairs well with almost anything. Here are the steps I use when painting colored wine bottles (or any colored glass) with oil paints:
1. Set up your still life
Two wine bottles and some fabric for a background became my subject for this simple still life painting.
As you set up your own still life, make sure you have a strong light source coming from a single direction in order to get good contrast between lights and darks. Natural light from a window works well, or you can use a spotlight which will give you more control. (I used a spotlight from the left for this particular painting.)
2. Sketch your subject onto your board or canvas
I used oil pastels to sketch the bottles onto my primed board.

Oil pastels work nicely for this stage because they come in a variety of colors and help me stay loose with the sketch. Having different color options is an added bonus, just in case you like to change up your gesso or primer color—you can always choose something that will stand out.
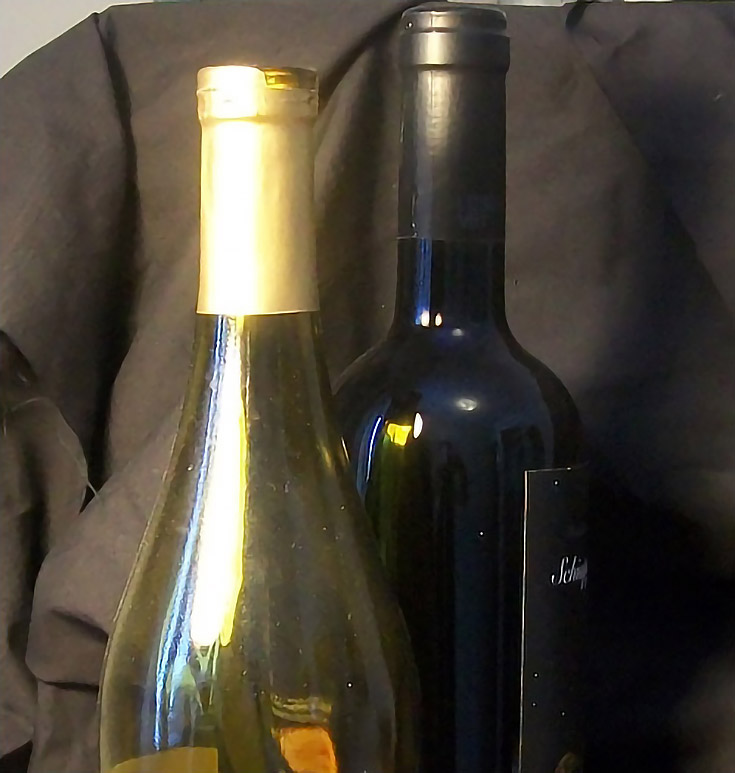
3. Block in the base colors
As you can see in the image above, I started by painting in the lightest yellows of the front bottle top. I typically work wet on wet so this allows the yellows to stay bright and clean without getting muddy from other colors getting pulled into it.
Next, I added the dark color to the back bottle.
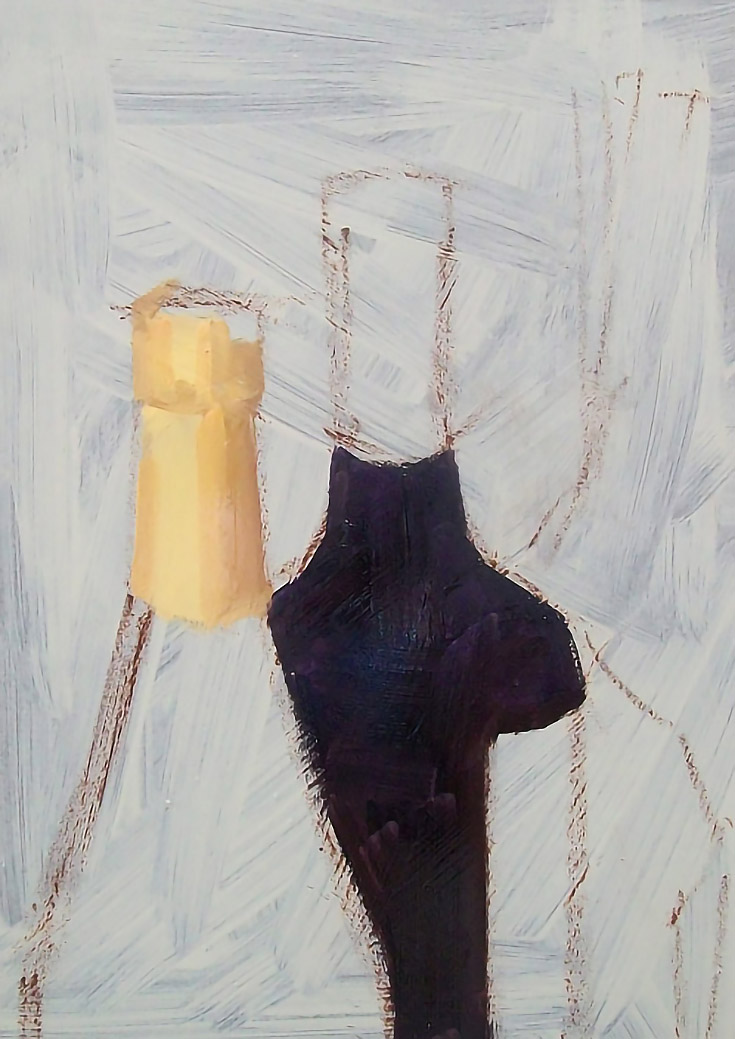
As you paint, focus on the overall colors of the bottle. You will add the highlights and other details in later. I’d also recommend painting the rear bottle first, since that will make the other bottle automatically come forward when you paint its edge over the rear bottle.
I continued by painting in the top and label of the rear bottle. Notice how I didn’t worry about making the shapes and edges perfect. . . that’s because when you eventually paint the background, you can use that background color to carve out crisp, final shapes at the end of your painting.
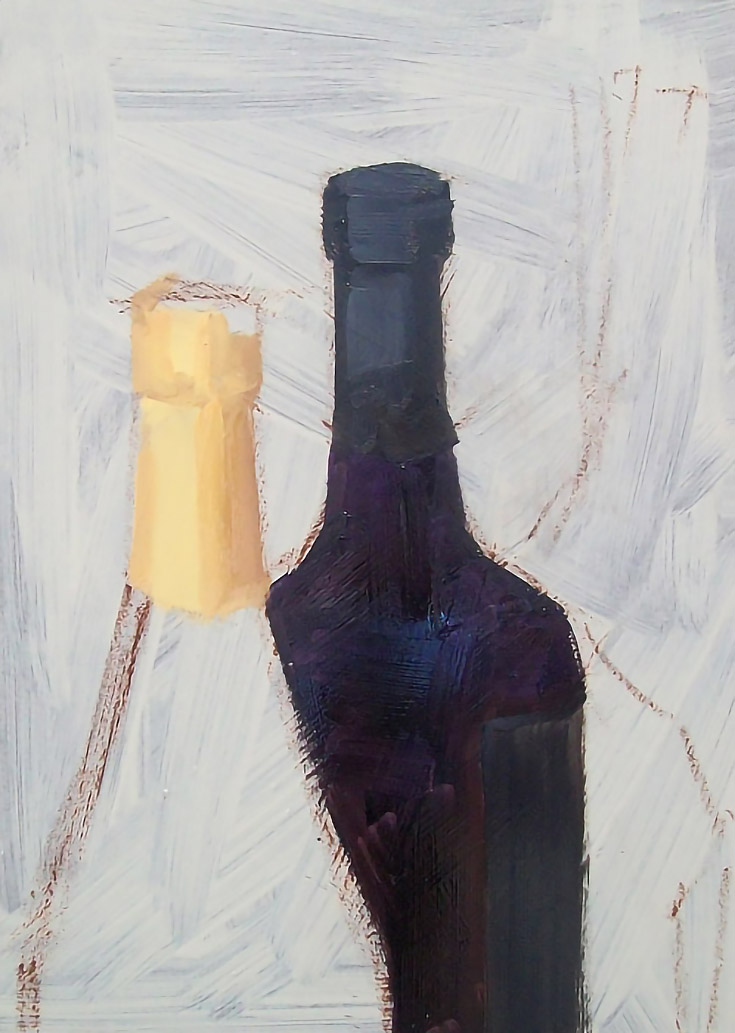
After I finished blocking in the rear bottle, I painted in the front bottle color. Again, focus on the overall color of the glass, not the reflections or other details.
4. Start adding light reflections
The beauty of colored glass comes in the reflections. Really look at the colors that you see in the highlights and then exaggerate them a bit as you paint them in. It may look strange at first, but as the rest of your painting comes together, the bright colors will look perfect.
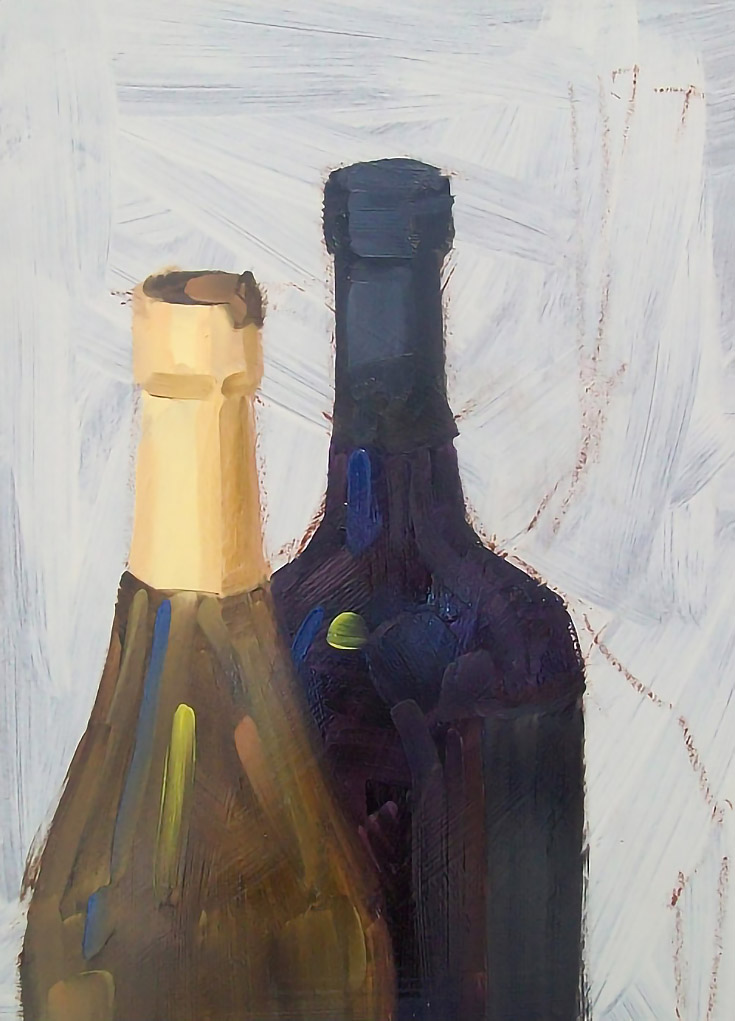
As you can see, I added some blue, orange and yellow highlights to start.
5. Paint deeper darks and lighter lights
For the next step, you’ll want to start blocking in some of the shadows in your background. As you push the darks in your painting, continue to be bold and add even lighter colored highlights to both bottles.
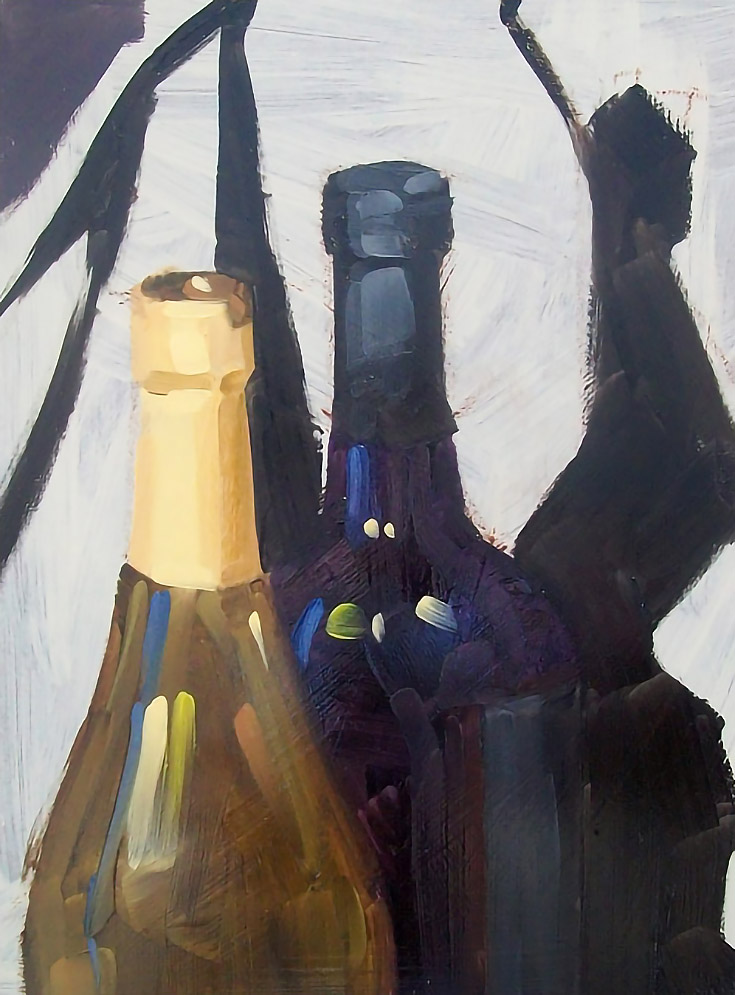
Now is a good time to put down your brush, stand a few steps back, and take an in-depth look at your painting. This will help you see where more darks and lights are needed. As you add them, the painting will begin to feel more dimensional.
6. Fill in the background
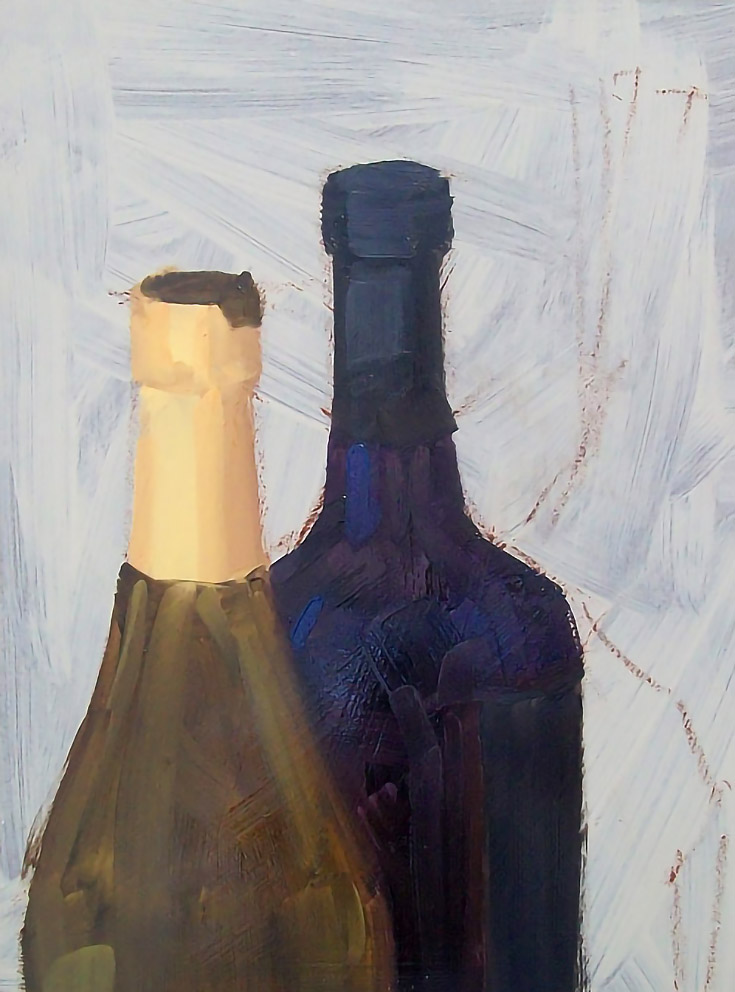
This is one of my favorite steps. Here is where you will find the beautiful edges of your bottles as you paint in your background. Notice in my painting the combination of hard crisp edges and soft blurry edges. Creating that sort of variety adds interest to even the simplest of compositions.

For my finishing touches, I added some lighter shades to both bottles and created a bit more dimension. Then I touched a few of the brightest spots in my composition with pure white paint and called it finished.

That’s it! Give this step-by-step process a try for yourself, and who knows—colored wine bottles may become one of your favorite still life subjects too.
Happy painting!
This post may contain affiliate links.