Alla prima, wet-on-wet, and direct painting are all terms that refer to finishing a painting in one sitting.
I like this painting technique for many reasons. . . It helps me work quickly and keep a fresh quality in my brushwork, it keeps me from overworking a painting by spending too much time on it, and it allows me to create a variety of beautiful edges and blended colors directly on my canvas.
NOTE: My version of alla prima is slightly non-traditional simply because I like to paint my backgrounds in last. I do this because I love to play with edges and pull color from other areas into the background.
If you’d like to learn how to paint wet-on-wet or alla prima yourself, just follow along with the tutorial below:
1. Assemble your materials
I work in water soluble oil paint, and I use a combination of linseed oil and stand oil to thin my paint a bit and make it easier to work with. I combined the two types of oil because after trial and error I found linseed oil too thin and stand oil too thick, but together they are just right for me and they give the painting a nice shine when dry.
If you prefer acrylic paint and you want to paint wet-on-wet, find a medium that will extend the drying time of the paint (like Liquitex Slow-Dri) so that your acrylic paint stays wet as long as you’re painting.
For this painting I decided to work on 1/8″ primed wood panels, similar to these pre-primed panels found at Blick.
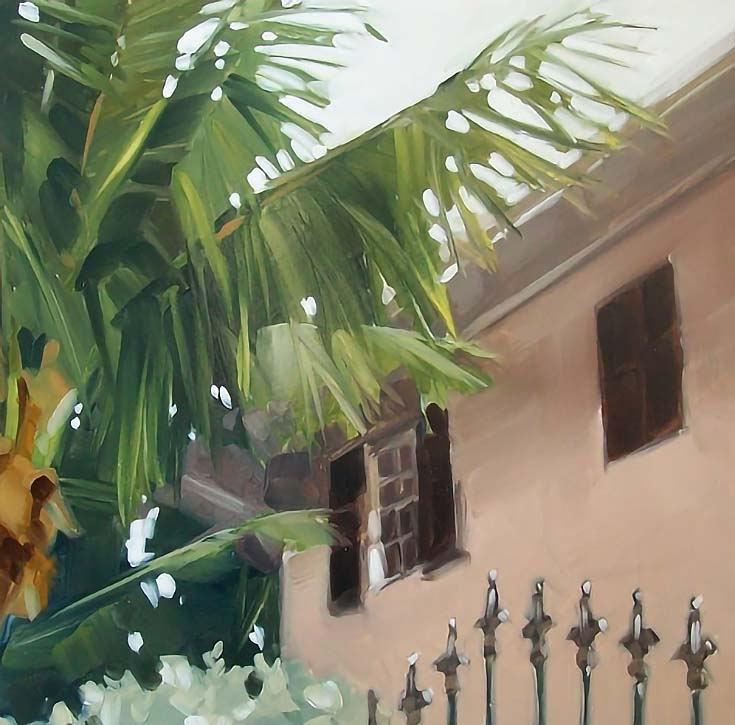
2. Choose a good reference photo
This is a photo I took in Key West, Florida, showing a palm tree growing up against a light-colored house with dark shutters and a decorative fence.
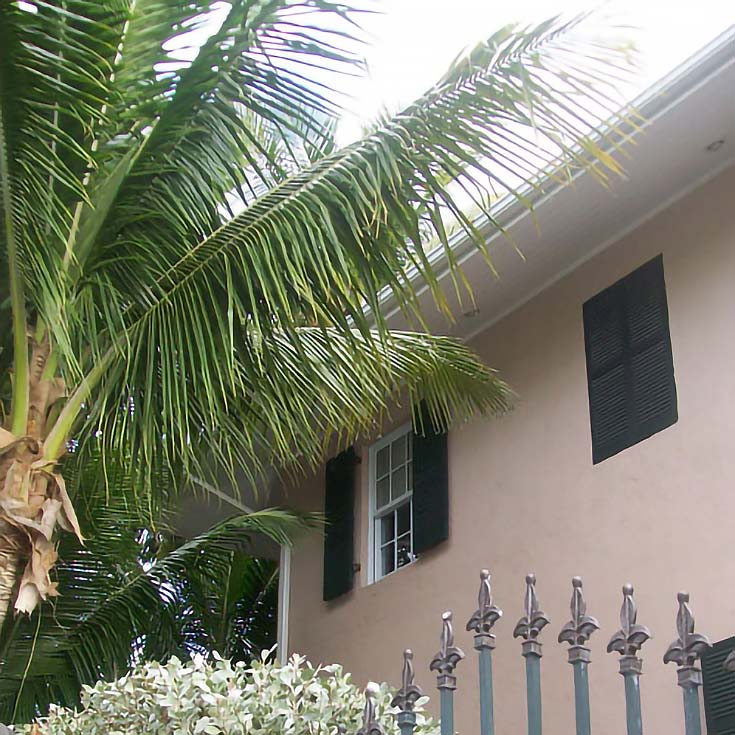
I chose to paint this particular photo for the combination of natural and architectural elements, the interesting perspective, and the bits of sky peeking through the palm trees (which is always fun to paint when using wet-on-wet techniques.)
3. Sketch your composition
I always loosely sketch the image onto my surface before starting to paint. Don’t be afraid to trace or transfer your image if you can’t get your perspective correct by drawing freehand.
4. Start with your darkest colors
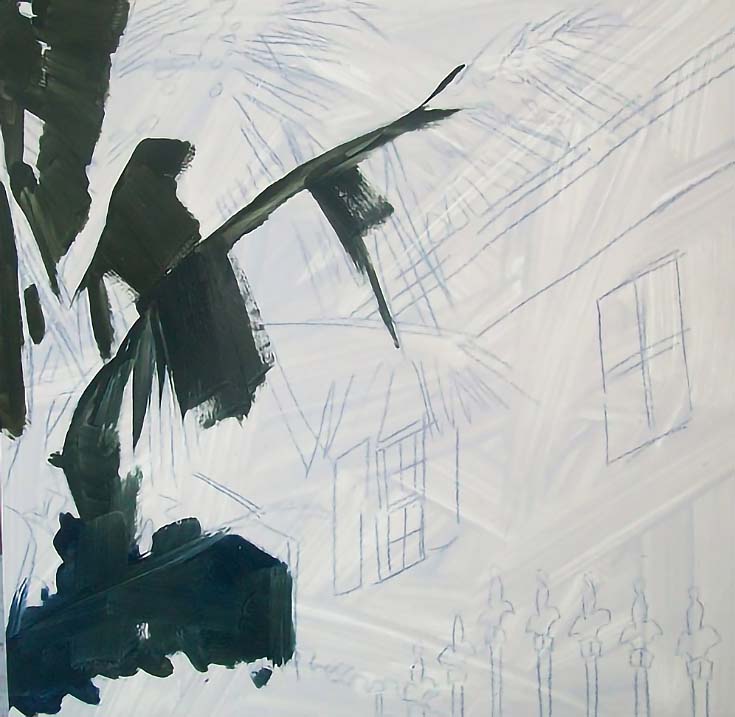
For this painting, the first thing I painted was the dark greens of the palm trees. I started with the palm trees because I wanted to play with the edges later where they meet the house and the sky, and yet because they are dark, they will fall “back” into the painting as I layer other colors on top.
5. Begin painting your lighter colors on top
In the next stage, I added lighter green on top of the dark green to begin defining the leaves.
IMPORTANT! Since you’re painting wet paint on top of wet paint, you’ll need to rinse out your brush every time you mix a new color (or at the very least, wipe it clean with a paper towel). This allows your colors to stay clean as you add them to the painting.
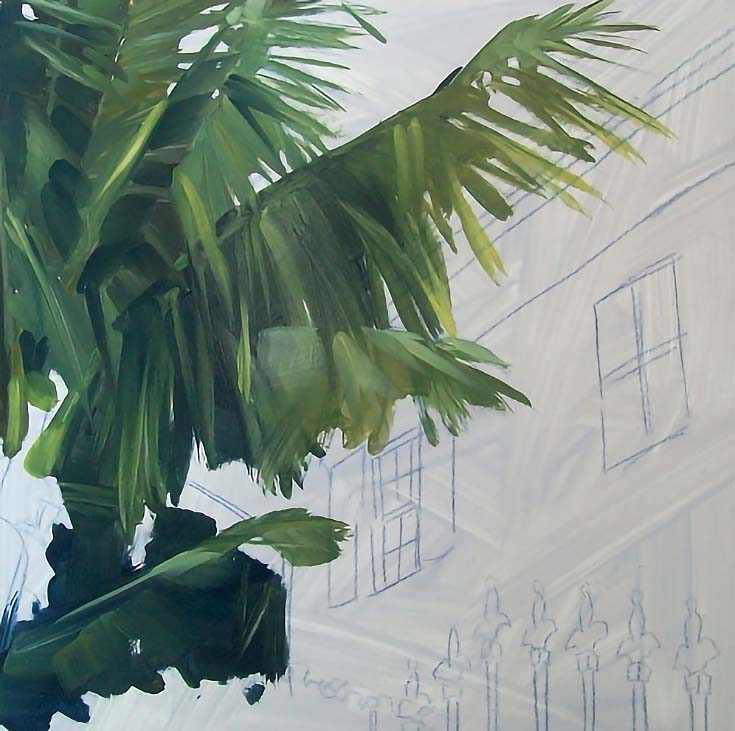
Notice the variety of hard and soft edges produced by the different greens that are starting to blend together in some areas. This is a beautiful result of wet-on-wet. The more you play with it the more you will learn what the paint can do for you.
A variety of edges makes for a more interesting composition, so try to alternate between creating hard edges (where two colors are very distinct and crisp next to each other) and soft edges (where two colors blend, or get “pulled” or into each other).
Moving on to the other elements of the painting, I added the trunk of the tree, the shadow of the roof line, the windows, the bush, and the fence.
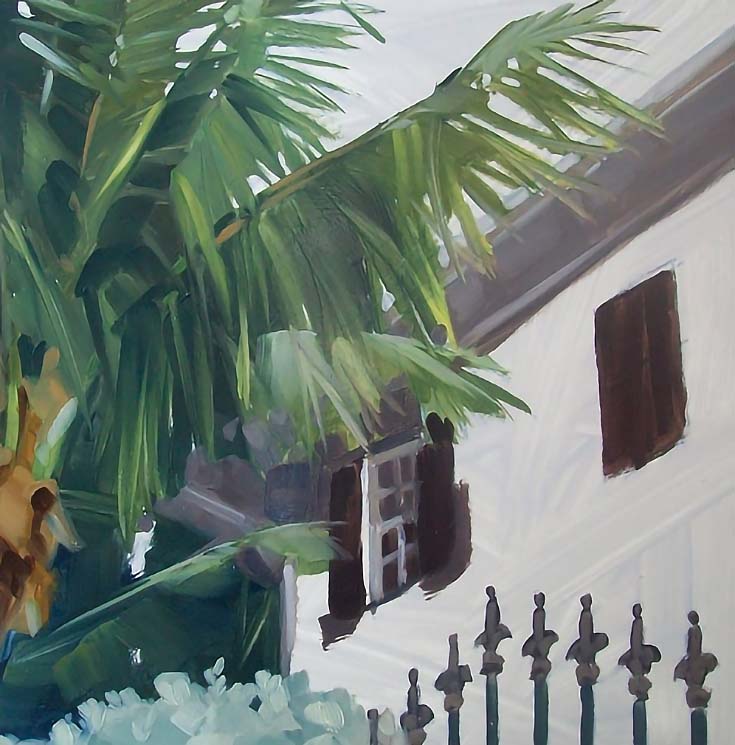
Again, I am painting in these foreground elements rather loosely so I can play with their edges later. I keep my brushstrokes quick and not too detailed in order to retain the fresh quality of my painting.
As the house color goes in, you can really start to see how blended, wet-on-wet edges come into play.
Look closely at the iron fence and you can see where the grays have been pushed and pulled into the color of the house. This happens with the windows as well. I do this by gently touching parts of the fence with my brush as I lay down the stroke. Those little areas are what I love about this technique.
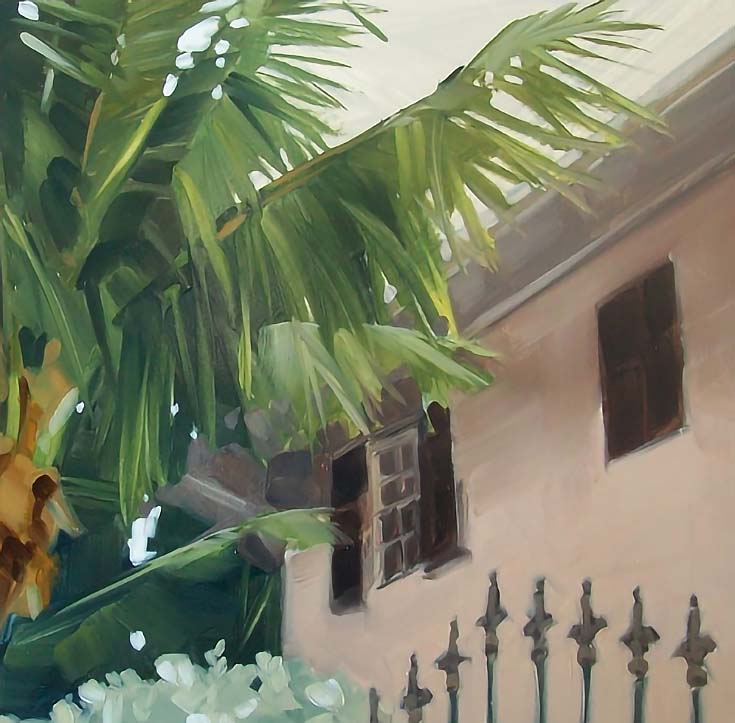
6. Paint your background and highlights
My favorite part is when I paint in the sky and highlights. Now you can see why I paint the background in last—you really get the feeling of the light moving through the palm trees, just from the variety of edges that blur and blend as a natural result of this wet-on-wet technique.
Also, notice how some of the green got mixed into the white of the sky in the upper right corner. I didn’t plan that effect, but I really like it! Those little unexpected moments are both fun, and a great thing to remember for future paintings. Just because you didn’t plan something this time, doesn’t mean you can’t use it again down the road.
Of course, this is just one of many ways to use wet-on-wet painting. . . maybe you prefer a “tighter” finished work, but if so, it’s still a good technique for preliminary thumbnail paintings and plein air painting.
Give it a try and see how it can work for you. Happy painting!
This post may contain affiliate links.