One of the greatest challenges facing most landscape artists is getting natural greens. For colored pencil artists whose blending options are limited, getting the right green can be especially difficult.
In a previous article, I demonstrated how to create umber underpainting with colored pencils. Today, we’ll look at glazing color to get natural looking greens.
Starting in the distance
I usually begin with the lightest colors, generally a light green or even a yellow. I also pay attention to the temperature of the color because the more distant an object, the cooler its temperature. The distant trees will be “cooler” in visual temperature than the trees in the middle- and foreground.
For this part of the painting, I chose Yellow Chartreuse, a light, cool yellow-green, which I applied with circular strokes and very light pressure over the trees and the hill in front of them, followed by Limepeel.
The middle value was established with Olive Green, applied with light pressure and tight, circular strokes. A second layer of Olive Green was applied a little more heavily than the first as I built toward the darkest parts of these trees.
To keep the greens from becoming too bright, I next applied Pumpkin Orange, followed by two layers of Copenhagen Blue. I didn’t cover each area 100% with each of these two colors, instead letting them mix and mingle randomly to create a pattern of lights and darks.
The trees were then burnished with a colorless blender and the heaviest pressure, and finished with layers Apple Green and Yellow Chartreuse over the hillside followed by a layer of Slate Gray. In the hillside, color was applied in quick horizontal strokes with a pressure of 3 or 4, then burnished with the colorless blender.
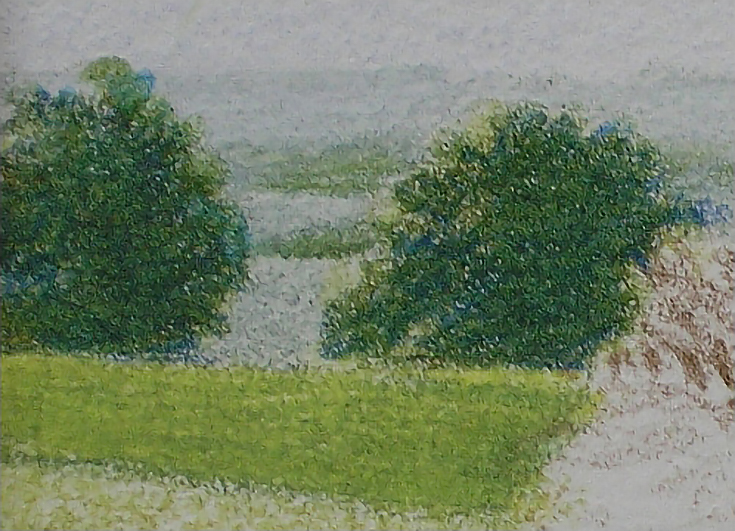
Moving forward into the middle ground
The hill in the middle ground was treated much the same way as the hill in the distance. Rather than apply color horizontally, I used directional strokes that followed the contour of the hill, particularly in the near middle distance, where there is a clearly defined slope.
Colors used were (in order of application) Olive Green, Limepeel, Chartreuse, Yellow Chartreuse, Grass Green, Pumpkin Orange, Peacock Green, Dark Green, and Deco Yellow.
Pumpkin Orange was used to tone down the brightness of the green and I used Deco Yellow as a first burnishing color, followed by another burnishing with the colorless blender.
When the middle ground hill neared completion, the greens behind it were a little too bright, so I glazed Pumpkin Orange over the background hill to push it a little more into the background. That was only partially satisfactory, so I added a glaze of Copenhagen Blue.
For the middle ground belt of trees, I used Olive Green, Chartreuse, Dark Green, Peacock Green, Pumpkin Orange, and Grass Green. A variety of strokes were used, beginning with broad strokes using the side of the pencil and continuing with directional strokes and circular strokes.
I finished the area with Sienna Brown to tone down the greens, Ultramarine to darken the shadows and push them into the distance, and Dark Green and Indigo Blue applied with heavy (7 or 8) pressure. To polish off the trees, I “tapped” Dark Green and Indigo Blue into portions of the canopy.
Working on the foreground grass
The next thing I wanted to do is establish basic color and detail in the foreground. I layered Limepeel and Olive Green in alternating layers throughout the foreground hills with light pressure (1 or 2) and with short, directional strokes. I didn’t cover the entire area with every layer, but used random overlapping to create variations in value to give the area visual interest.
For the trees in the foreground, I used the same colors, but with diagonal “cross hatching” strokes and circular strokes, gradually building color from the shadows into lighter areas.
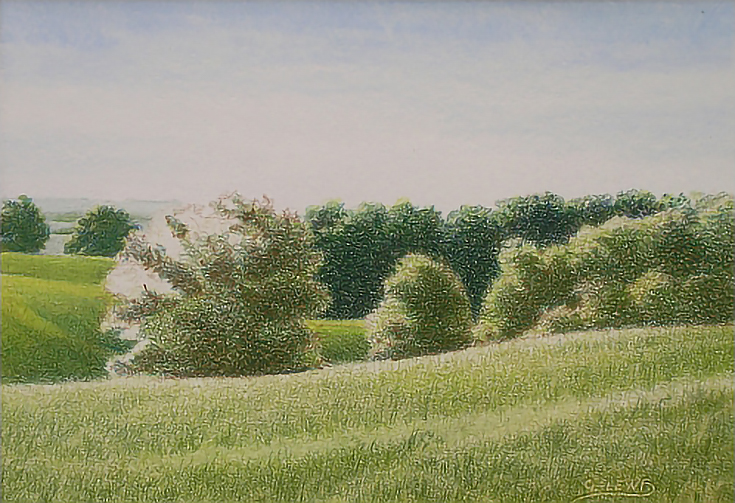
At this point, it’s easy to see how much an under painting affects color. The same amount of pressure was used in the grass and trees, but the trees have much more bulk and ‘mass’ and are darker in value than the grassy hillside because of the under painting in the trees.
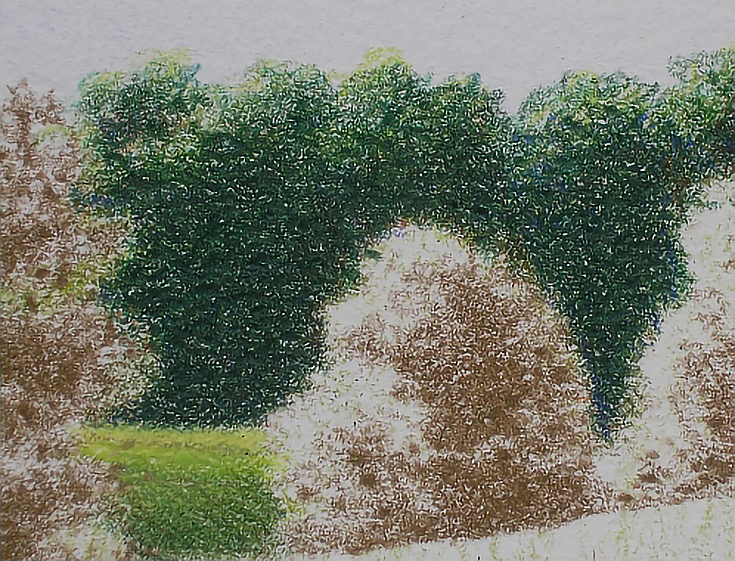
Emphasizing the focal point
Once the foreground areas were well established, I went back to the trees in the focal area. The same colors were used in this area as were used in the other trees. I layered each color with increasing pressure, moving from a pressure of 2 or 3 in the first few colors to 8 and 9 in the final layers. I then tapped Black into select areas on the large tree to give it a little additional impact.
A few places along the sunlit edges of the main tree were left untouched with color or very lightly glazed to create the look of very bright, direct sunlight striking those areas.
With the trees finished, all that remained was the hillside in the foreground. Colors appeared in other green areas were used for this area, too, but pressure was kept very light. The detail of growing grass and sloping ground was suggested, but not in great detail, since a lot of detail in this area would distract from the visual center of interest. I used very short, vertical strokes to add the necessary detail to finish the grassy hillside.
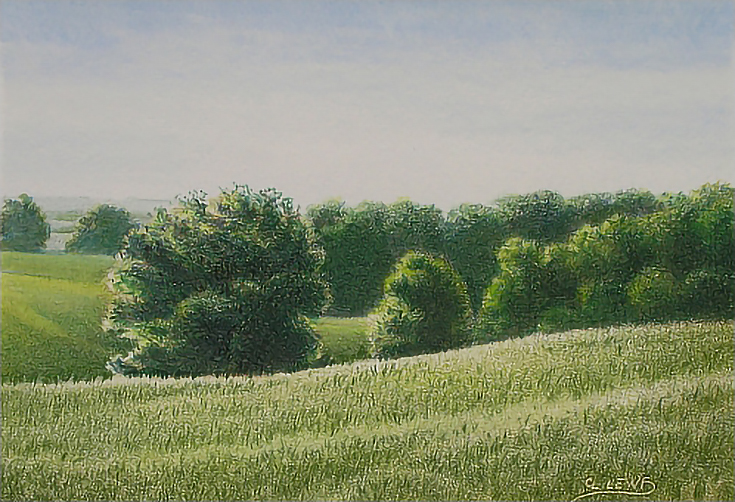
With the painting essentially finished, I went back through the composition and made additional adjustments. The background trees were pushed further into the background by burnishing them with Light Cerulean Blue, then the colorless blender. The middle ground trees were also pushed backward with a glaze of Light Cerulean Blue and a burnishing with the colorless blender. The final adjustment on the foreground trees was burnishing with the colorless blender.
Last of all, to finish the painting, I glazed Dark Brown and Ultramarine very lightly over the foreground hillside, followed by one additional glaze each of Limepeel and Olive Green. The end result? A very cohesive landscape with a wide variety of natural-looking greens.
This post may contain affiliate links.