Mixed-media is a relatively easy way to get started creating your own paintings. It certainly takes the pressure off if you don’t have technical drawing or painting skills, or just prefer to collect fun images together rather than painting it all from scratch.
I like working on canvas just because my finished pieces feel like true works of art when I’m done. (And if I don’t like a finished piece, I can just paint over it. So it’s a forgiving medium!)
This lesson is about having fun. :) Choose a small canvas to start with, so there’s less pressure, then turn on your favorite music and let’s get started!
Assemble your materials
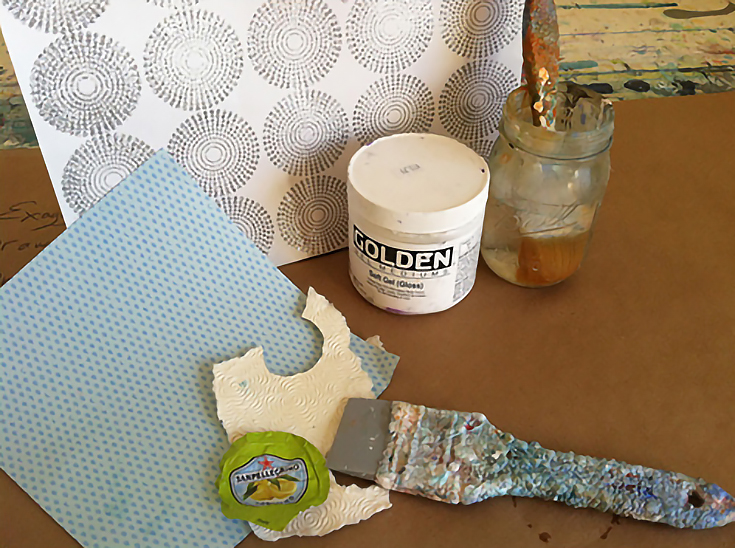
Here’s what you’ll need before you get started:
• A small canvas
• Fun papers—rice papers, wrappers, letters, torn magazines, family photos, etc
• Golden Soft Gel
• A small rubber squeegee to smooth your papers onto the canvas
• A water jar and a brush
• Paper towels or rags
• A black ink pen or pencil
• And something you’d like to paint (a favorite subject!)
What should your subject be?
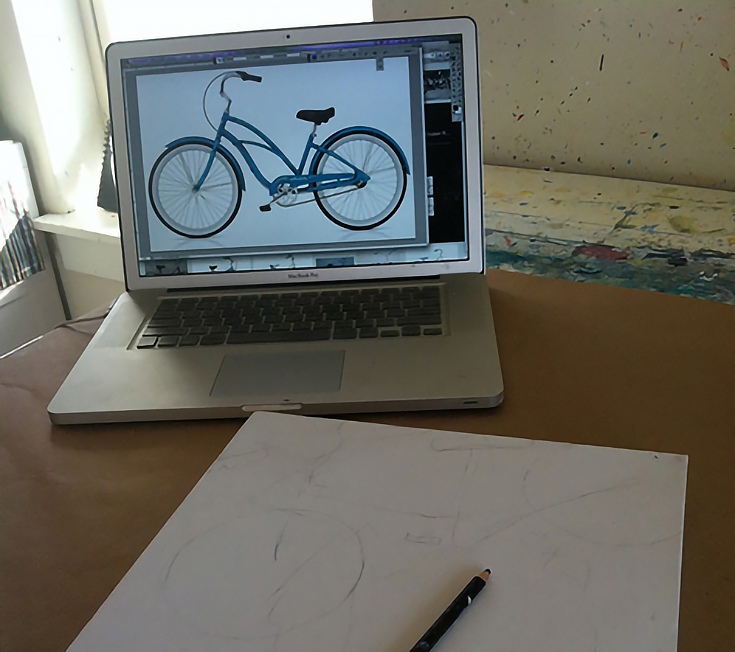
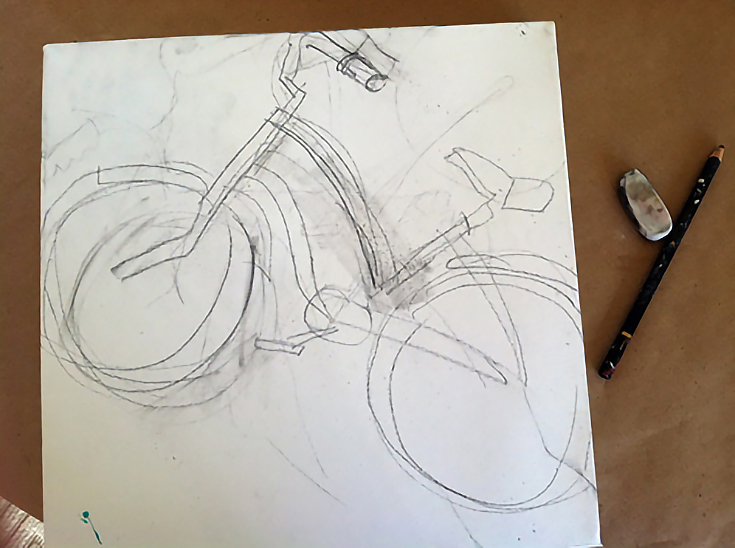
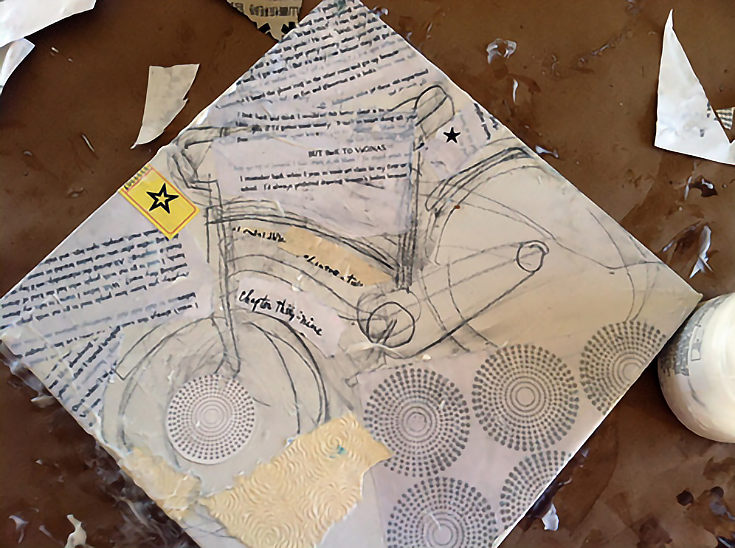
I’m going to draw a bicycle because I think they’re a lot of fun to draw. I found a picture to use as a reference, and sketched directly onto my canvas.
If you don’t enjoy drawing, then you can collect beautiful images from magazines, quirky illustrations from books, go to used book stores and pull old plates from books, torn posters, family photos, or anything else.
The main thing is to choose something that INSPIRES YOU!!! And, it needs to be larger than everything else you’ll collage, so that it stays the main focal point.
A note on composition. . .
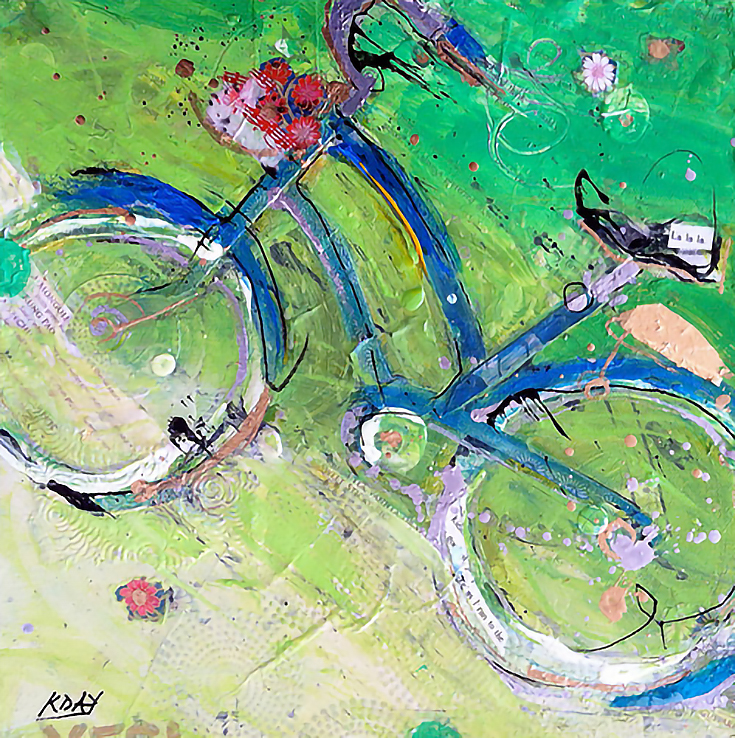
I like to have my image going off the edge somewhere, and not centered. You can see my bike is up top and I’ve left some white space at the bottom. This adds interest to the piece. Don’t worry about being neat or tidy or perfect—unless you like that sort of thing, in which case, go for it!
The important thing in this process is to have fun. If you do, it will show when you’re done! Mixed-media collage is a very forgiving medium, so if you make a mistake, don’t sweat it. Your early layers can easily be covered up anyway.
Begin collaging your papers
Once you’ve got your main subject drawn (or chosen) you can begin to collage. If you’ve chosen to paste your main picture onto your canvas, here’s how to do that:
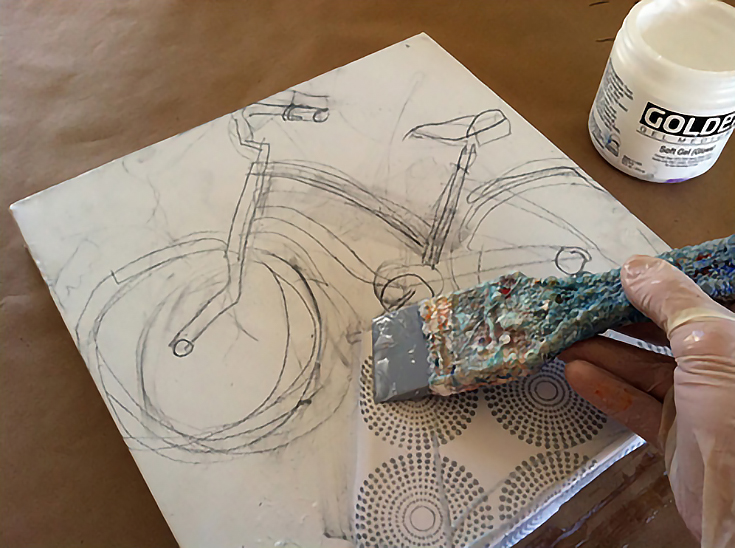
Tear or cut up your papers and brush the back with Golden Soft Gel. Be sure to brush soft gel all over your canvas first, too. Then press the paper on, cover it with one more coat of soft gel, and use your squeegee to smooth it on.
Work gently to remove the bubbles and folds. You can also use half soft gel/half water if you prefer. I’m collaging a gift bag from Target in the photo above, but you can use any type of papers you like.
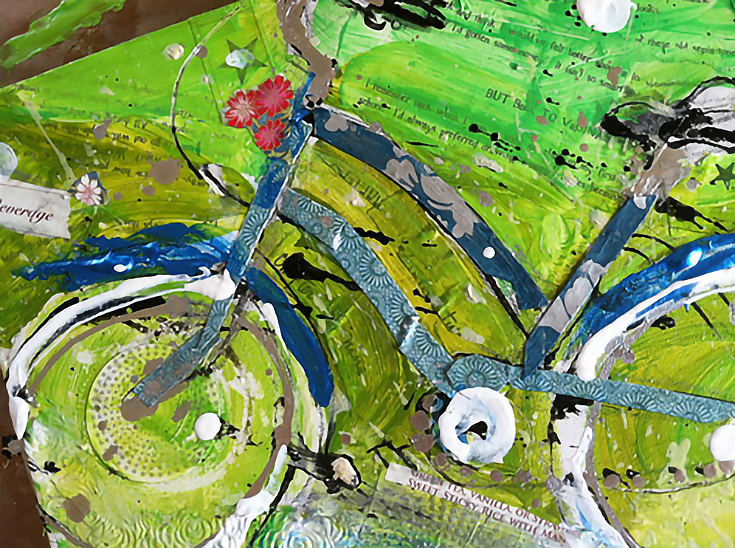
Here I’m collaging a background around my bicycle drawing, which I’ll paint over later. You can also collage fun words and quotes, little birds, or anything to add the effect you’re after!
Start painting layers on top
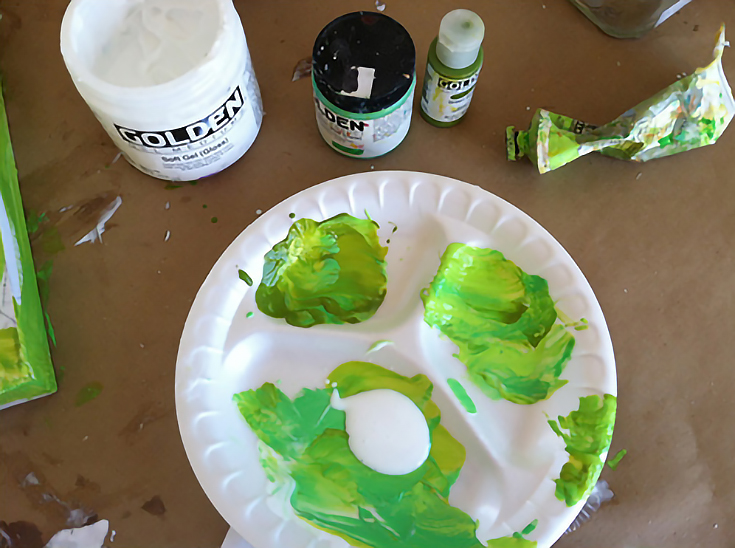
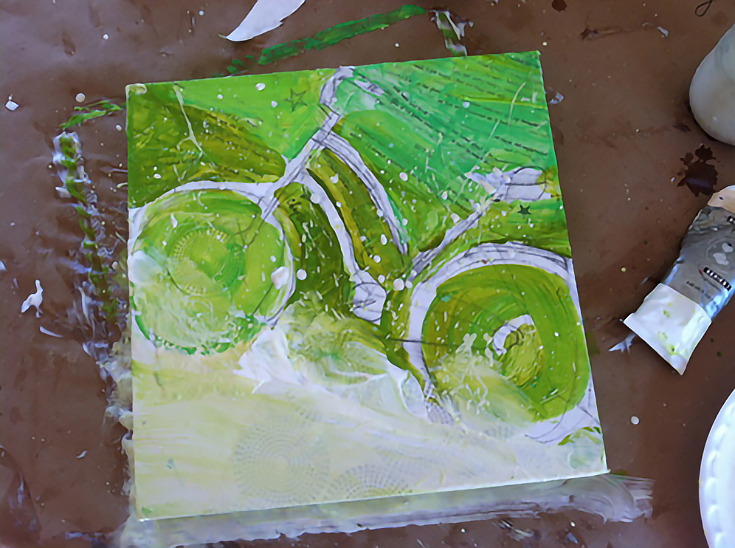
Now I’m going to use green acrylic paint colors to enhance my background. Once that’s dry I’ll go back and paint more of my bicycle, but for now, I’m mixing my paint with a little gel gloss on my palette to make it more transparent.
This transparency will allow my background to show through, while still adding a lot of color. Remember, nothing is tight or structured. . . I’m loosely layering on my colors to create the background.
I even splattered on some paint to give it that fresh, energetic feel of riding a bicycle.
Think about the mood you’re creating
With this paintings I wanted to focus on an emotion rather than precise artistic skills. (You can learn those skills in another class—they are a great foundation to have.)
But this is mixed-media, and I try not to think too much about what I’m doing here. Instead, I try to come from a place of inspiration, and remember the exhilaration of zipping along on a bicycle.
I express this through loose brush strokes and paint spatters. This is about fun!
Emphasize your main subject
Now that I’ve created a fun background, and it’s dry, I’m going to work on the bike. If you’ve glued down a picture for your main subject, you may already be finished, or just ready to add some final touches.
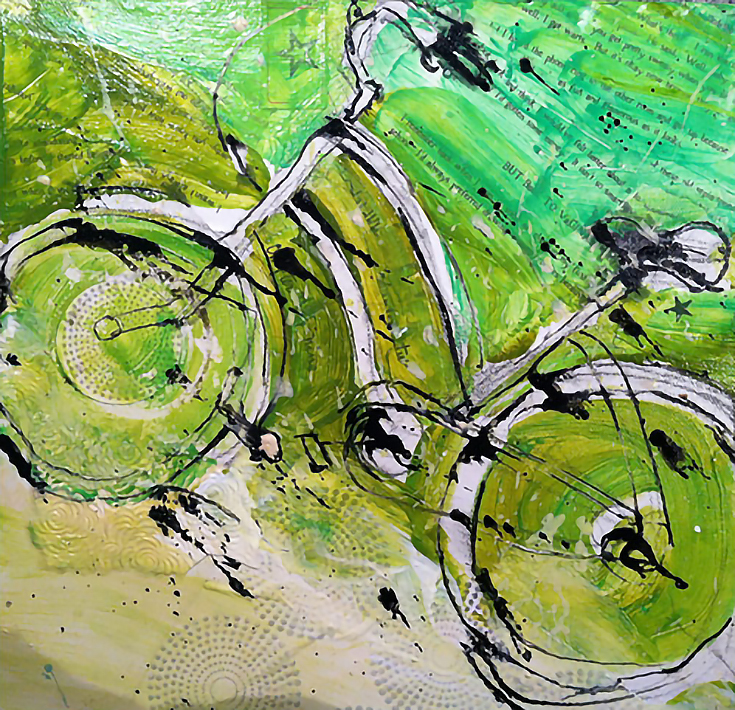
I’m using India ink to outline my bike—loosely—then letting the ink drip. Again, I’m focusing on showing the exhilaration of bike riding, and these ink drips show that emotion perfectly. (Naturally, once the ink dries you can use a fixative to keep your ink from bleeding more, if you like.)
Now comes my favorite part—I’m collaging on all those fun papers I collected in the beginning to create my bike! I love adding little flowers and fun touches to make people happy when they look at my painting!
You can keep layering on paint and collage materials until you’re finished. The sky’s the limit for what you can use. . . you just need to be able to adhere it to your canvas. Try pastel, metallic markers, chocolate wrappers, and anything else you love.
Here’s is my finished bike, and as you can see, I did another layer of paint. I hope you learned something you’ll enjoy here today. . . Happy painting!
To see more articles and artwork from Kellie Day, please visit kelliedayart.com.
This post may contain affiliate links.
