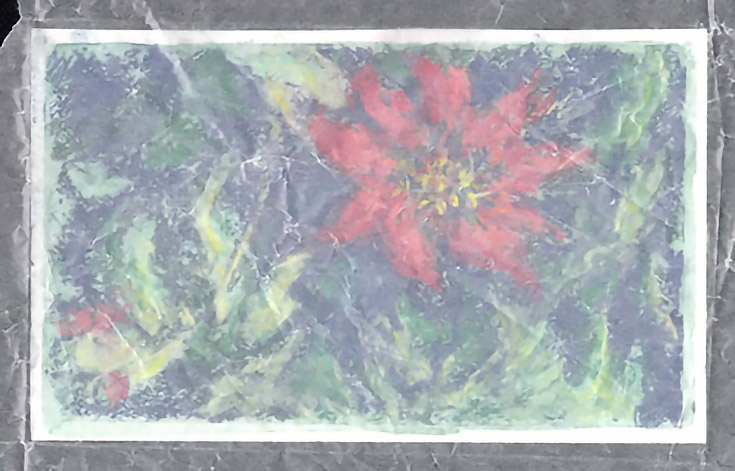
As soon as one of my soft pastel paintings is completed, it becomes a tricky piece to handle. Pastel paintings are beautiful, bright, and extremely easy to smear. . . so how do you safely send one to a buyer, once it’s finished?
Not to worry—with careful packaging and planning, it IS possible. Here’s the method I’ve developed when shipping my own pastel paintings:
Materials
You’ll need your artwork, glassine paper, painter’s tape, mat board (or sturdy cardboard), plastic sleeve, pastel care info and business cards, and post office materials
IMPORTANT NOTE: Glassine paper is not wax paper, although it may feel similar. Wax paper can potentially melt and get sticky wax on your painting, so for best results, make sure you use actual glassine paper to store and ship your pastels!
Step 1. Lay out your artwork
Gently lay your pastel painting face down on glassine paper (cut at least ½ in larger in all directions that the painting). The image below is placed on a scanner, which is why you can see the painting through the paper from the bottom.
Step 2. Fold the glassine paper around the artwork
Fold the edges of your glassine paper around the artwork, putting sharp creases on all sides yet taking care not to press on your painting from the back. Tape the glassine paper’s corners together without letting the tape stick to the back of the painting.
Step 3. Cut two pieces of cardboard or mat to fit
Cut two pieces of mat (or sturdy cardboard) at least ¼ to ½ inch larger than covered painting in all directions. Lay them side-by-side, and use small pieces of tape as hinges to connect them, so that the boards will open like a book.
Flip your painting over, showing the glassine front of the now covered picture. Place your pastel directly on top of the right-side piece of board.
Close the left board over the top of your artwork, and gently tape it closed to the other piece of board. Don’t tape your boards too tightly together—you don’t want to press on your picture if you can help it.
NOTE: If shipping multiple paintings of the same size, you may layer them between cardboard pieces and gently secure each layer with small pieces of painters tape. Alternating tape placement on mat or cardboard offers more support and balance.
Step 4. Seal your pastel painting
Create a protective sleeve for the entire structure (I use clear bags with a self-adhesive strip, cut to size and sealed with tape if needed). This step is to help protect the painting from moisture.
Carefully slide your painting into the sleeve. Place any care instructions you have for your buyer along with your business cards and promotional materials inside the sleeve on top of your painting. Seal with adhesive strip or shipping tape.
Step 5. Pack your wrapped and sealed painting
Pack according to your preferred shipping method, depending on size and timeliness you need. If using a box, make sure you secure your package with surrounding cushioning such as packing paper or bubble wrap. I usually go with a large envelope or padded document mailer.
Generally speaking, the less time it takes your pastel to arrive the better (so if you can afford the faster services, use them). I’ve had good results with USPS First Class mail for smaller paintings, and Priority Mail for larger ones too.
IMPORTANT NOTE: Don’t forget those “Fragile” stickers!
Additional options
For another layer of protection, professionally mat your artwork before covering it with the glassine paper (keep in mind that this will increase your shipping cost). The added stiffness and border of a mat will help with every aspect of shipping.
If you’re shipping an oil pastel, the method above should work just as well, but bear in mind that oil pastels can “sweat” in extreme heat, so you may want to forgo the plastic sleeve and wrap it in packaging paper instead, so the painting can breathe if necessary.
Good luck, and happy shipping!
This post may contain affiliate links.


