Over the last couple of years I have had paintings in local galleries, and done a number of solo exhibitions, so I am always careful to present my art professionally. But as a struggling artist, I also have to keep costs down—so I often buy frames which are cheap but look good, or buy old ones from charity shops and re-furbish them.
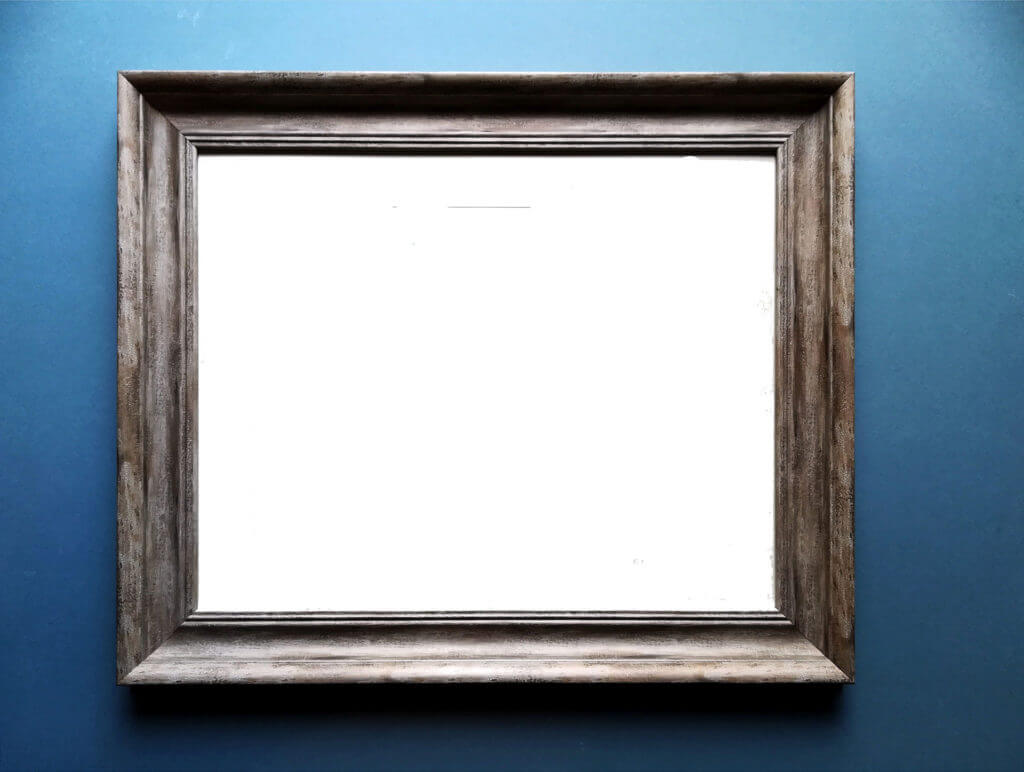
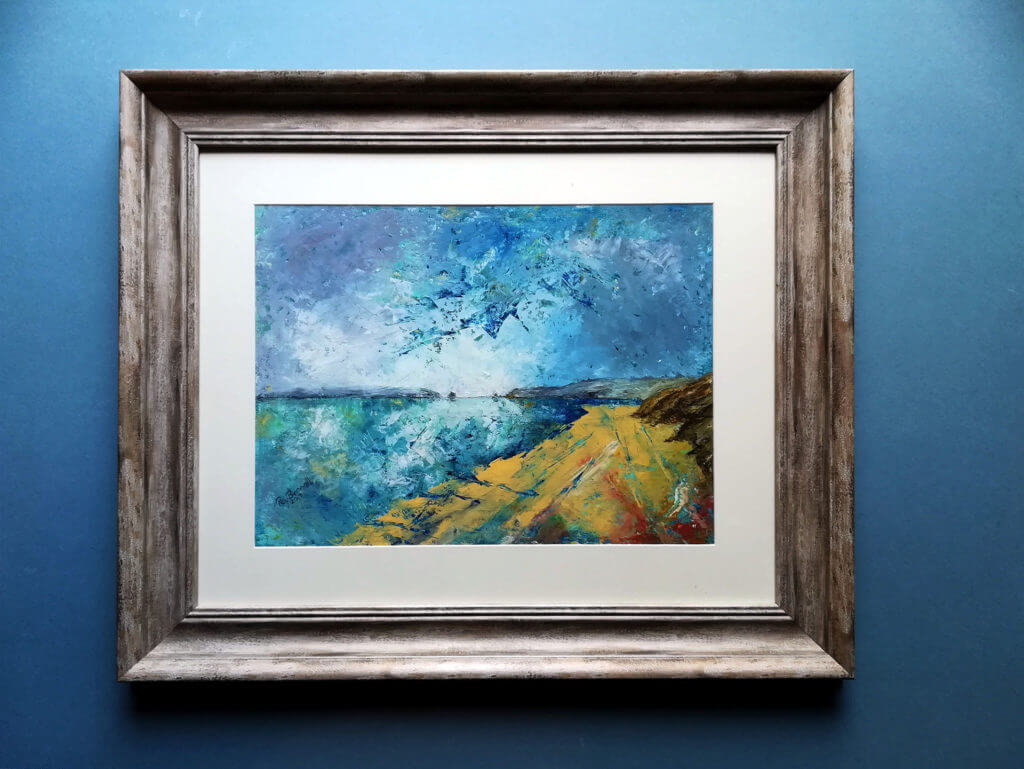
Sometimes I start a painting with a frame in mind. In this case it was deep, weathered frame from a large store and not expensive.
Preparing the painting surface
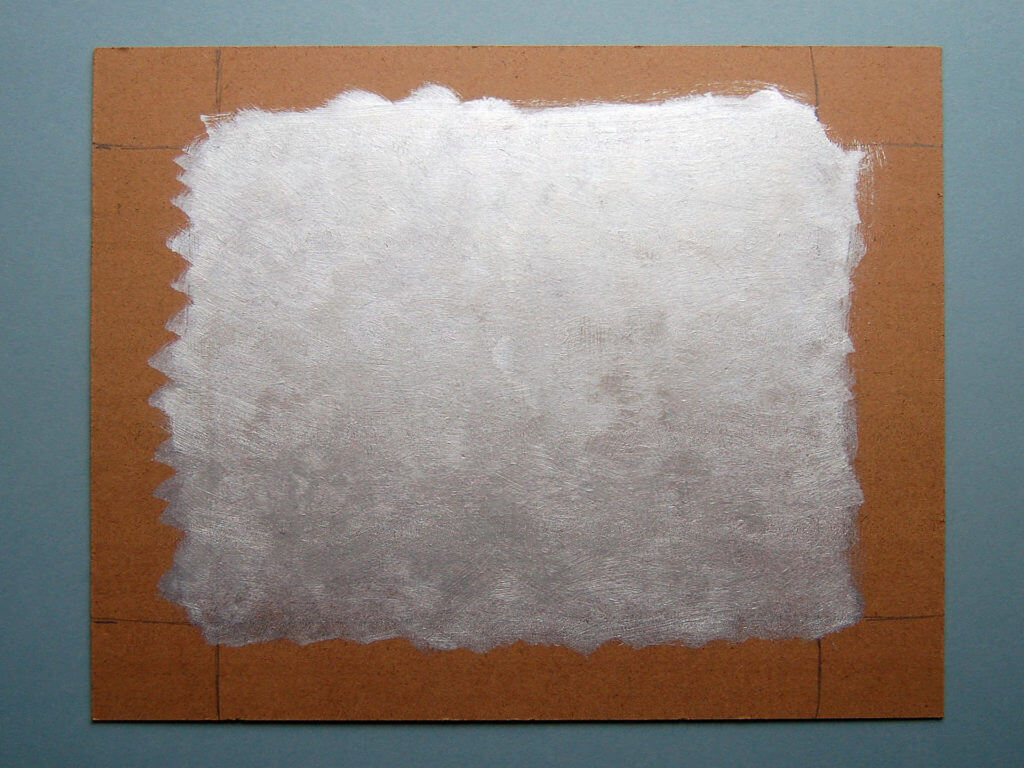
I cut a mount to fit the frame and use the frame’s MDF back board as my painting surface. The board was 50x40cm square so I cut a white mount leaving a 40x30cm painting area which I marked on the board.
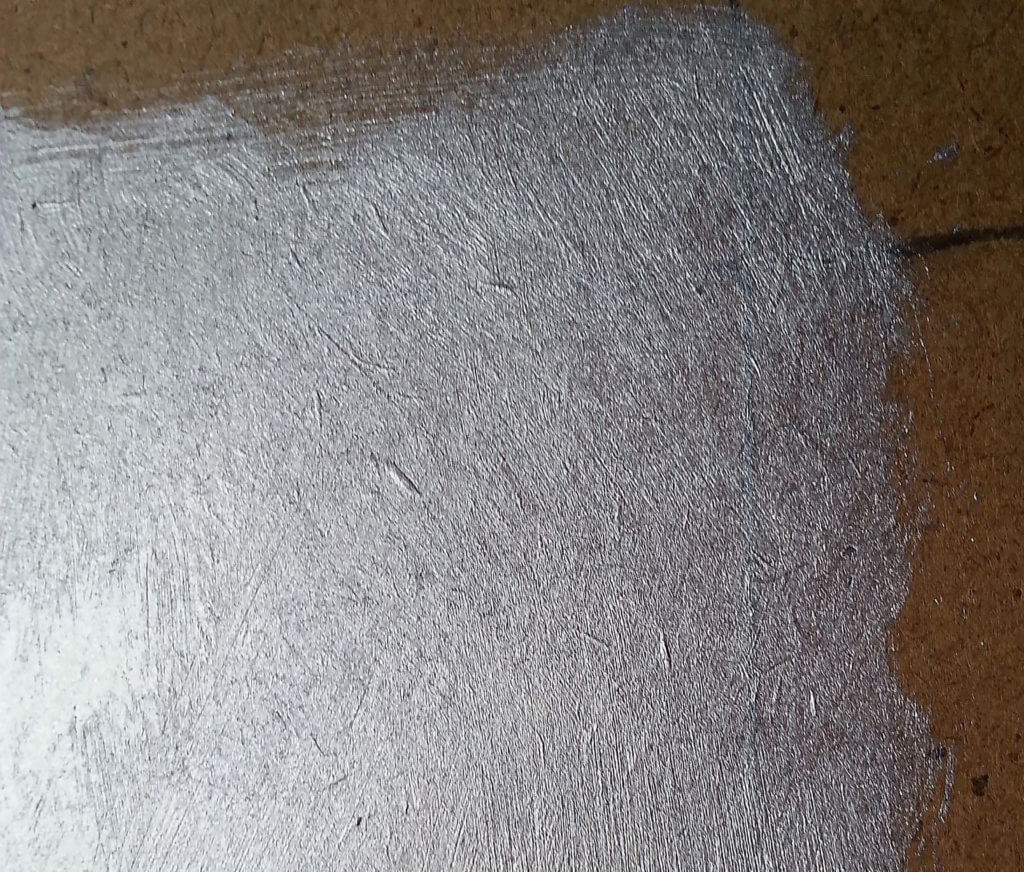
I prepared the surface with a coat of metallic acrylic paint applied thinly and brushed carefully as it dried to give an interesting “burnished” appearance. This time I used silver but in the past I have also used copper, bronze and gold. I was going for a surface that had interest and depth and variation.
I kept brushing as the paint dried and, once completely dry, I gave it a good rub until the surface looked good. (You can see how the warm colour of the MDF almost shows through.)
The idea is to have a surface that glows and, when painted over, some of the silver will be allowed to show though in varying degrees. Using a variety of opaque and transparent oil colours allows me to control where that light reflection occurs. I can also scrape down to the acrylic with palette knife if needed, after I have covered the surface with oil paint.
Adding an abstract underpainting
Once my surface was ready, I chose the subject of the painting. For this painting, I had some shapes I wanted to use for the sky, sea and land, but no particular place in mind as I was experimenting with cold wax medium.
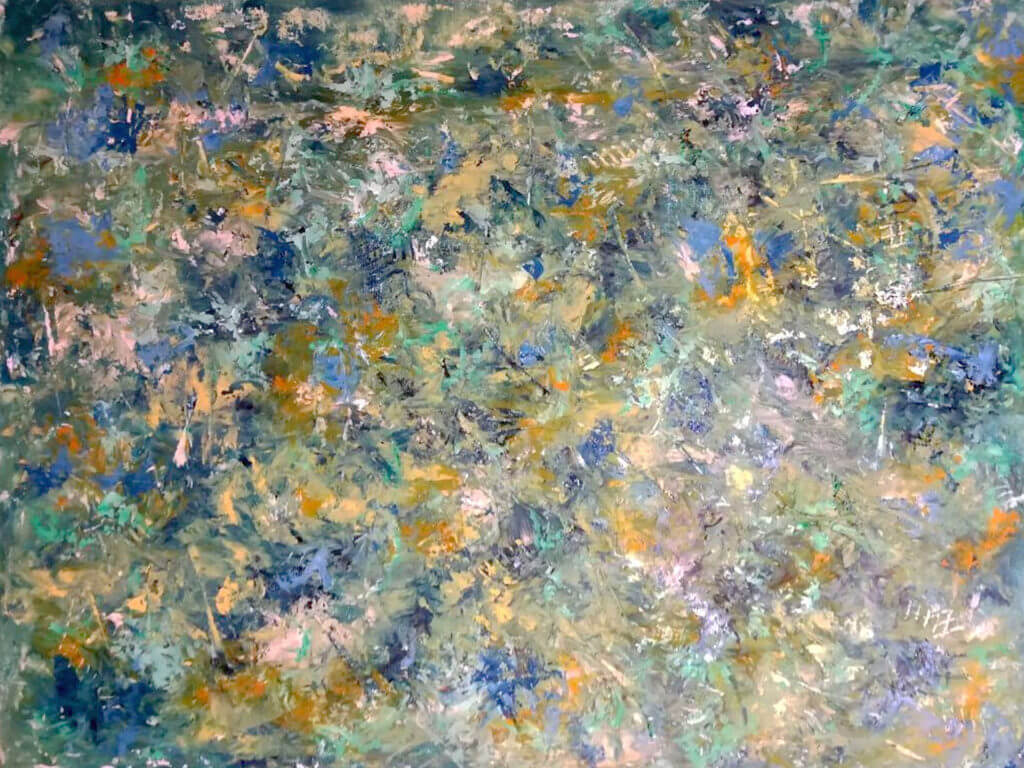
So I applied oil paint and cold wax medium in blues and yellows randomly until I ended up with an interesting underpainting. I knew this would become the basis of the sky and sea in my painting (somehow, haha!)
I added some marks and scratches, for a little more visual interest.
Painting a location in West Wales
I take a lot of photographs of my local area in West Wales and have a number of favourite places I go to sketch and paint plein air. I also look at a lot of other peoples photographs of West Wales on the web. Mainly I look for interesting shapes and colours. I am not a “slave” to photographs, or to mother nature, as I want to produce a painting that works as art. Shapes will be made more abstract and interesting, yet will still retain the sense of the place.
I started by setting the horizon line and sketched my shapes onto the prepared board in pencil and charcoal. I started to paint the main shapes using a limited palette (Zorn) of Cadmium Red, Yellow Ochre, Ivory Black and Titanium White. For this painting I also added Prussian Blue, Viridian and Naples Yellow.
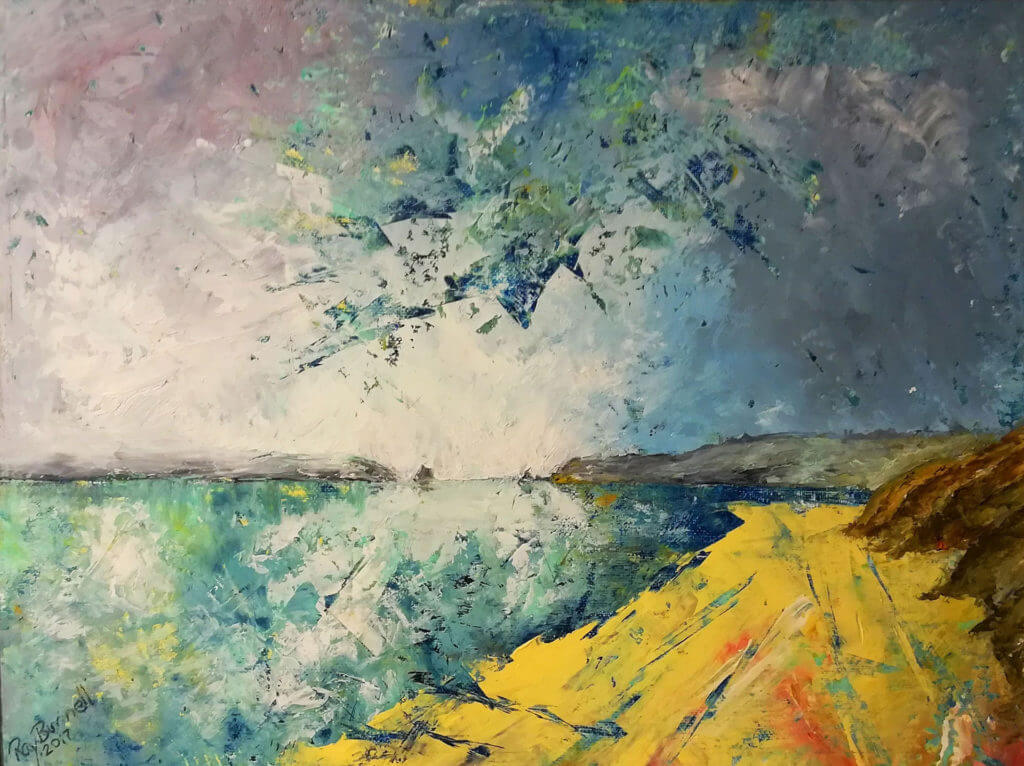
During this stage I realised that I could make this an interesting painting of the view along South Beach in Tenby, West Wales, so I started to change the shapes a little to turn the horizon line into an outline of Caldey Island.
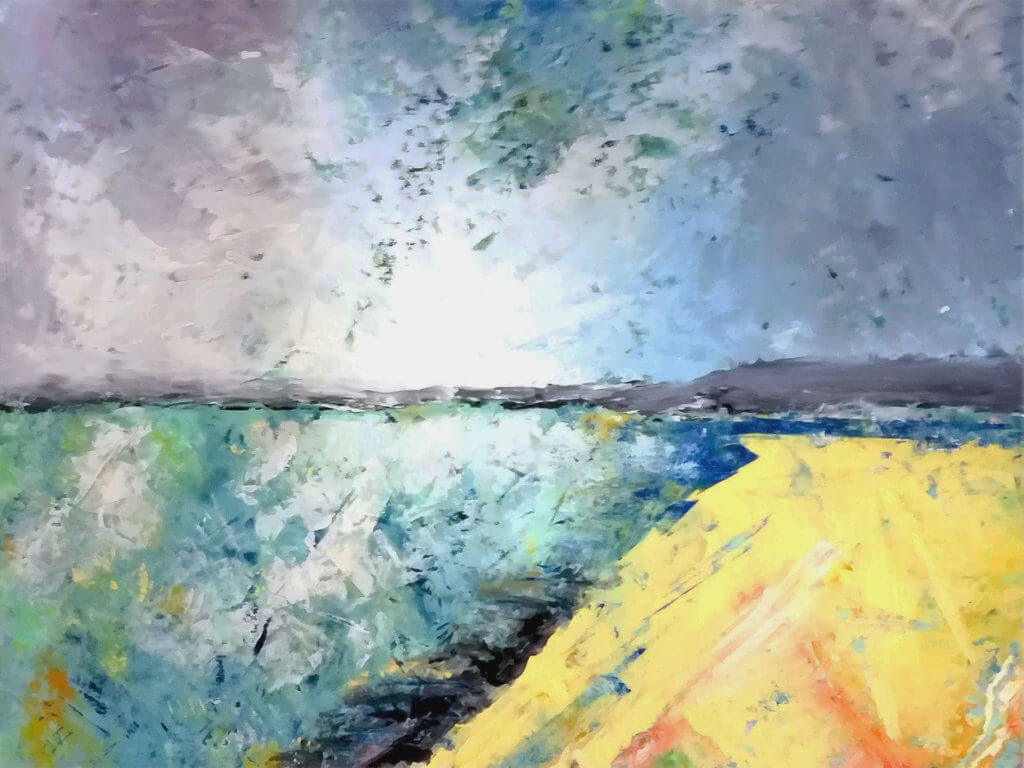
To the sky I added white for the cloud shapes along with a little black, red and blue. This was applied with a palette knife and scraped back to reveal some of the underpainting.
I decided to leave some of the straight lines in the sky as I rather liked the jaggeddy look. The colours were blended directly on the painting surface. Some darker blue was added to the sky in places until it looked right to my eye.
The same overall technique was used on the sea. A little more detail was added and some of the shapes modified until I was happy that it was just about recognisable as South Beach by those who know it.
South Beach, Tenby, West Wales
Framing the finished painting
Once the painting had fully dried, it was popped back into its frame with the mount. The end result is quite striking.
Sometimes I find that my best paintings are produced when I start with an empty head, a little inspiration, and no plans for what the final work is going to look like.
A big “thank you” to Ray Burnell for sharing his process and inspiration! To see more of Ray’s work, please visit www.rayburnell.co.uk.
This post may contain affiliate links.
