In 2012 I was sent to cover homeland military operations at Maguire Air Force Base in New Jersey as part of the Air Force Arts Program.
The AFAP is a government sponsored program designed to document military derring-do through works of art. The artist is paid a Colonel’s hourly rate plus expenses and the art is donated to the Air Force. This was my second “deployment” in the AFAP program.
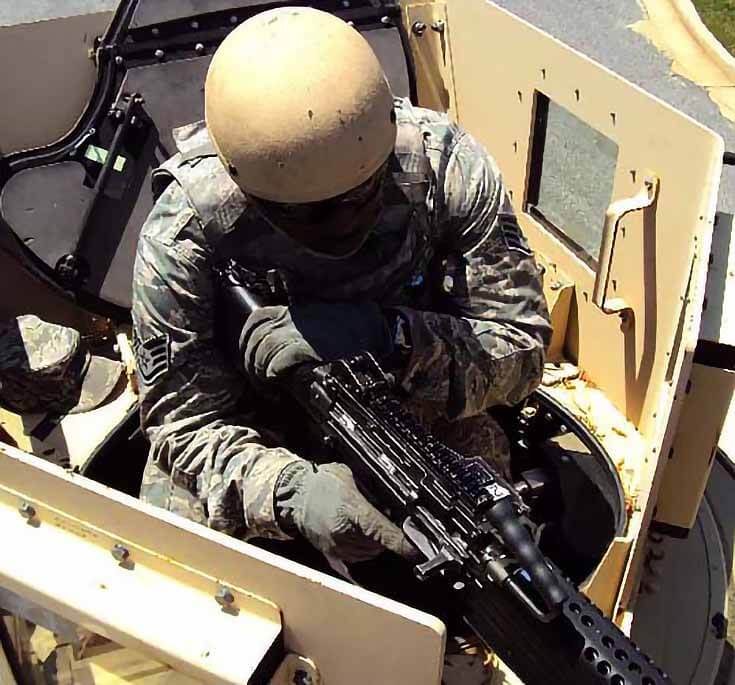
More of a humanist in the matters of war, I wanted to capture the human element behind the military machine. On the base was a large MRAP anti-mine tank, and I thought it best to feature the person who has to sit atop this thing and shoot at the enemy.
An airforceman was brought up to the turret, and standing on the very edge of it I snapped this photo:
Back in the studio, I printed out the photo as a reference and began the underdrawing process. The line work was done in brush with Raw Umber and Black diluted with odorless mineral spirits.
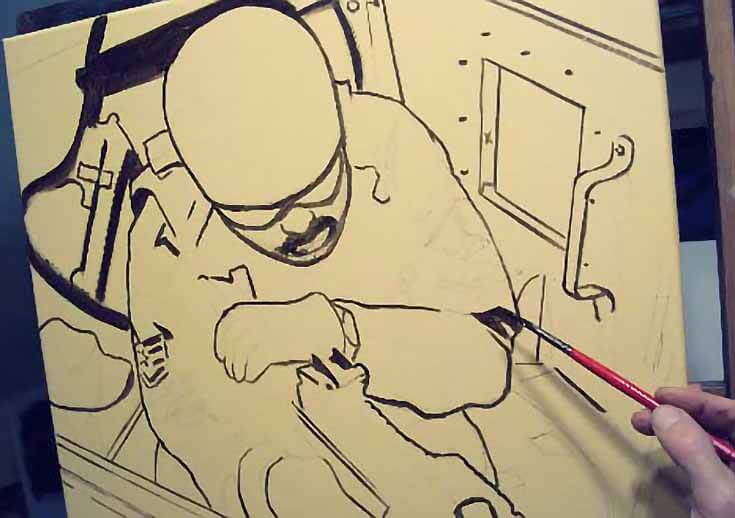
The next day, when the line work was dry, I used a lint-free rag and worked on a thin film of my quick-drying solution (Galkyd 2/5, Drying Linseed Oil 2/5, and Gambol odorless mineral spirits shaken-up and kept in a plastic ketsup-type bottle).
Right over that I applied a coat of Raw Umber SLIGHTLY thinned with odorless mineral spirits. The Raw Umber is put on with a painting knife and smoothed out evenly over the canvas with a broad flexible flat brush.
Once that’s done I go in and wipe out the highlights and bright areas. Do note the quick-drying formula really works and the Raw Umber coating will begin to dry within two hours, so work fast!
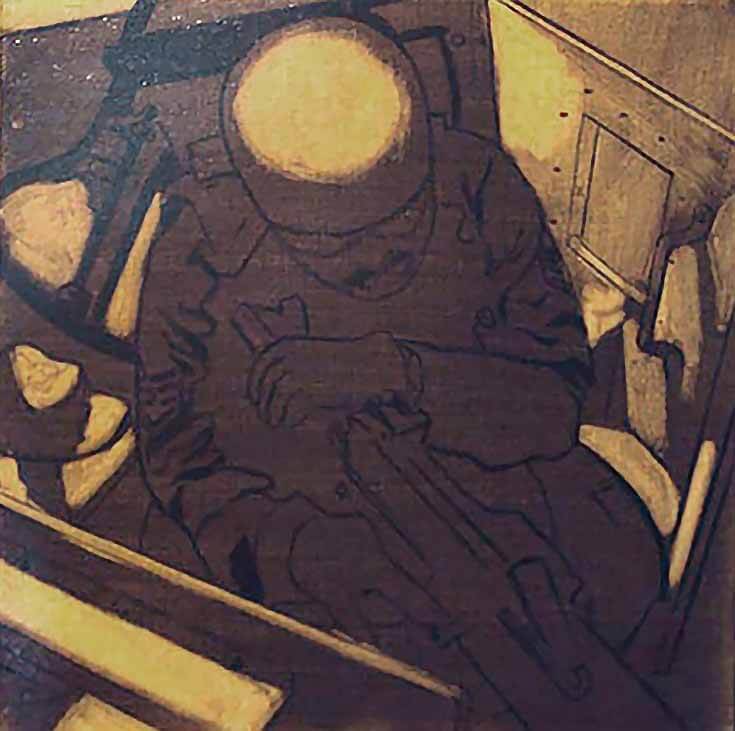
Below you can see the finished brown wipe-out underpainting. Halftones and soft edges are achieved by going back over the wiped-out sections with the flat wide brush. Multiple passes are necessary, and it all must be done before the coating dries.
Also note the redrawing of the head in the image above. One can be led astray by following a photograph too closely: there is always some distortion in a photo (especially a cellphone photo) that’s hard to notice. You need your “artist’s eye” to detect the anomalies!
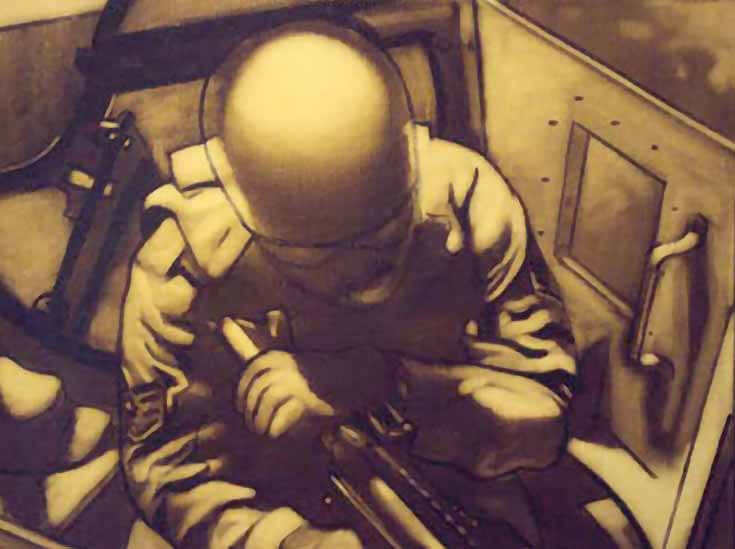
Here’s where the painting is nearly done. Unfortunately I didn’t think to document the intermediate steps between the last photo and this one. . .

However, I did take a close-up photo of a transition area from a dark transparent area to an opaque light paint.
I added a midway tone of color under where the brighter opaque paint would lie, just to keep it from being too harsh where sunlight fell on the folds of fabric:

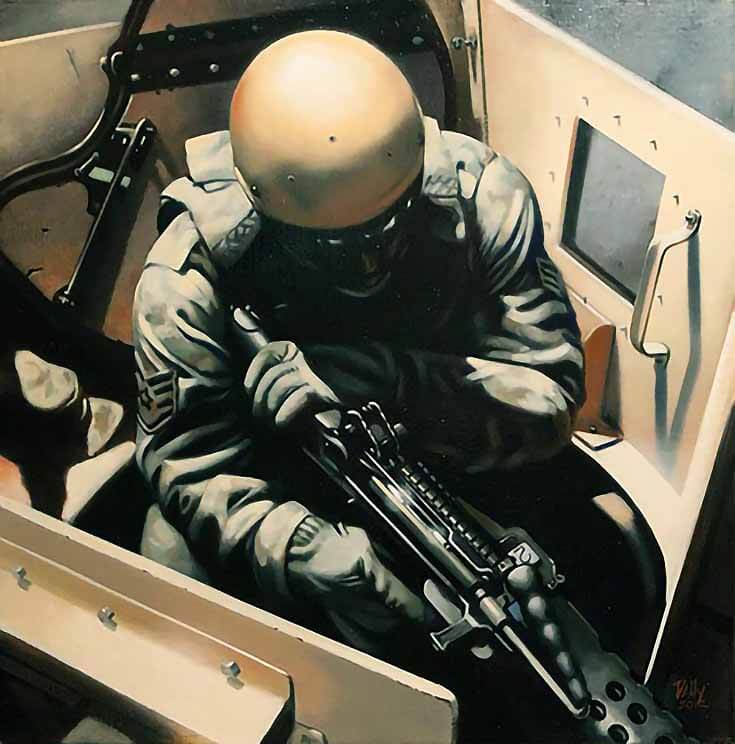
After a lot of other little detail work, here is the finished painting. Note how the gunner’s face is fully hidden in shadow; giving him an even more menacing look!
I hope you enjoyed seeing my process!
And to give you one final bit of perspective on the size of this vehicle and the gunner’s position, here I am standing next to the MRAP ant-mine tank. You can see these things are not built for comfort.

Special thanks to Lyman Dally for sharing his work-in-progress photos of this oil painting! To learn more about Lyman or see his other paintings, please visit his website at oentourage.com.
This post may contain affiliate links.