My Northern California studio is 22′ x 12′ with 4 windows that invite the outdoors in. Since 1995, I’ve created here, as a lettering artist, publication designer, and editor. About 5 years ago I added teaching calligraphy and mixed media, which has allowed me to meet many amazing students.
Over time I realized it wasn’t as functional as I needed it to be, and that put the remodeling wheels in motion. When a beam of faith and a dash of courage kicked in, I was on my way—no turning back!
Come in and take a look! Walking in, this is what we’d see:
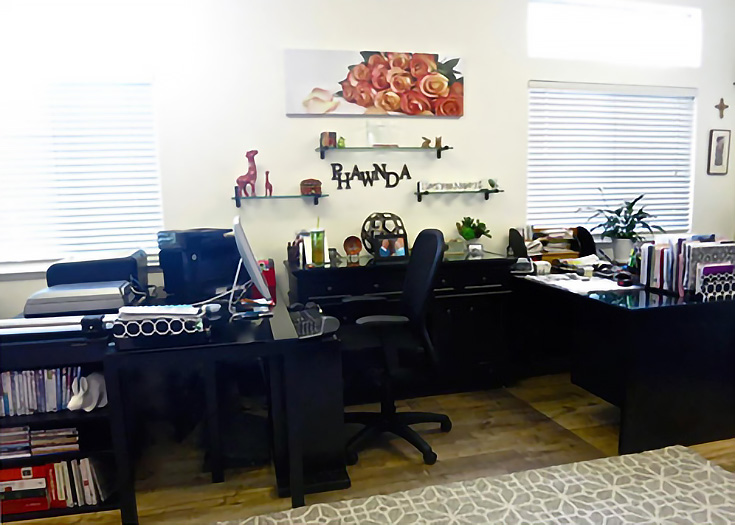
And just to the right of it is where I create:
My primary goals for this project were to find a sturdy paper chest (paper is heavy!) and to have more desk space to teach and create. With various projects in mind I began sketching out ideas on graph paper, aiming for an efficient workflow, similar to well-designed kitchen.
All of the suggestions below are presented in the hope that you’ll find my ideas helpful for designing your own space:
1. Consider unique furniture choices
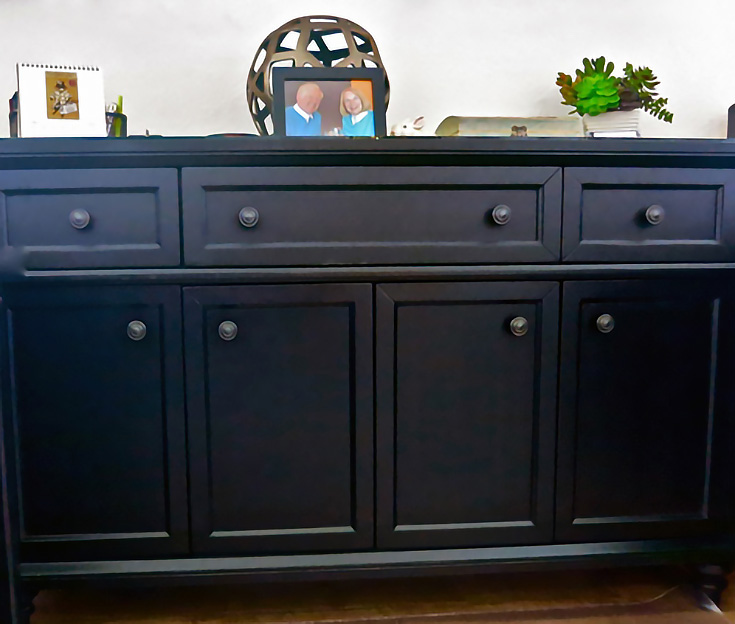
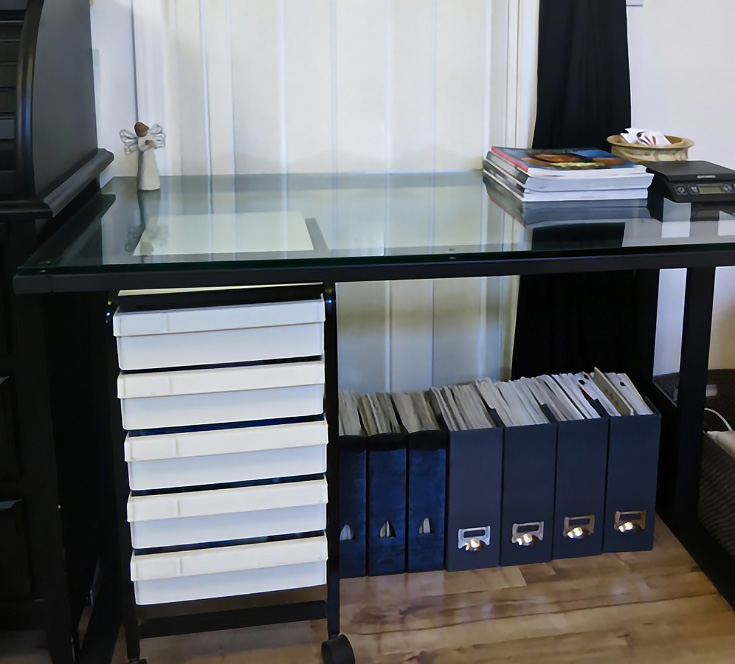
At Crate and Barrel (C&B), I found—of all things—a black sideboard for my paper pads and greeting cards. Built for heavy china, its classic lines are also functionally beautiful. It joined other C&B “dining” tables that serve here as a computer desk and photo booth.
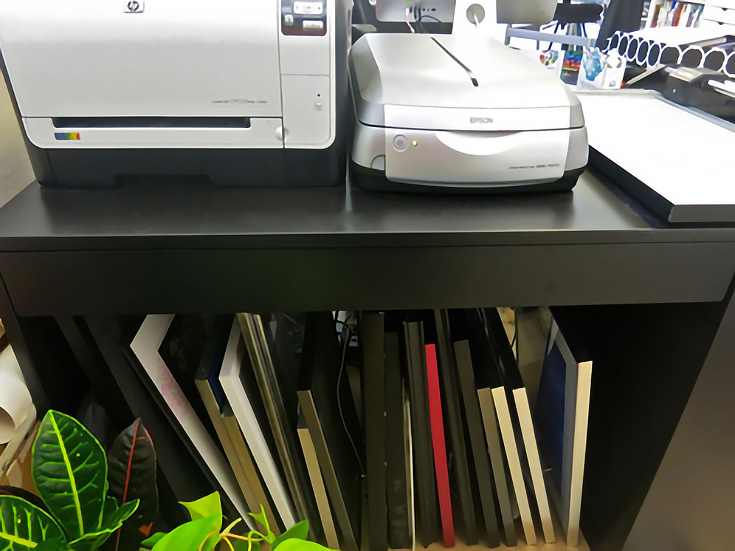
Unlike traditional desks, dining tables are more adaptable to multiple assignments. C&B’s budget-conscious (smaller) craft tables not only extended my workspace, their spacious, open structure is also perfect to store items (like framed pieces) underneath, safely out of sight.
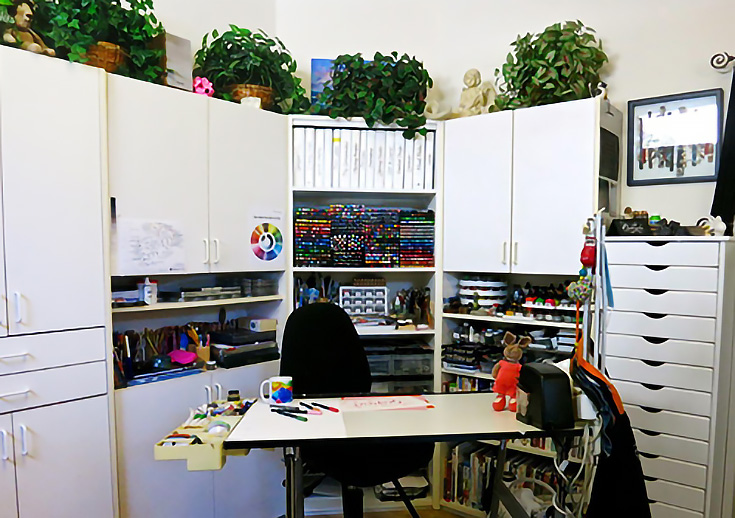
2. Arrange pens horizontally and enjoy the view!
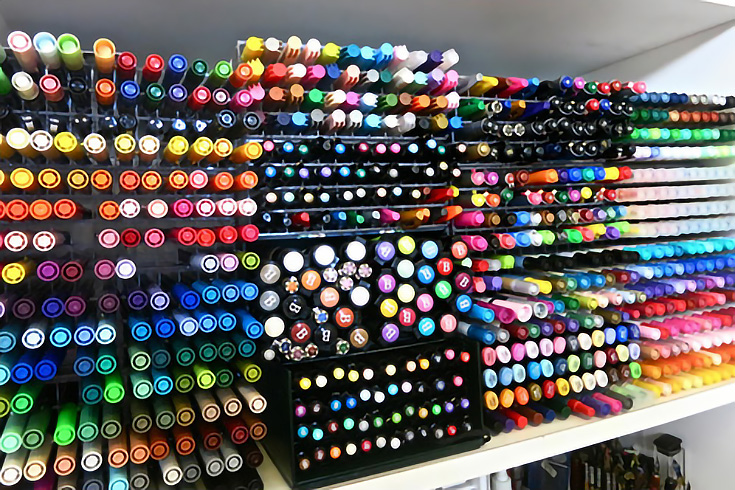
My markers are arranged by brand (rather than color) so I can take inventory easily. You can purchase empty marker cases from http://www.markersupply.com/ with individual space to fit 48 Zig, Pitt, or Tombow pens.
3. Create your own photo booth
An older C&B dining table is used to photograph art. The black drapes, when closed, give a black background, otherwise it’s white, and the glass tabletop can be covered with a variety of colored paper.
4. Store supplies by project or working area
For teaching, I put everything I’ll need in crates to travel to class. For watercolor or acrylic painting, I arrange papers with related tools.
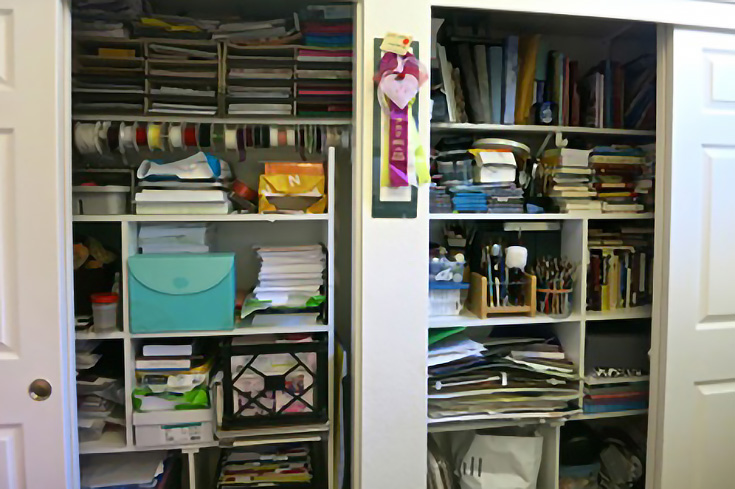
Collections work well with this concept: my rubber stamps, glues, ink pads, and sparkles are located behind the desk where I design envelopes and arrange photo albums. Storing things this way is functional, and saves time.
5. Kitchen products can work nicely in the studio!
A shelf liner stops pens or colored pencils from rolling off the slanted table, and folds up when not needed. . .
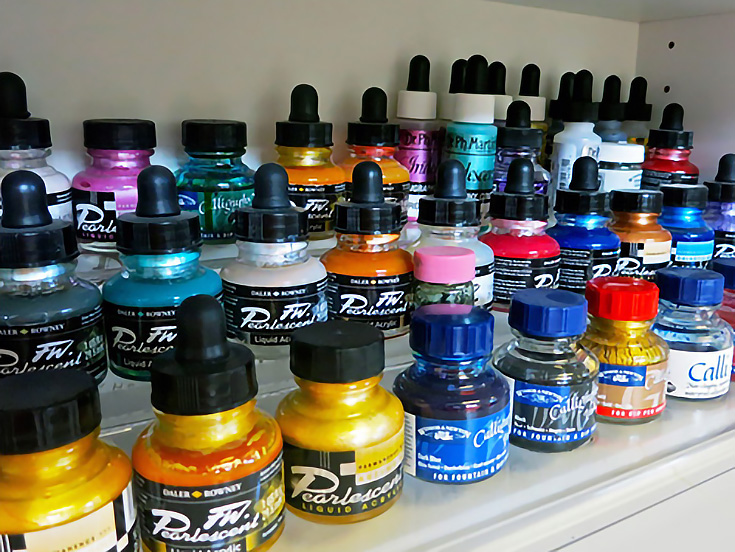
. . . and acrylic spice shelves are great for organizing tiers of ink bottles.
6. Listen to the decluttering experts
As I touched everything in my studio, I remembered Marie Kondos’ advice in her best-selling book, to hold each thing in your hand to see if it brings you joy. Toss or donate if the answer is “no.” This may not be easy, “just do it.”
And William Morris’ philosophy is similarly important “keep only that which is beautiful or useful.”
7. Integrate the past and future
When I was choosing fabric to reupholster a chair, I realized that my feminine style had been repressed during years of designing corporate projects (often in black and white for print).
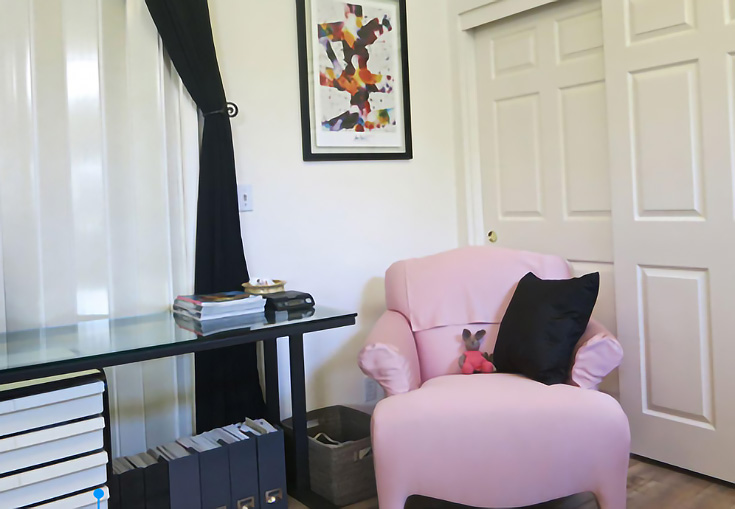
And now, I realized here was a chance to choose a favorite color! So blush pink is for the future, and that bunny (knitted by a talented friend) is for the past. Her peach dress is similar to one my beloved grandma crocheted for me when I was a year old.
8. Bring the outside world into your studio
If you have windows, seasonal flowers or plants can be strategically placed in the garden. If not, perhaps another artist’s beautiful painting or travel souvenirs. There’s something about having a view of the outside world that helps us create what goes back out there—to students, clients, galleries, community events.
After a 2-month transition, I love to be here to work, play, and share with others.
Thank you for visiting my world! I hope this article inspires you as you make your own studio beautiful and useful.
Soon, I’ll unveil an exciting new project! Stay in touch on my Facebook page for updates, helpful posts, and to learn about classes in Northern California.
This post may contain affiliate links.