If you’re like most artists, you’ve probably experienced how difficult it is to apply a good varnish finish to your paintings. (I’m no exception!) But lately I’ve found a system that works for me, and makes it possible to create a 100% perfect finish at all viewing angles under all lighting circumstances.
Here are my tips for applying the perfect varnish finish to a painting:
1. Start with a high-quality flat paintbrush
If possible, buy a brush with synthetic bristles. I find that those stay together well, and are the easiest to keep clean—which is another thing. Make sure the brush is spotless before you begin. Wash it and dry it lightly with a paper towel, and watch out for dust and loose hairs.
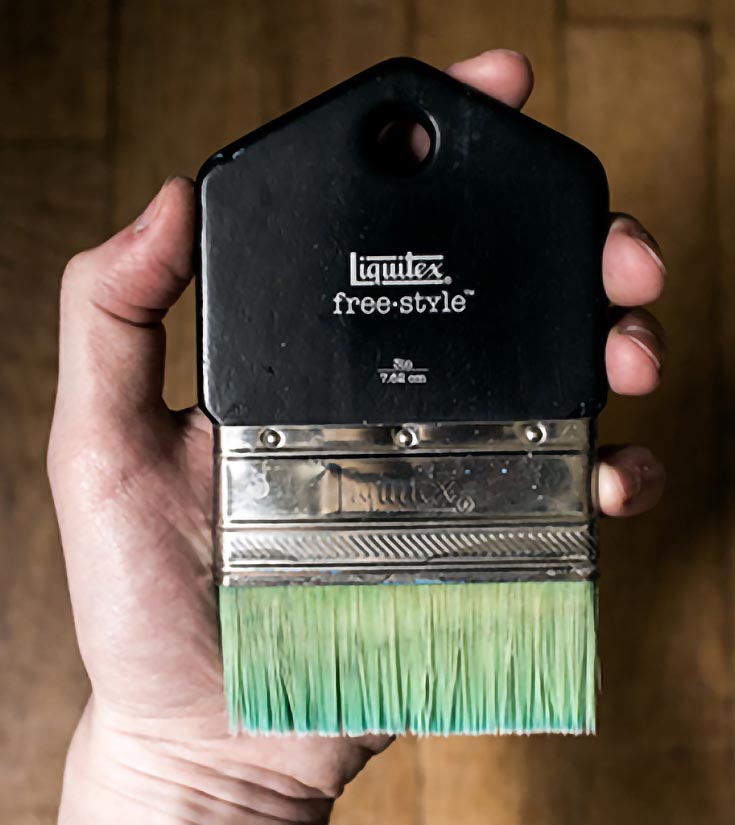
I’ve been using a 3″ freestyle paddle brush for quite some time now, and feel that it’s the ideal brush for varnishing. Any large synthetic brush (like these from Blick) would work well also.
2. Make sure the painting has dried and cured
I’ve witnessed some gloss varnishes acting almost like a paint remover, lifting up paint that hadn’t been given the proper time to settle. Don’t make this mistake; give your painting plenty of time to dry.
3. Carefully clean the surface of your painting
Wipe your painting down gently with a paper towel (or another clean paintbrush) to make sure no dust, dirt, or hair gets caught in the mix.
4. Don’t use too much varnish at once
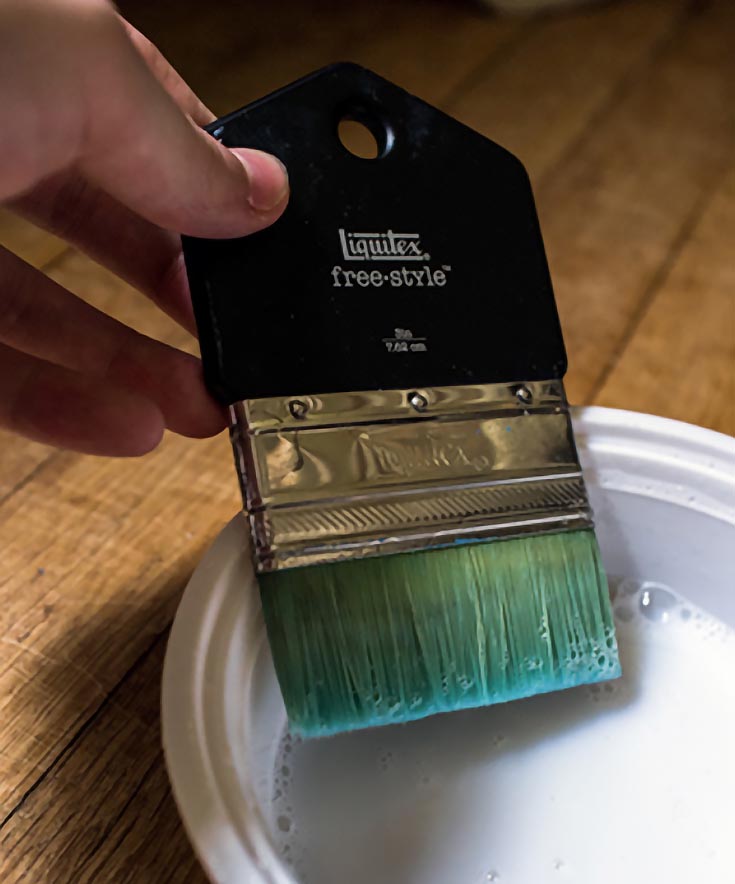
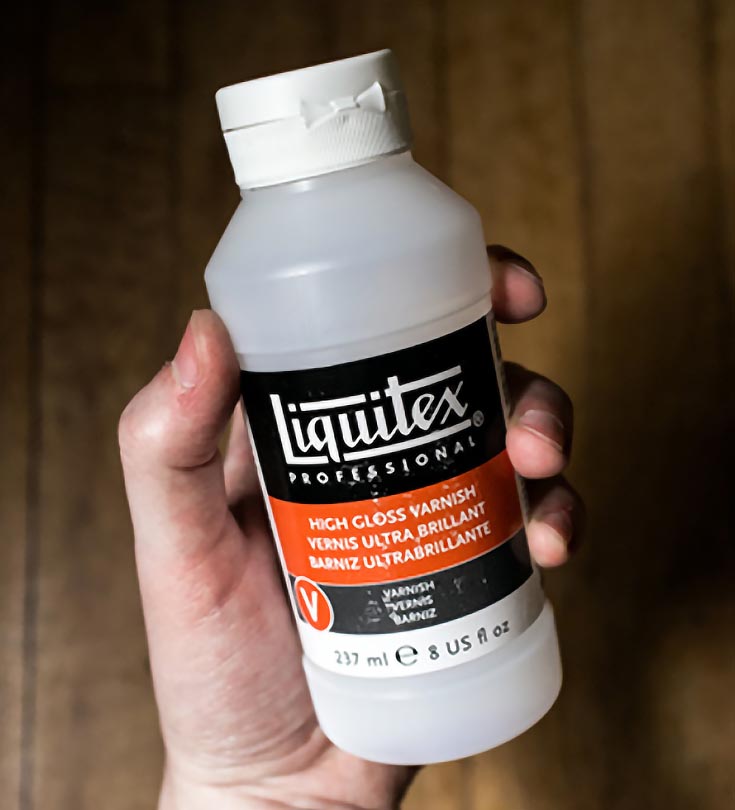
Pour your varnish into a paint palette or container large enough to easily dip your brush in. Lightly wipe off excess varnish from your paintbrush each time, so you don’t drip lots of varnish on your painting by accident.
5. Apply your first coat of varnish in one direction
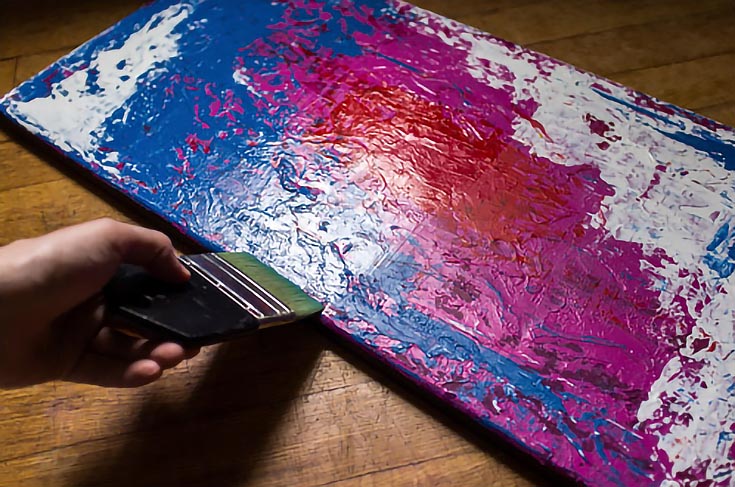
Set your painting flat and begin brushing from left to right. Continue adding varnish from that direction as you work up the canvas in even rows. Right after each row is complete you could lightly brush all the way back from right to left to help spread things evenly.
6. Allow the first layer of varnish to dry
Once you’ve applied the first coat keep the painting flat on the ground. Do not prop it back up. This should help the varnish settle uniformly. Also let this coat dry for at least 1-3 hours.
7. Apply the second coat in the opposite direction
This time apply your varnish from right to left. Brush in a slight arching pattern. You’ll find that this coat fills in any areas that got missed in the first coat.
Again be sure your brush is totally clean (you’ll want to wash it after the first coat) and then let your second layer of varnish dry for 1-3 hours. After that, you’re done! You shouldn’t see any brush strokes, any uneven lines, or any uneven areas that glares will bring attention to.
NOTE: The reason I don’t apply more than a two coats of varnish is because too many layers of varnish can create a foggy effect. The same thing could happen if you work the varnish too much in one area.
Last but not least, I find that satin varnishes are the most forgiving, and gloss or matte varnishes are a little more challenging to apply (so keep that in mind if you’re just starting out.) Good luck!
For more information about Joe or his art, please visit www.JoePapagoda.com.
This post may contain affiliate links.


