NOTE: Special thanks to Craftsy for letting me review “Sketching Landscapes in Pen, Ink & Watercolor” for free, and reducing the price to $14.99 for EmptyEasel readers through June 30th, 2015. All links included in this article are affiliate links, and help support EmptyEasel.com; any opinions presented are my own.
Painting landscapes on location comes with its own host of challenges. The light changes constantly, clouds move as you draw them, and rain is ALWAYS a possiblity.
If you’re willing to brave the elements, however, the rewards are great—and for those of you just starting out, Craftsy’s latest landscape sketching course (led by the talented watercolor painter Shari Blaukopf) has all the basics covered.
Since Craftsy is currently offering a discount to EE readers, I decided to go through it myself and let all of you know exactly what’s included:
Lesson 1. The introduction
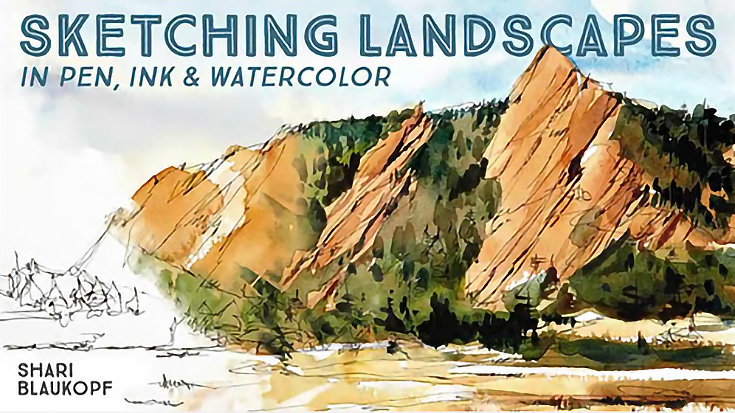
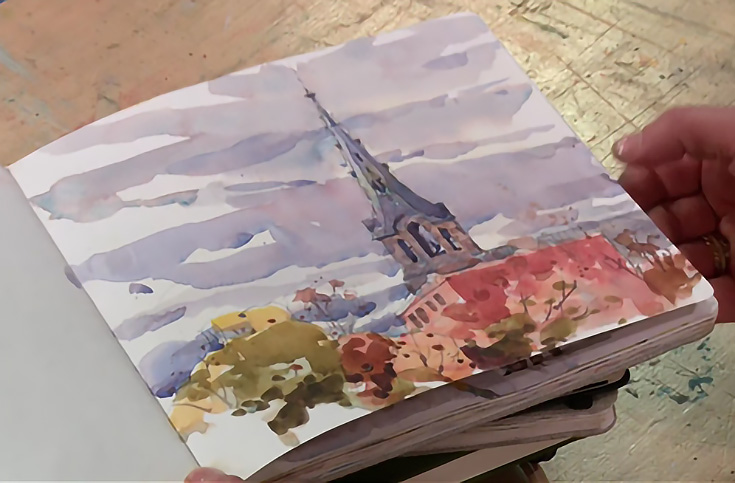
Shari starts the class with a short introduction to her work by giving viewers a quick tour through her sketchbooks. Her specialty is watercolor landscapes, and it definitely shows in all of her loosely-sketched landscapes full of vibrant watercolor washes.
She then goes over all of the supplies she likes to use in the field when sketching and painting landscapes, including mechanical pencils for her initial sketches, micron pens of different thicknesses (for a variety of shrub and tree limbs), and several types of brushes that she uses primarily for washes or adding specific kinds of textures.
The color palette she uses is described in the materials list which comes with the class, so you’ll know exactly which colors to use. I noticed that it has a few extra yellows and blues, which no doubt come in handy for mixing all the different greens found in landscapes. There is, however, no black—she prefers to mix her darkest colors herself.
She also mentions a few other tools that may come in handy, like clips, camera, etc. You can probably do without them, but they WILL make the process easier.
I was a little disappointed that there wasn’t really any instruction in this first lesson, but I suppose the information itself is important to make sure everyone’s on equal footing with their materials.
Lesson 2. Planning your composition
Kicking off this lesson, Shari starts by explaining her process for choosing a scene to paint. She talks about how to get the best light for your painting, and demonstrates how to use a viewfinder and several thumbnail sketches to help choose the format (ie., portrait or landscape) for your composition.
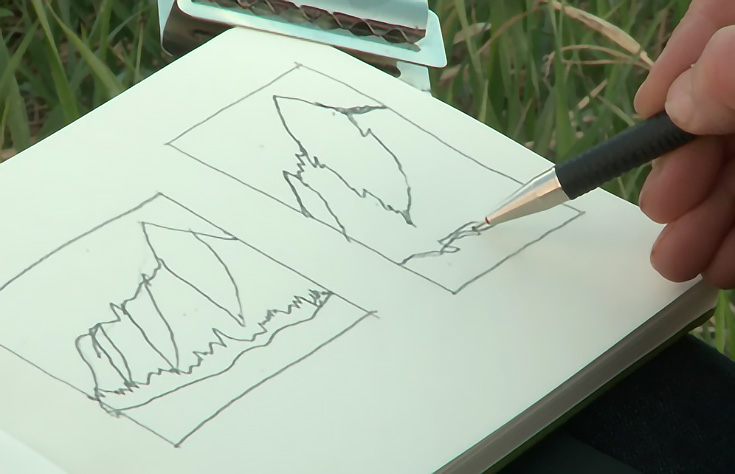
Shari’s goal with these small sketches is to validate, or prove, that the scene is worth painting, as well as give herself a roadmap for a larger piece later. She moves from spot to spot in this lesson, pointing out the defining characteristics of each scene and explaining what it is that she plans to capture in the landscape.
Finally, for her last thumbnail drawings, Shari demonstrates how to work from a reference photo, in case you aren’t able to finish your sketch on location.
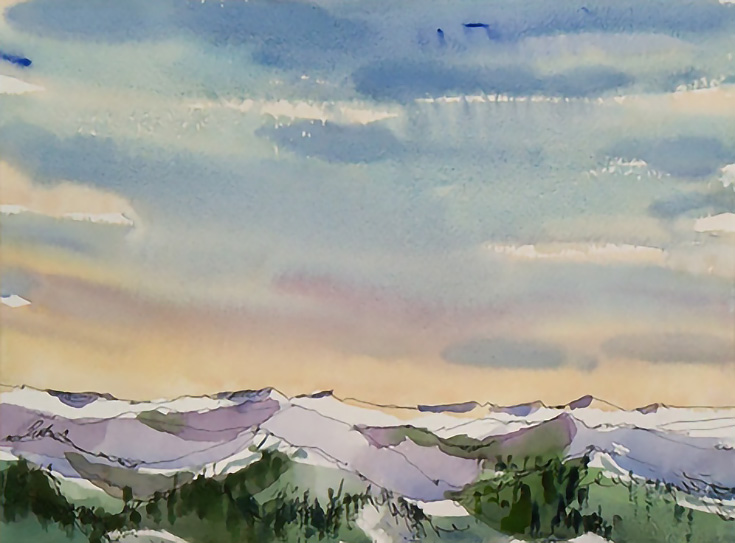
Lesson 3. Painting a variety of skies in watercolor
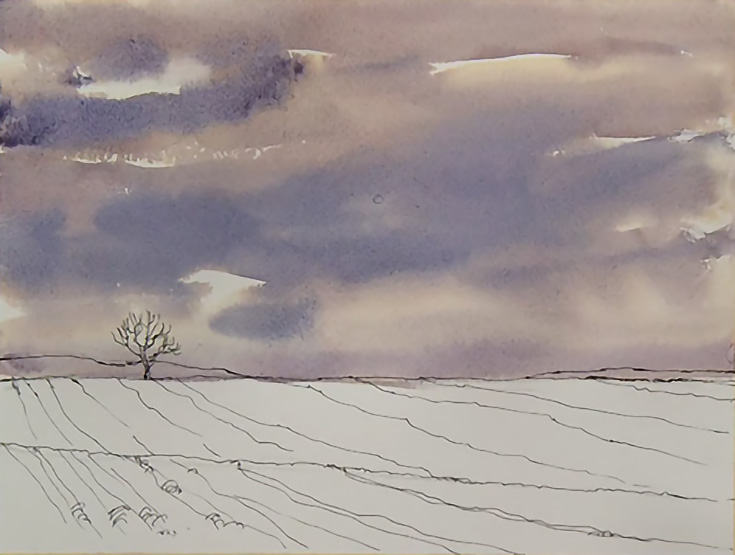
Shari begins this lesson by using a pen to create dynamic lines for her first landscape. Within minutes her basic landscape drawing is done, and she begins on the (fairly simple) sky. Shari discusses her color choices, warm vs cool, and demonstrates how to create an interesting multi-color wash across the entire sky using wet-on-wet painting technique.
The second landscape in this lesson is slightly more complex, featuring back-lit clouds over a vast farmland marked by a single tree. After finishing her drawing, she starts the sky in a similar manner as before, but then explains how to mix more neutral hues and make hard and soft edges for the clouds.
Her third drawing builds on these methods even further, but showcases big, white, fluffy clouds and bright blue sky, which she creates with multiple washes of color while leaving the clouds intact. Her fourth and final drawing demonstrates how to paint a full-on stormy sky, with a wide range of light, shadow, and color.
Throughout this lesson, Shari explains her various mark-making techniques for different types of sky, as well as how to create believable depth by using specific brushstrokes close to the horizon line.
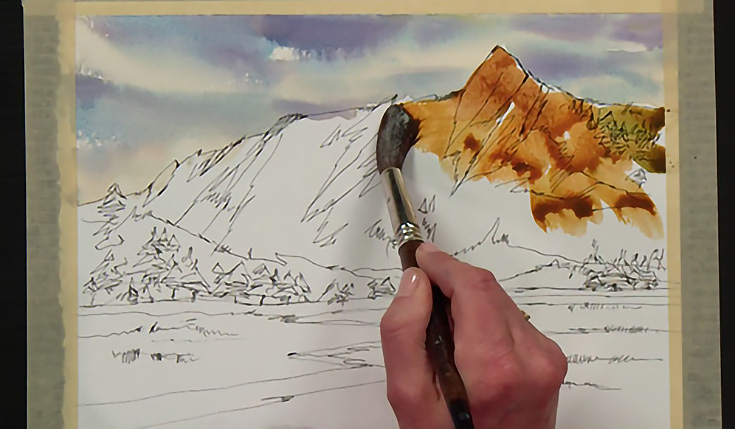
Lesson 4. Creating big shapes in your painting
After starting with a rough pencil sketch, Shari defines the big shapes of her landscape using a fine point pen. She works from background to foreground, switching to larger point pens as needed, and demonstrates how to create the idea of grass, trees, rocks, hills, etc, using a variety of loose, quick, marks.
With the drawing done, she references her value sketches, and begins adding watercolor washes over the top, making the large shapes of her landscape stand out, while the pen marks continue to add texture and detail underneath.
Shari’s tips on wet-into-wet painting are invaluable in this section, as are her instructions for creating interesting contrast and brushtroke details. She also offers a second chance to view her techniques by switching to another sketch (one she started in lesson three), and repeating the process of painting in large shapes of color there, too.
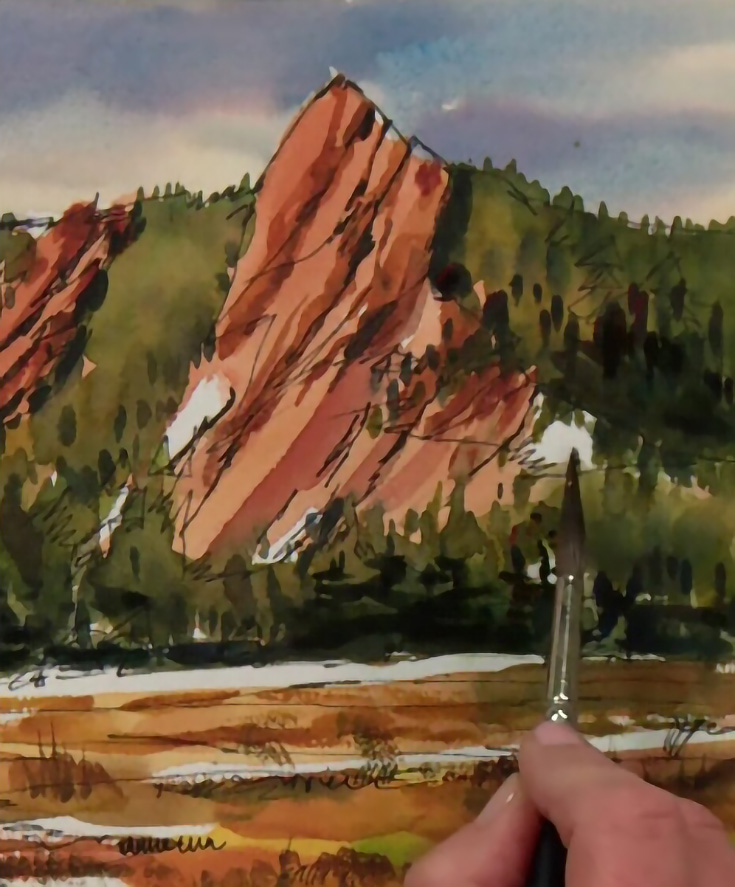
Lesson 5. Creating a variety of textures
Shari’s landscape paintings are full of textural details, and in this lesson, she showcases exactly how she achieves that.
She starts by adding more scribbled pen marks as needed (right over the top of her watercolor from before) into the shadow areas of her landscape. She then uses a large brush to add a darker wash of paint in the same area before switching to a more slender brush and a thicker mix of dark paint for finer details.
Most of the time, Shari works from wet to dry, slowly allowing those detailed brush strokes to stay “on top” of the previous layers. The shape of the brush itself is important, as she uses it less to brush colors into the landscape, and more to “strike” paint directly onto the paper. The result is a soft, painterly impression of a tree-filled forest right in the foreground, all made in just a few minutes.
Moving to her other painting in progress, Shari demonstrates how to create depth with texture, using slightly thicker/drier paint and a variety of different brushstrokes (horizontal, vertical, side of brush, etc) to add more definition in her landscapes.
Lesson 6. Creating depth with contrast
In her sixth lesson, Shari starts by pointing out how high contrast (lights vs darks) can really “make” a finished painting and add an incredible amount of visual depth to a two-dimensional piece. She then demonstrates how to go back in with pen and add intense darks prior to adding her final touches of dark paint, right over the top of those pen marks.
Her darkest paint colors aren’t a uniform black, either—instead, she continues to mix different dark reds, blues, and greens to provide a variety of rich colors within the dark areas of her paintings. She also looks for areas of light or white in her landscape, and puts dark colors close by for maximum contrast.
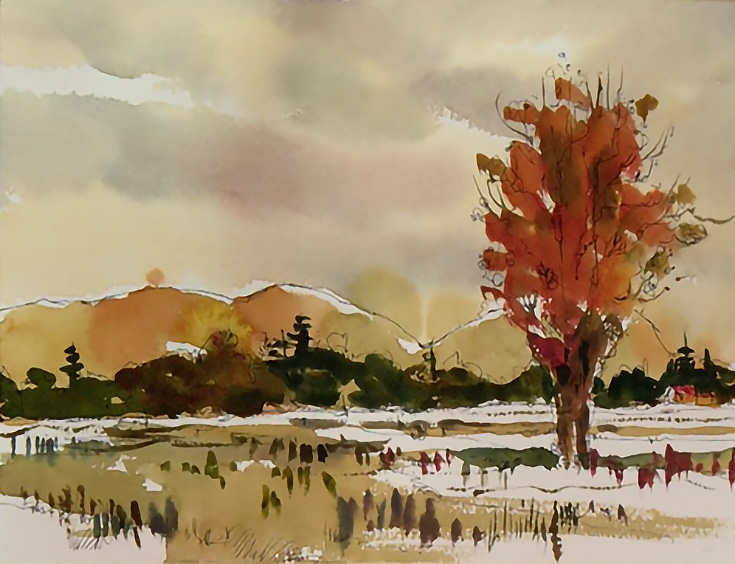
Lesson 7. Finding unique moments
For her final lesson, Shari discusses finding the “unique” moments of a landscape, even if you’ve painted a particular location again and again. She also talks about using limited palettes to add uniqueness to your paintings, or create a specific mood.
Lastly, she demonstrates a landscape painting using some of those ideas, painting the following scene from start to finish in about 10 minutes.
If you’re already fairly comfortable with sketching (in pen or pencil) this class will make it easy to transition into watercolor painting as well. Shari makes it easy to see how to go from sketch, to pen, to color, and end up with a finished painting.
The style that Shari teaches is illustrative and loose, and—personally—it’s one of my favorites. For those of you more interested in realism, however, this might not be the class for you, since the focus is on quick gestures and expressive lines rather than specific details.
If you’d like to know more about what to expect, I’d suggest reading the reviews other artists have left about the class. You can see all of their comments by visiting the class page and clicking on the “Ratings and Reviews” link.
One last thing to keep in mind is that these classes don’t expire—once you purchase it, you can go back as much as you want, review specific sections, and even ask Shari follow-up questions (or read questions other students have asked).
Just make sure to sign up here before June 30th to get the EE price discount. After that, the price will jump back up. :) Have fun, and let me know what you think!
This post may contain affiliate links.