Anytime I talk to artists, I almost ALWAYS hear the following question: “How do you get high-res images of artwork? I have such a hard time getting good quality images!”
The truth is, for most emerging artists, getting high-quality digital images is either too expensive or too difficult. Usually this means going another route, such as photographing their art themselves or finding a friend who has some knowledge of photography.
Unfortunately, these solutions almost always come at the cost of quality.
Why does image quality matter SO much?
It’s already a challenge to convince buyers that they can trust the image they’re seeing on their computer screen. . . and the lower the quality of your images, the harder it becomes. So if you’re an artist (and especially if you desire to sell your art online) my best advice is to make sure that your photographs accurately depicts the quality of your work.
Take a quick look at your artwork photos and ask yourself these 4 questions:
1. Do the colors match the original artwork?
2. Is there proper white balance?
3. Is the image properly aligned and cropped?
4. Is the surface free of reflections and/or glares from improper lighting?
If the answer is “no” to any of those questions, you may be causing hesitation in a potential buyer, simply because they can’t trust the photograph you posted online.
According to the 2013 Hiscox Report, 71% of art collectors have bought artwork over the internet based on a digital image, without ever seeing the piece in person. That’s great news, right? Of course! BUT – 67% of those collectors ALSO said they were worried that the artwork might turn out to look different from what was represented by the digital image.
In short, one of the best ways to give an online buyer confidence is to have high-quality digital images.
And here’s another reason for high quality images
While I’m on the topic of image quality, let’s talk digital prints for a minute.
For many artists, selling prints is a key part of their strategy – it’s a great way to connect with a higher volume of art buyers who might not be able to afford the price of an original. But when it comes time to make your prints, the image quality of your file becomes even more important. Even if an image is crystal clear on your computer screen, that doesn’t mean it will be crystal clear when printed.
Again, the solution to this problem is to have professional quality high-res images.
So, how can an emerging artists do it themselves and get professional-level photographs of their art? You’ll need fairly expensive equipment and a specific setup, as well as some basic photo editing skills and software:
Required photography gear
• A DSLR camera (generally in the $500 range)
• A prime lens (starting around $250-300)
• Two professional lights at even light-output settings
• A tripod stand
• A gray card
Of course, if buying a DSLR camera or prime lens is too expensive, you can also rent photography gear locally. Do a Google search for “camera rentals” in your area to find shops near you.
The proper steps for photographing artwork
1. Choose a room or studio at least 10’x10′ with controllable lighting.
2. Set up your painting on an easel or mounted on the wall and use a level to ensure the painting is perfectly horizontal.
3. Mount your camera on a tripod 5 feet away and position the camera so that the sensor plane is parallel with the artwork and aimed directly at the center of the work.
4. Place one light on each side of your camera aiming at the center of the artwork at opposing 45 degree angles.
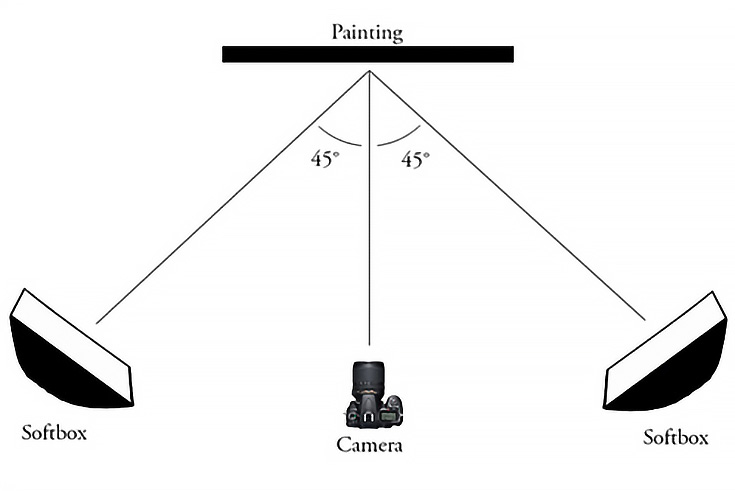
5. Put your gray card in front of the artwork, take a few test shots, and adjust the exposure and white balance settings on your DSLR so that the gray card looks correct.
6. With the flash turned off, snap photos of the artwork.
7. On your computer, crop the image down as closely as possible to the actual edge of the piece, ensuring that no background is showing around the edges.
8. Adjust the brightness and contrast in Photoshop if necessary.
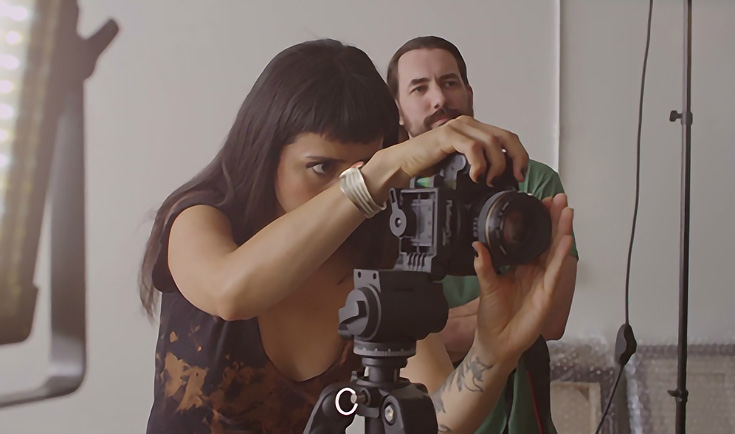
Andy Derrick led the Artist Community at ArtSquare, a service that helped artists get their artwork photographed by professionals in their area.
This post may contain affiliate links.