One of the joys of painting with mixed-media is the freedom to create unique textures and patterns in your backgrounds. While it’s tempting to buy the expensive products from your local art supplier, doing so can get pricey—especially when you’re just looking to experiment.
So if you like to play with different background textures for mixed media, take a quick run through your local dollar store instead. . . the following items are all cheap, easy ways to create interesting texture in your paintings:
1. Decorator’s sand
Stop by the floral/wedding décor aisle for a jar of decorator’s sand. You can create a mixture of sand and acrylic gel to apply as a separate layer, or mix the sand directly into your acrylic paint or gesso and apply with a palette knife.
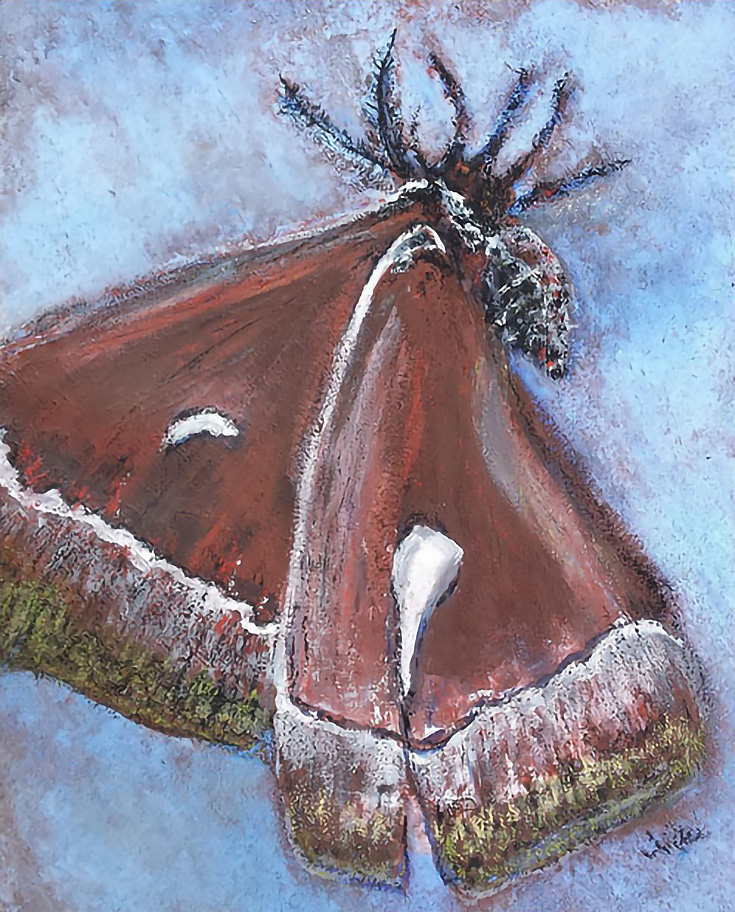
Allow plenty of time for the layer to dry before continuing your painting, otherwise you’ll just push the sand around with your brush. Once it’s dry, however, you can easily add more layers of color over the top, allowing the texture to show through.
2. Tissue paper
The gift aisle contains a very easy texturing element: tissue paper! You can use matte medium or acrylic paint to apply tissue paper to your surface as its own layer (see image below) or apply it and then peel it off.
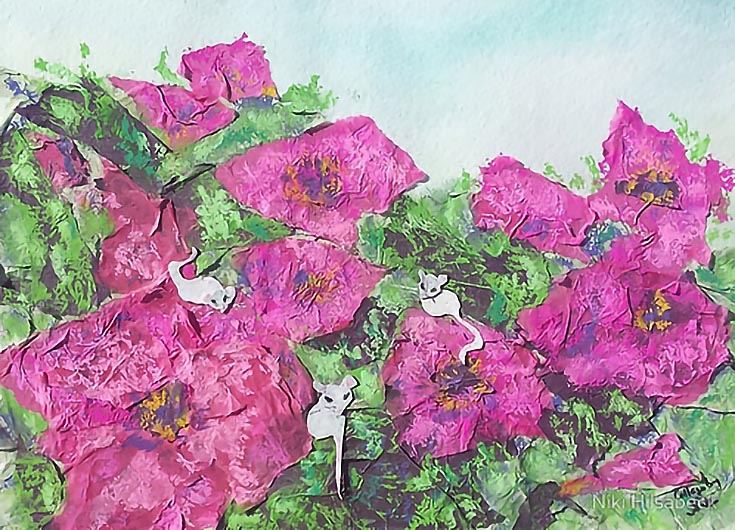
To get texture from peeling it, spread the tissue paper onto a layer of paint, either scrunched, cut into shapes, or flat. Press it gently before pull it off to reveal patterns that create the illusion of extra texture in your background (this method works with thick watercolor too).
3. Paper towels
In the cleaning aisle, you can search out paper towels with unique patterns to use in your paintings. Look for ones with geometric shapes that appeal to you (such as swirls, dots, or diamonds).
Start by applying a layer of acrylic or thick watercolor, and then lay flat sheets of the paper towels onto the paint. Press the paper towels gently to stick them to the paint, then carefully peel them off to reveal geometric background patterns for your painting.
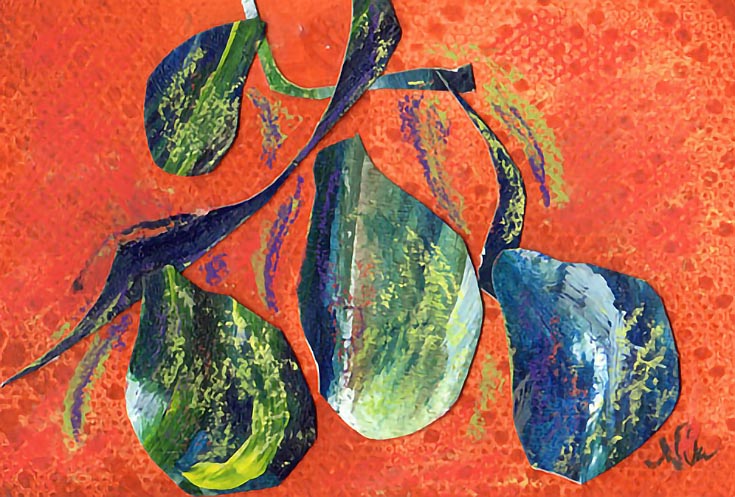
Allow the paint to dry before continuing. You can create several layers of these geometric shapes too for added interest!
4. Fruit produce netting
This one takes a bit of maneuvering, but it’s kind of fun. Pick up whatever produce you enjoy that comes in a net bag (the softer and wider the netting, the better—springy netting doesn’t work as well). Once you’re done using the bag for its normal purpose, you can cut pieces of it to use for your paintings.
Thick paint works best for this material. Apply a layer of paint to the surface, spread the netting over the paint and flatten it into the paint. Let it sit a bit before lifting it gently to reveal the pattern of the netting—allowing the paint to begin the process of drying will create better texture when you pull the netting away.
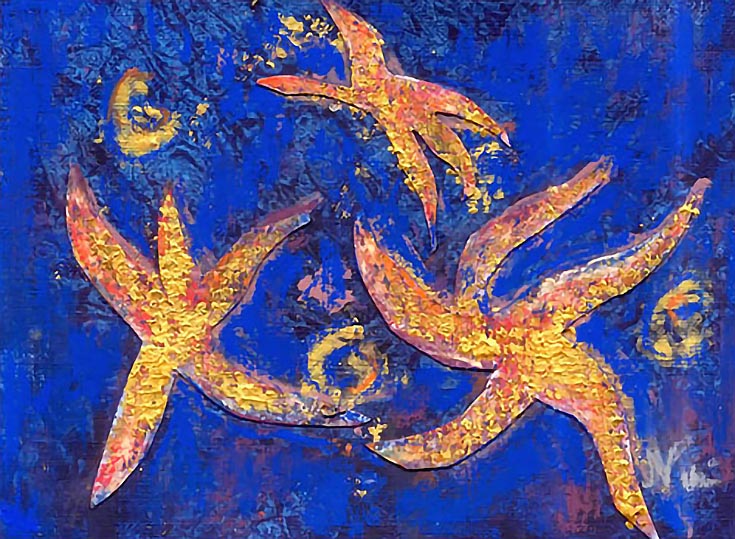
I have also put the netting down on a dry surface, and painted shapes over the netting to add texture to the shapes (see the textures on the sea stars in the above image). If you’re working in a collage style of painting, you can even use matte medium to glue bits of netting to your surface, and paint over it when it’s dry.
When painting with mixed-media, the possibilities really are endless, so keep your eyes open for items that you can recycle or buy cheaply to add to your work. The more creative you get, the more unique your painting will be!
This post may contain affiliate links.